Contact Center
1. Introduction
This manual provides step-by-step instructions on how to use the Contact Center features in OCCS. The Contact Center includes the following sections:
-
Calendar – Manage work schedules and holidays.
-
Email Accounts – Configure and manage email accounts.
-
View Attributes – Customize and manage attribute views.
Calendar
2.1 Adding a New Calendar
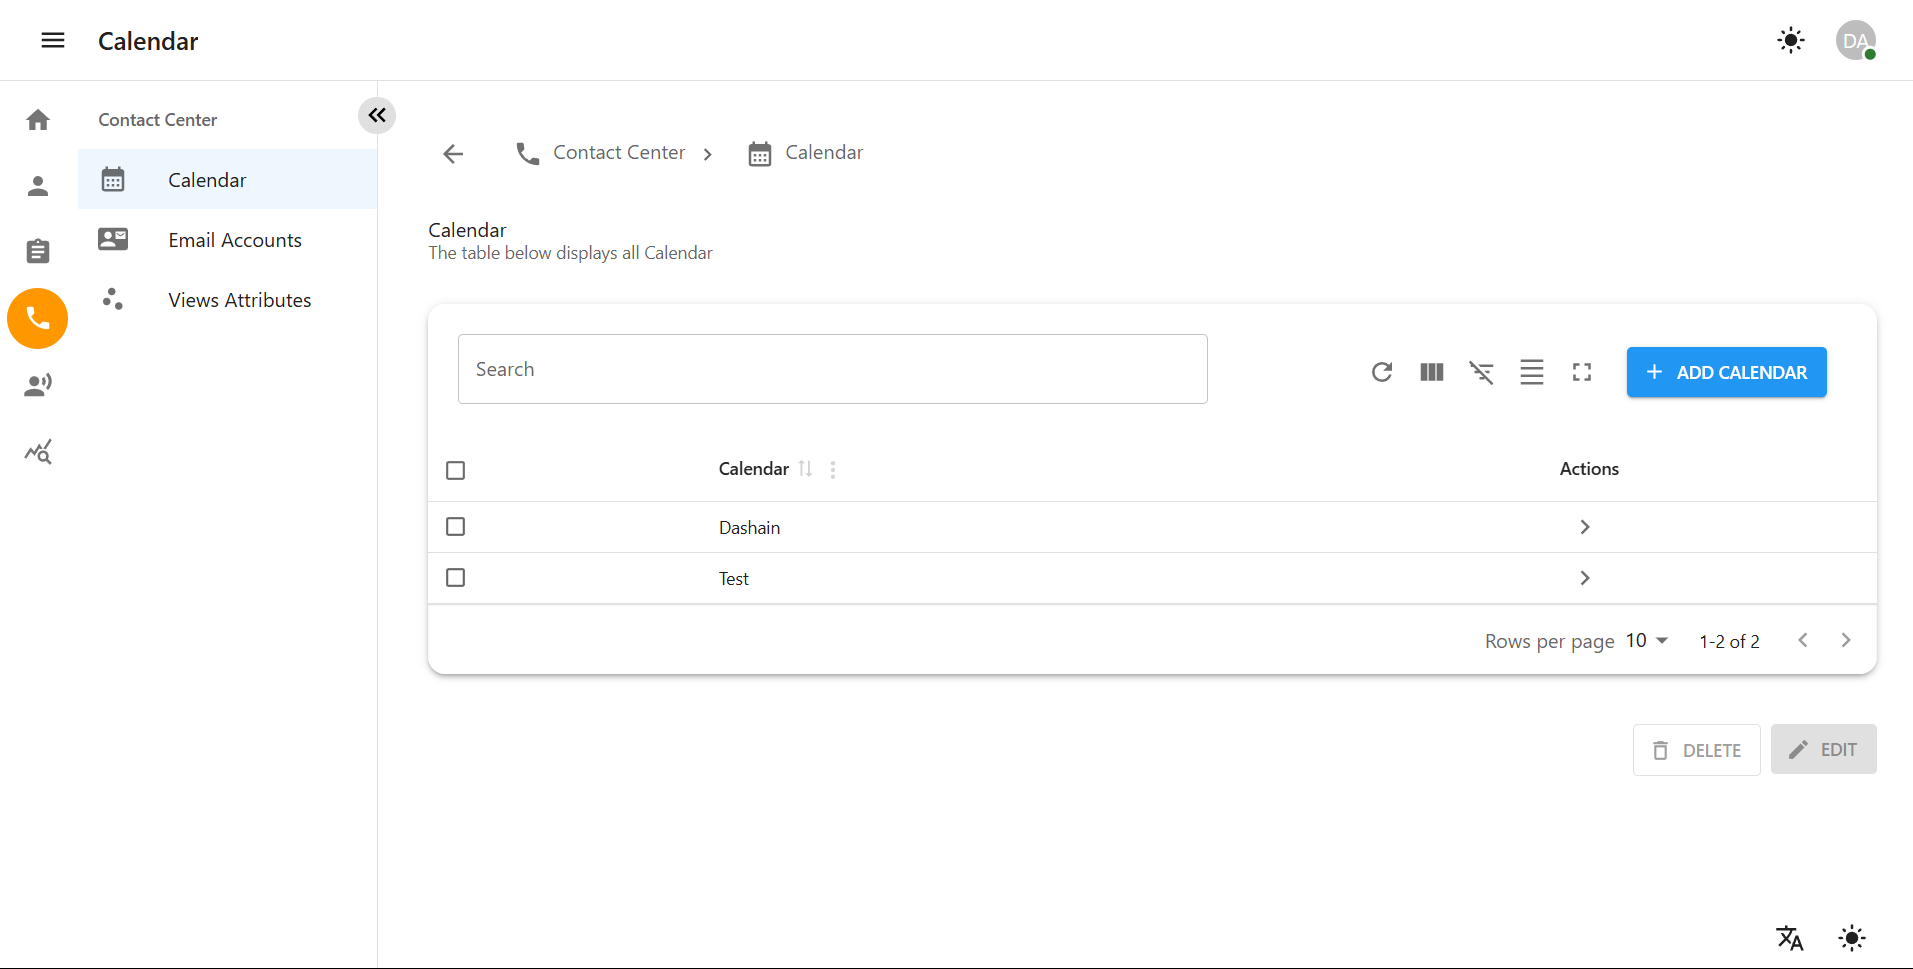
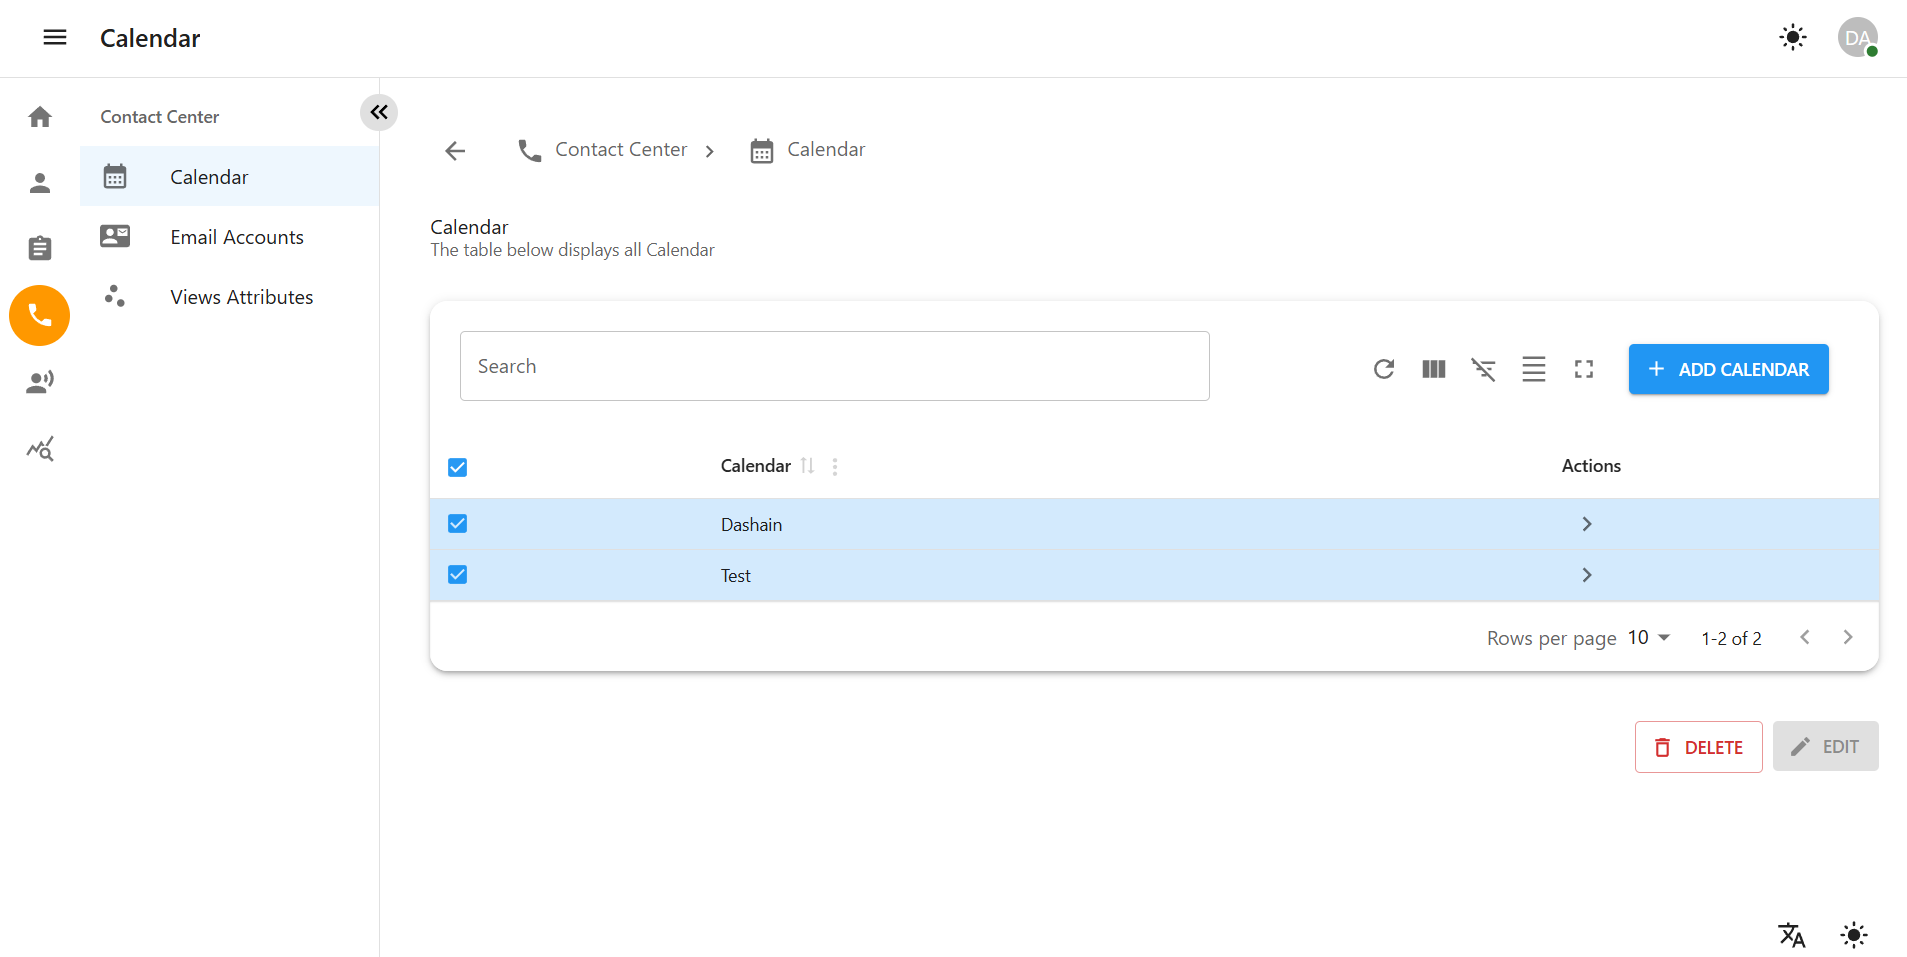
Step 1: Access the Calendar Section
-
Navigate to the Contact Center from the left sidebar.
-
Click on Calendar to enter the calendar management section.
2.2 Editing an Existing Calendar
Step 1: Open the Calendar for Editing
-
Navigate to Contact Center > Calendar.
-
Select the calendar you want to modify.
-
Click on the Edit Calendar button.
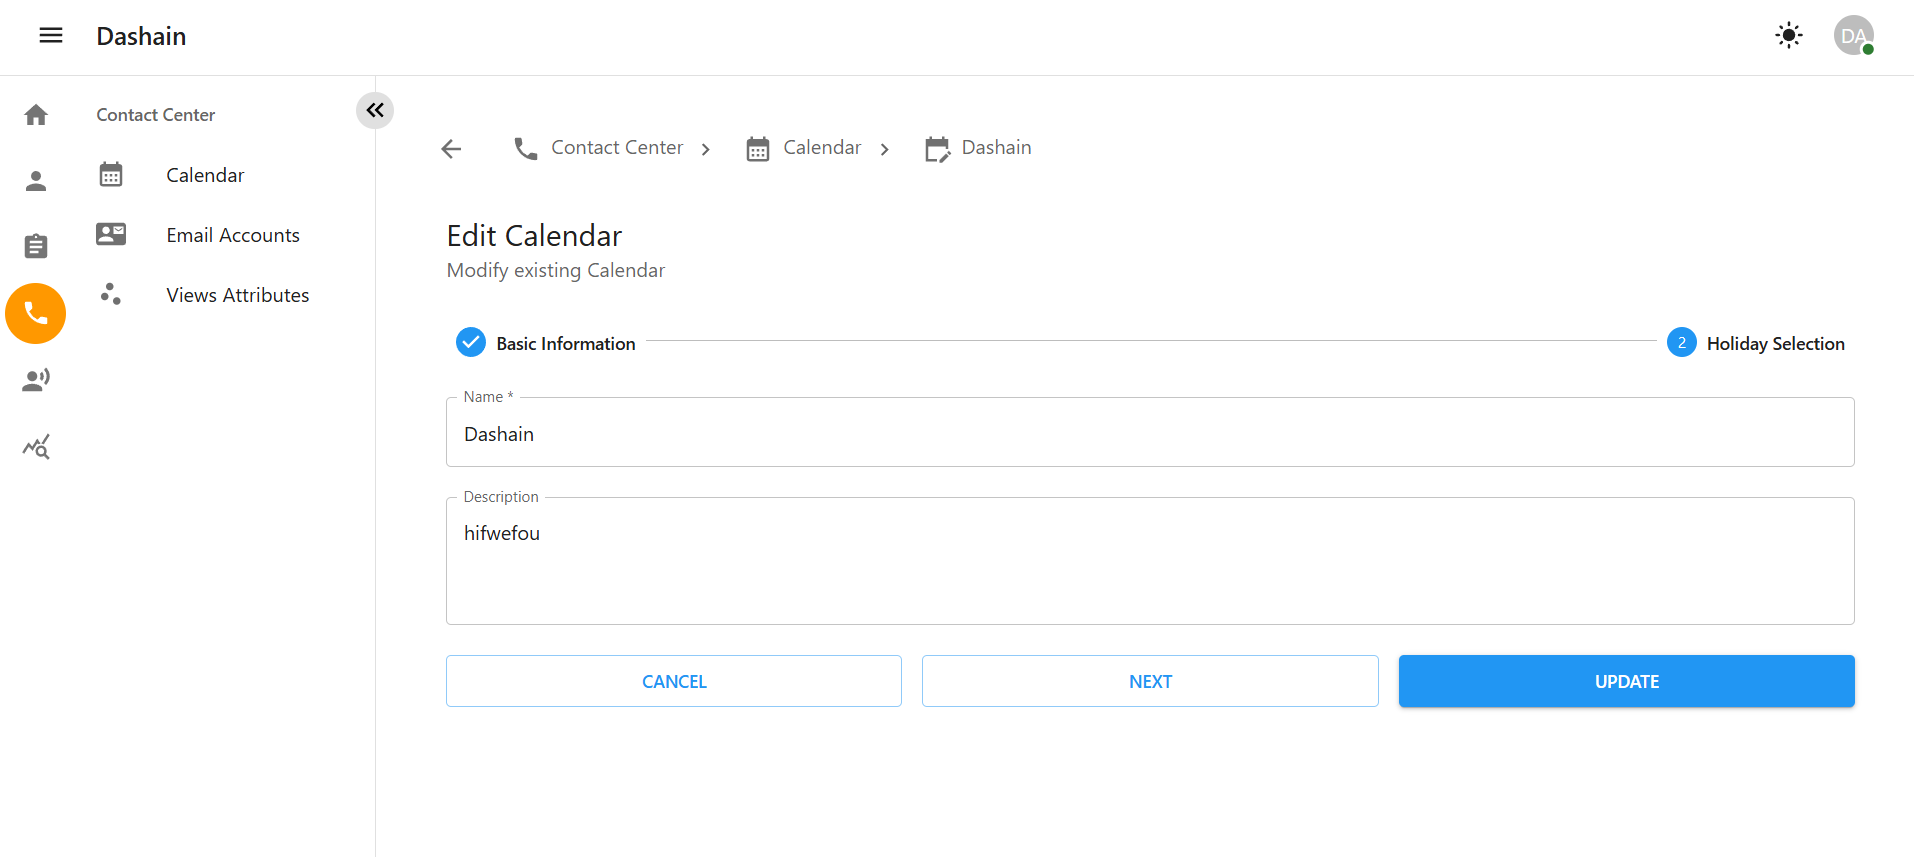
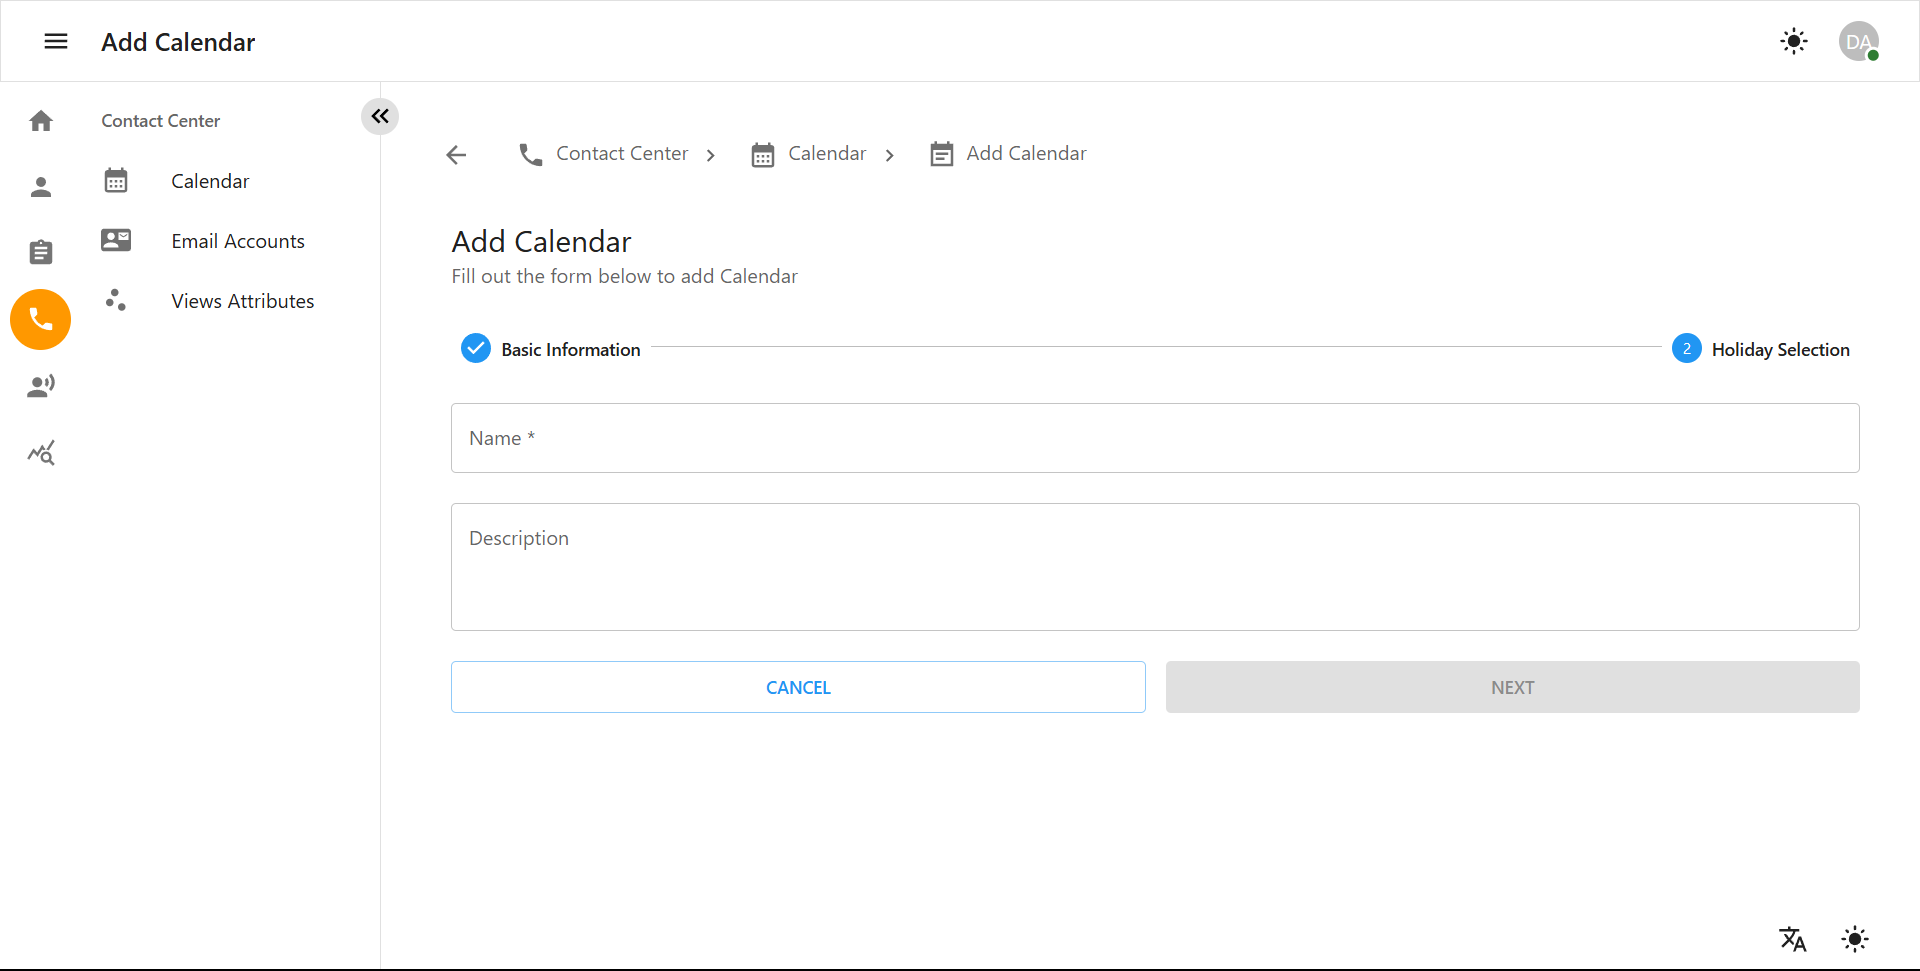
Step 2: Update Calendar Details
-
Update the calendar name or description if necessary.
-
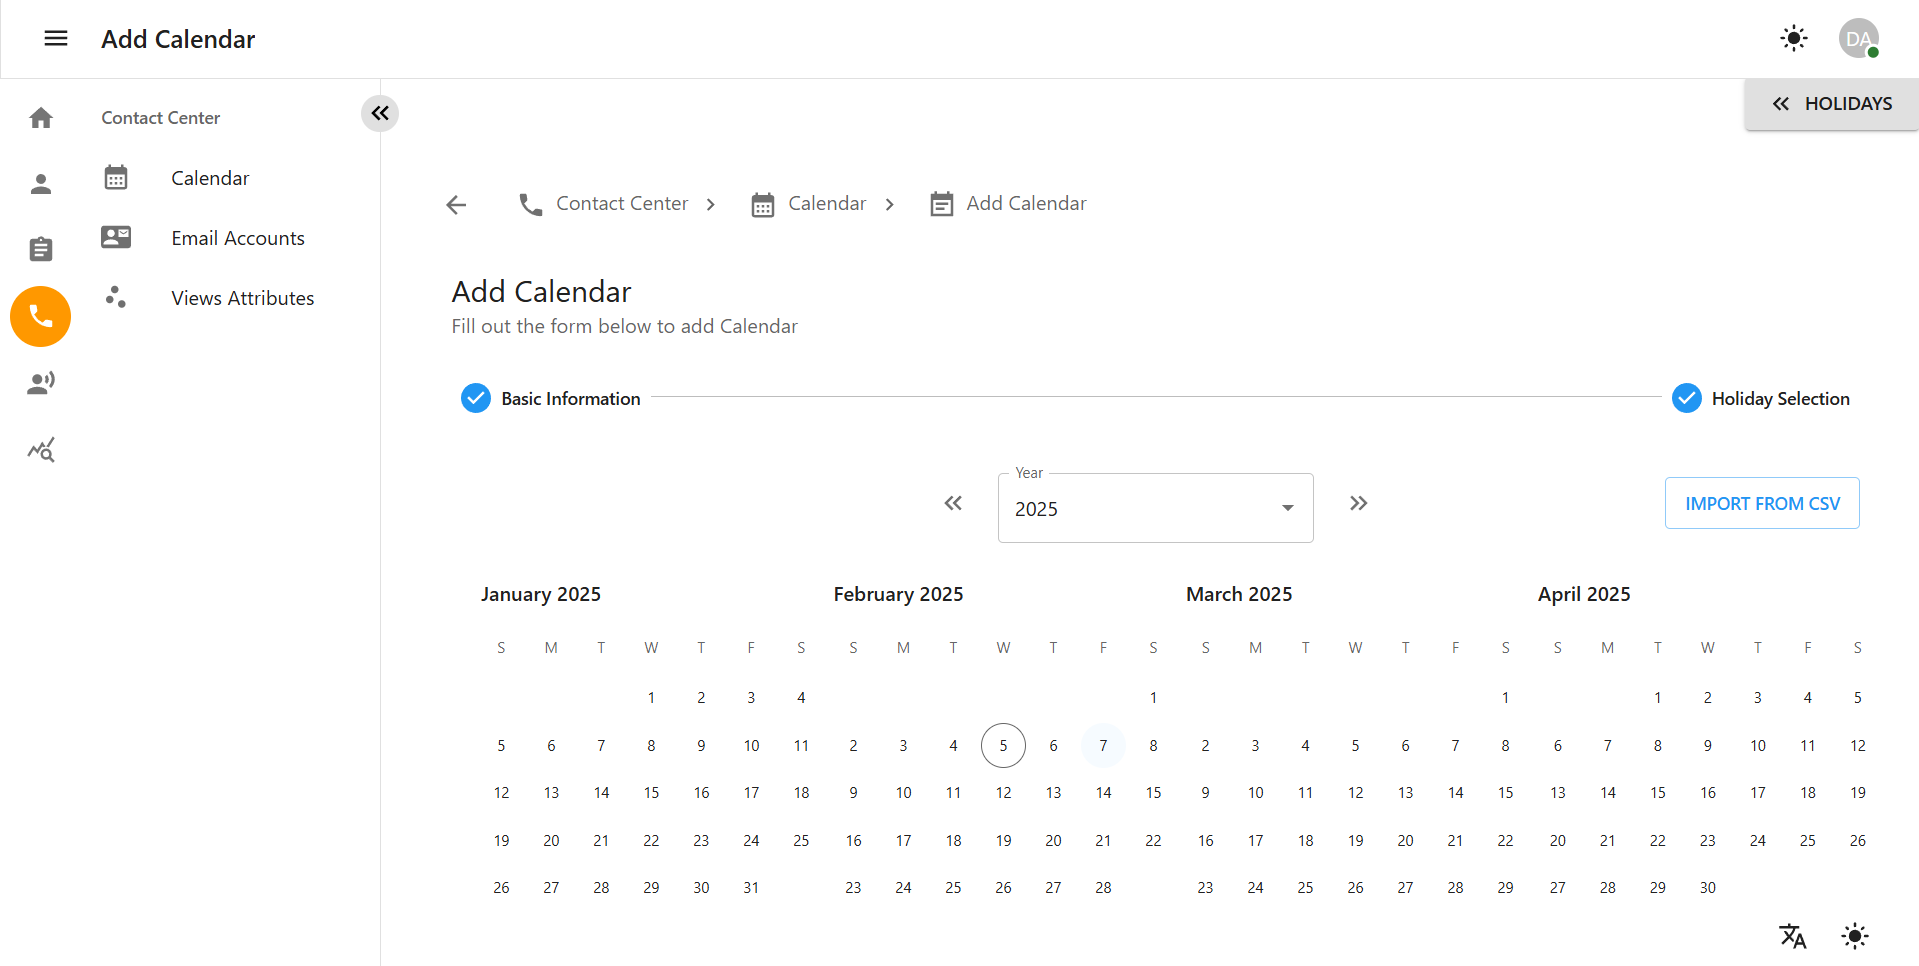
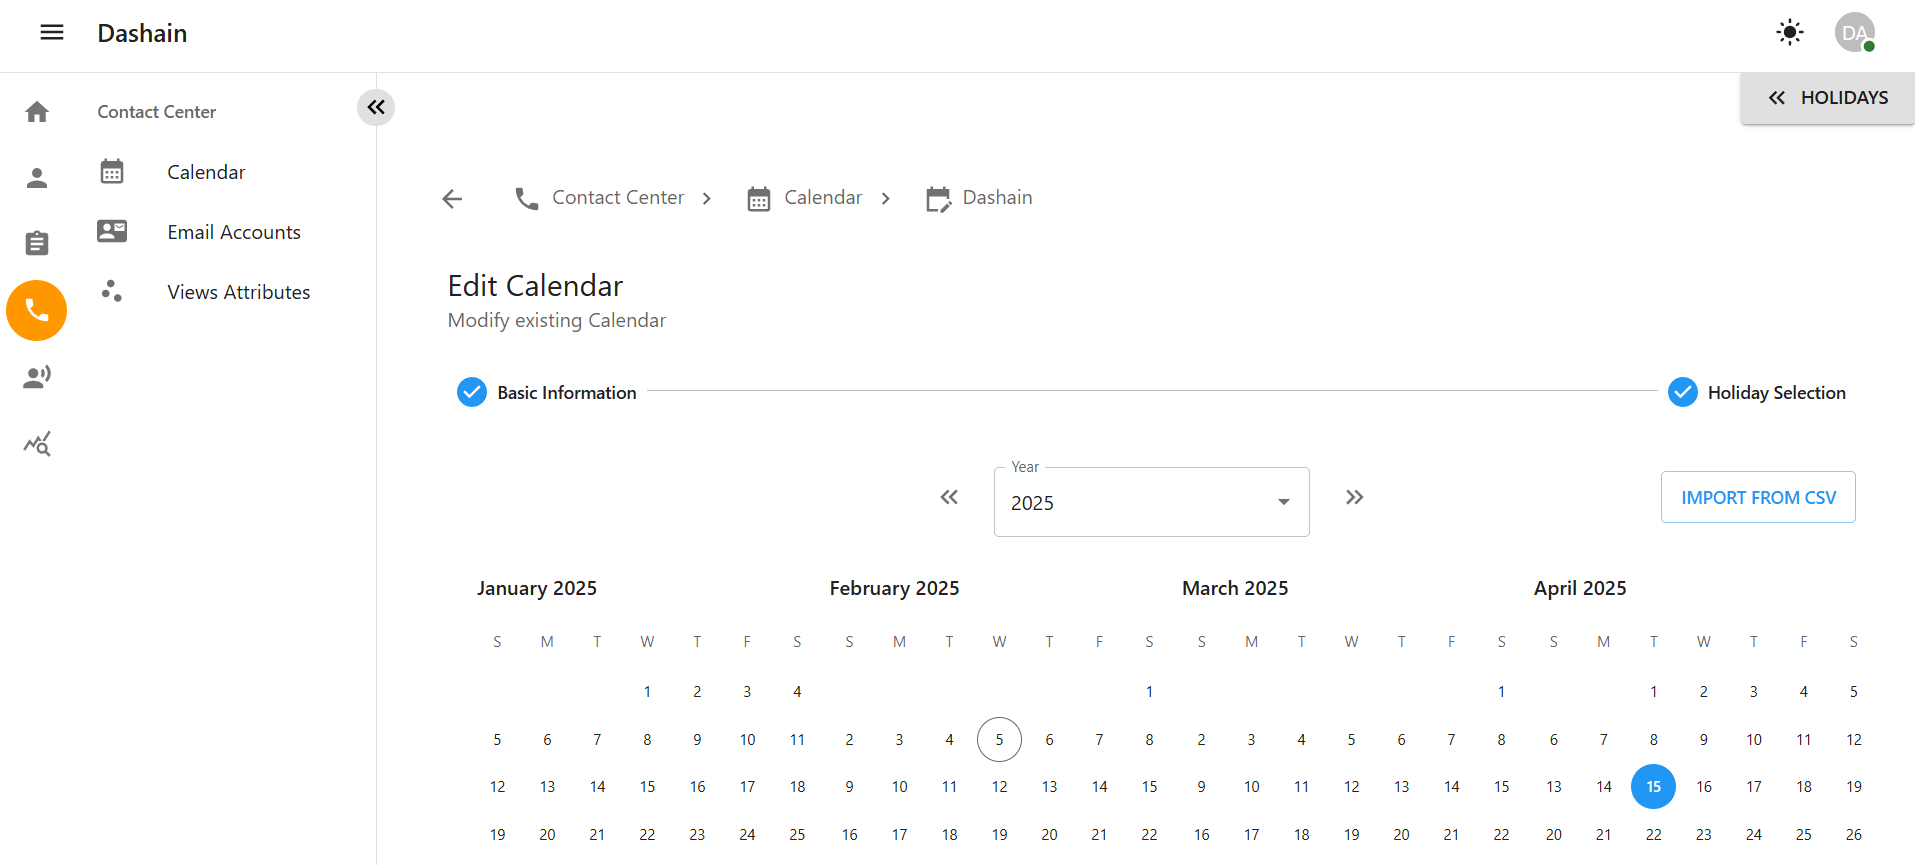
Adjust the calendar year using the dropdown menu.
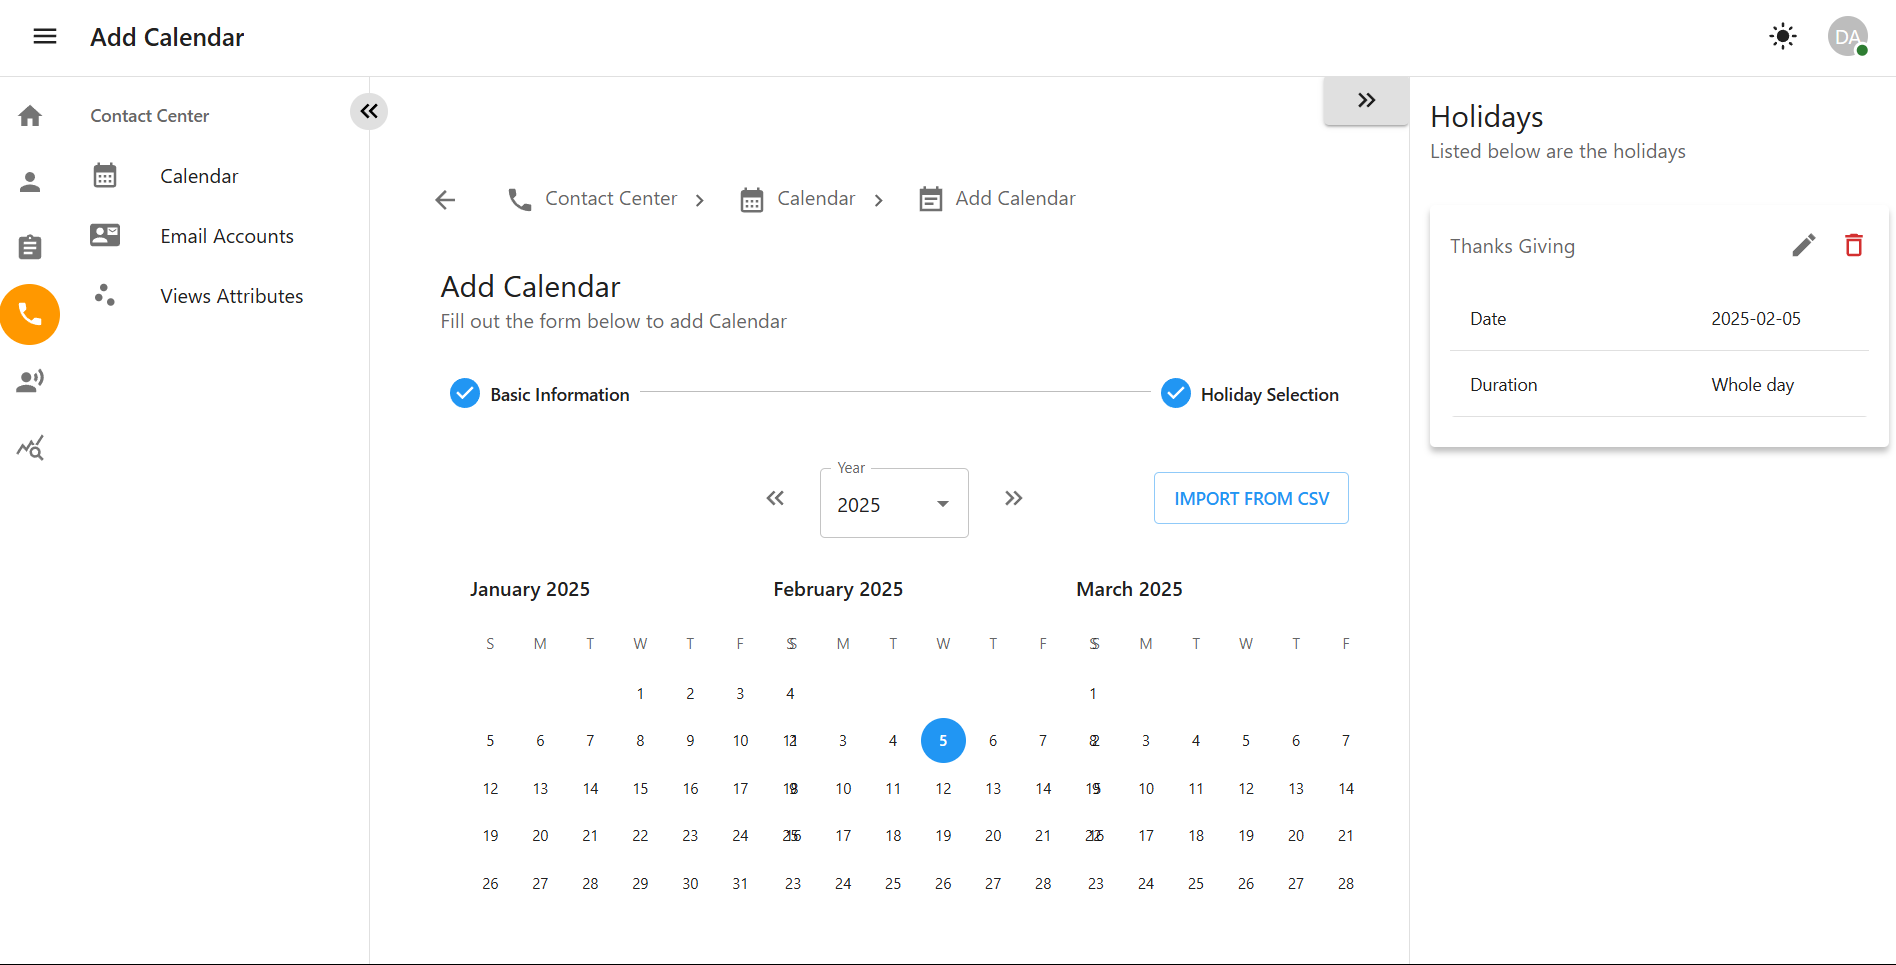
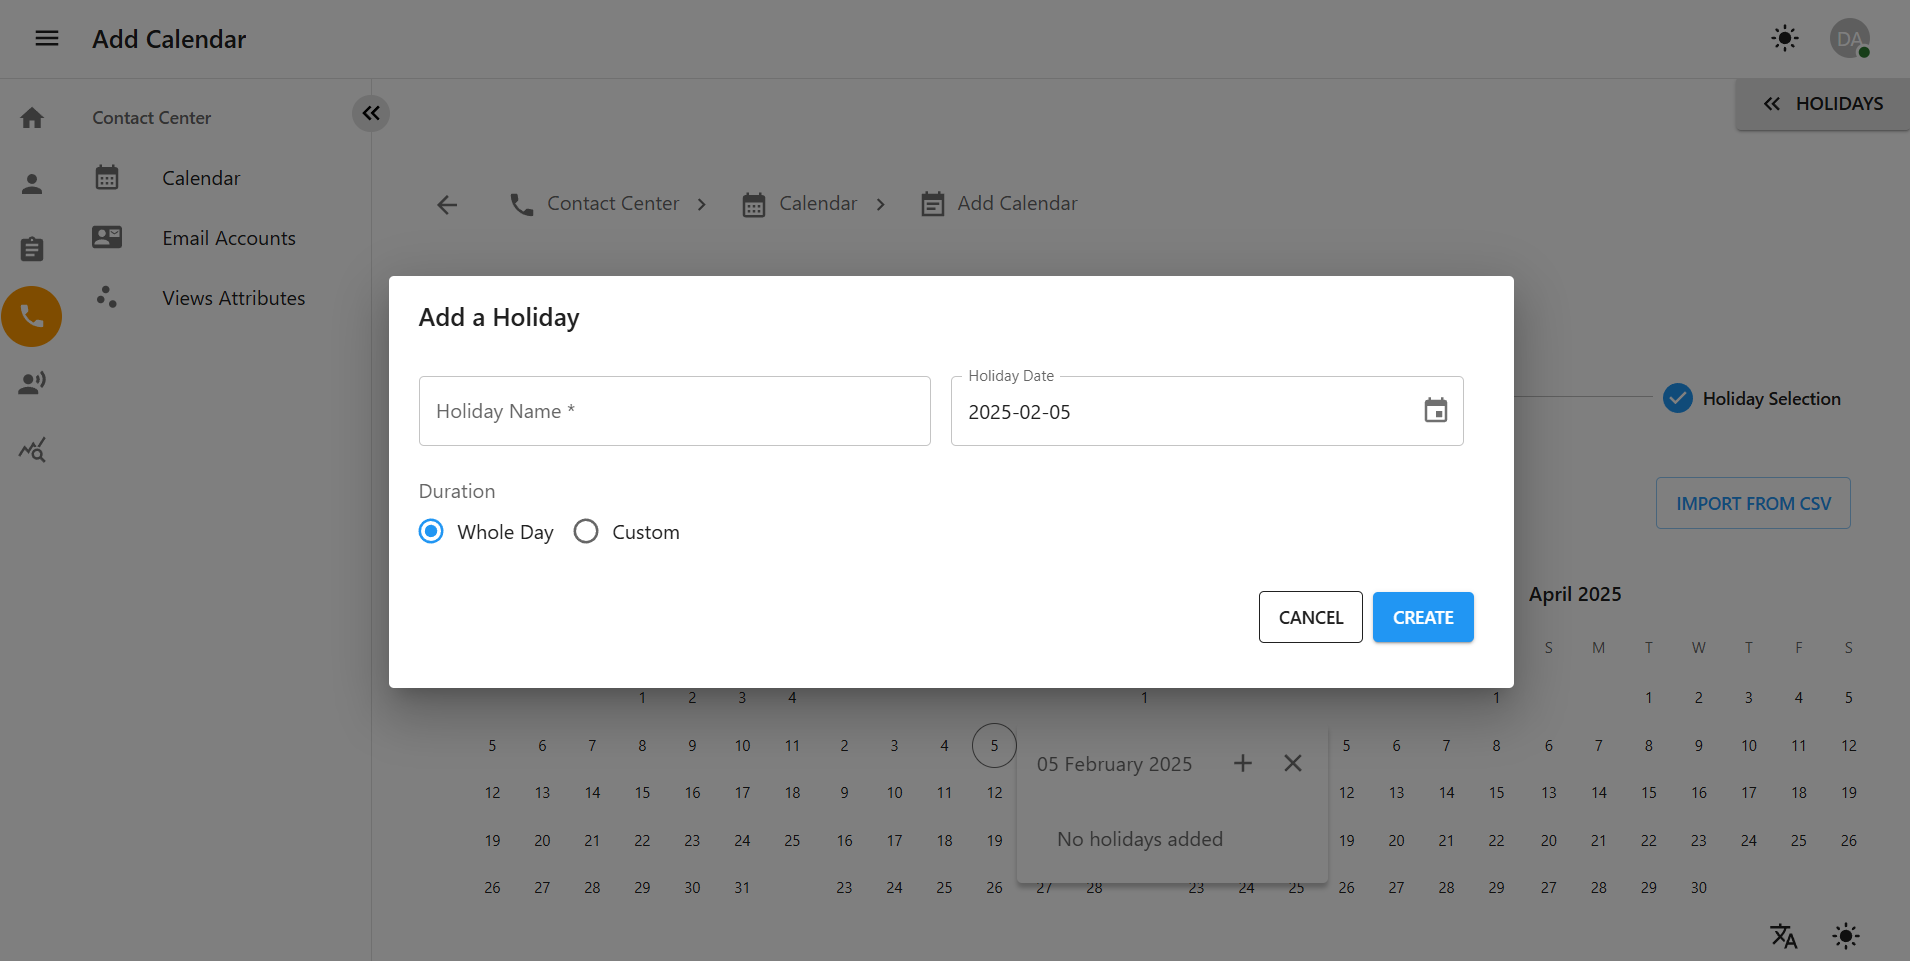
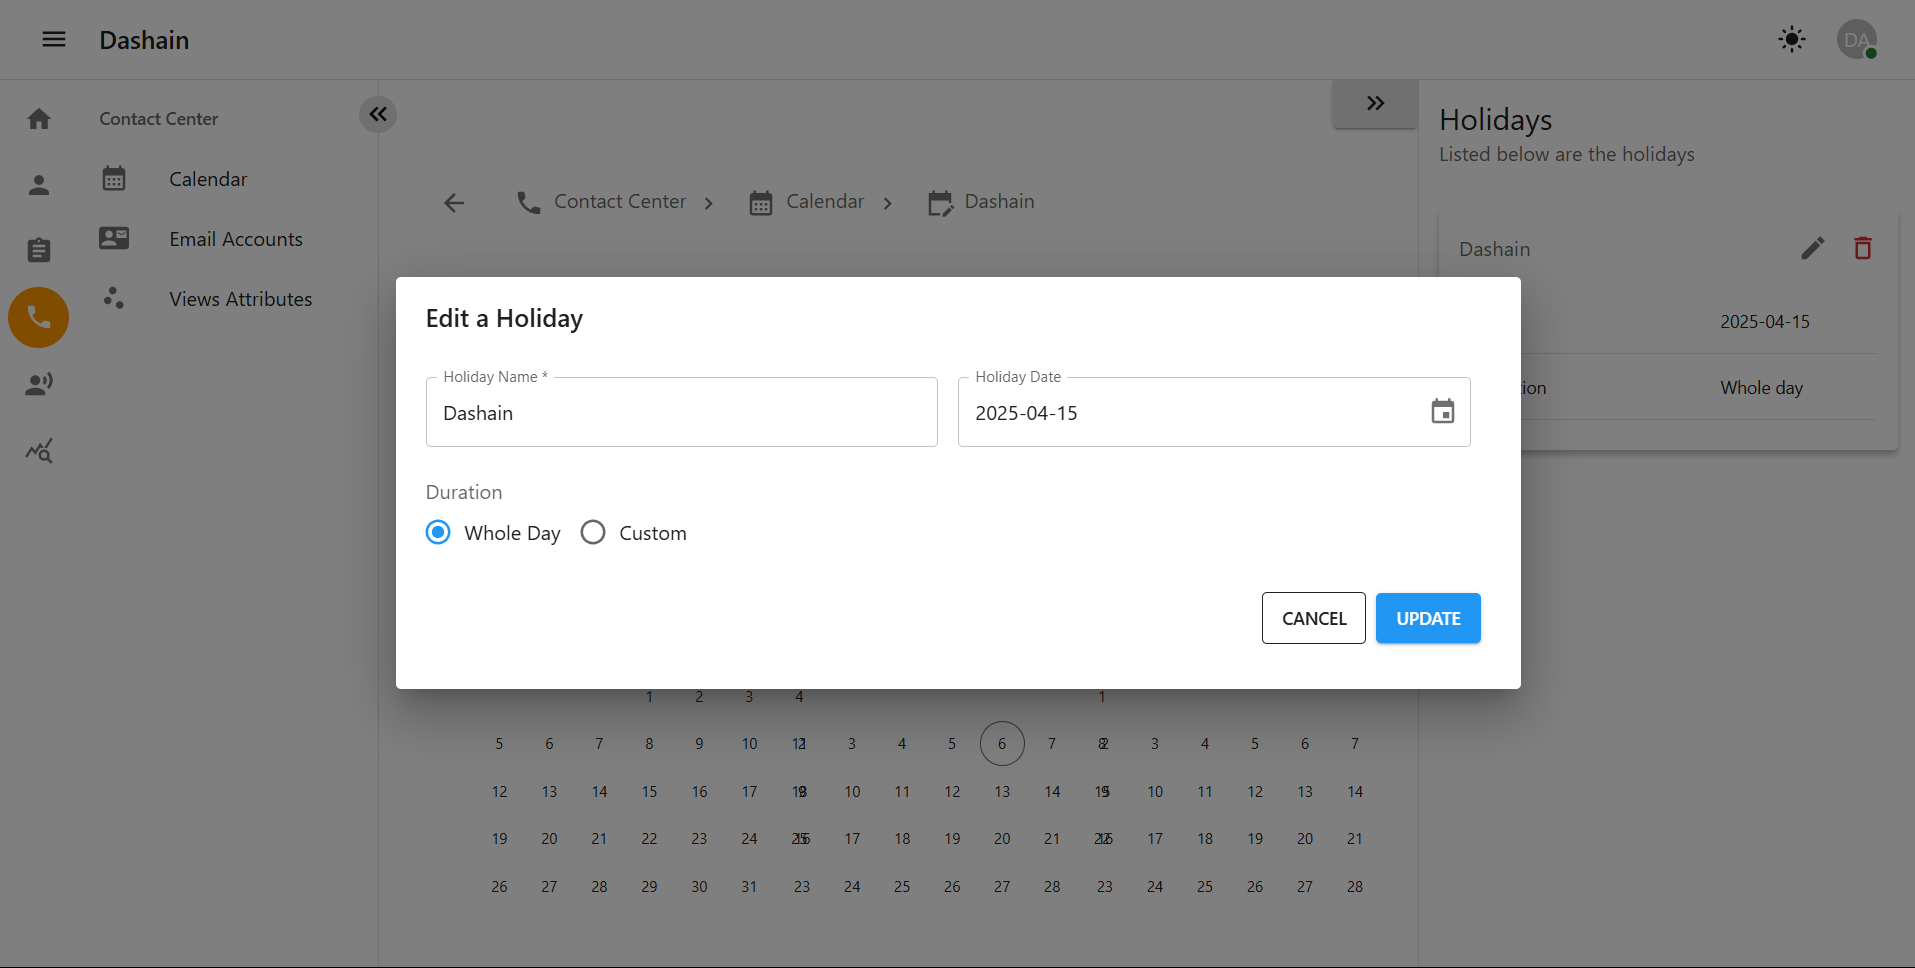
Step 3: Manage Holidays
In the Holiday Selection section, you can:
-
Add a new holiday by clicking the Add button.
-
Edit an existing holiday by clicking the pencil icon.
-
Delete a holiday by clicking the trash icon.
-
Multiple Delete: Select multiple holidays using checkboxes and click the Delete Selected button.
-
Click Save to apply the changes.