Client & Contact Management System
Accessing Records
-
Click on the Human Icon (Records) section in the left sidebar.
-
A menu will appear with different options.
-
Select Contacts or Clients to manage contact or client records.
Viewing Contacts
-
Follow the steps in Accessing Records to reach the Contacts section.
-
A list of all saved contacts will be displayed.
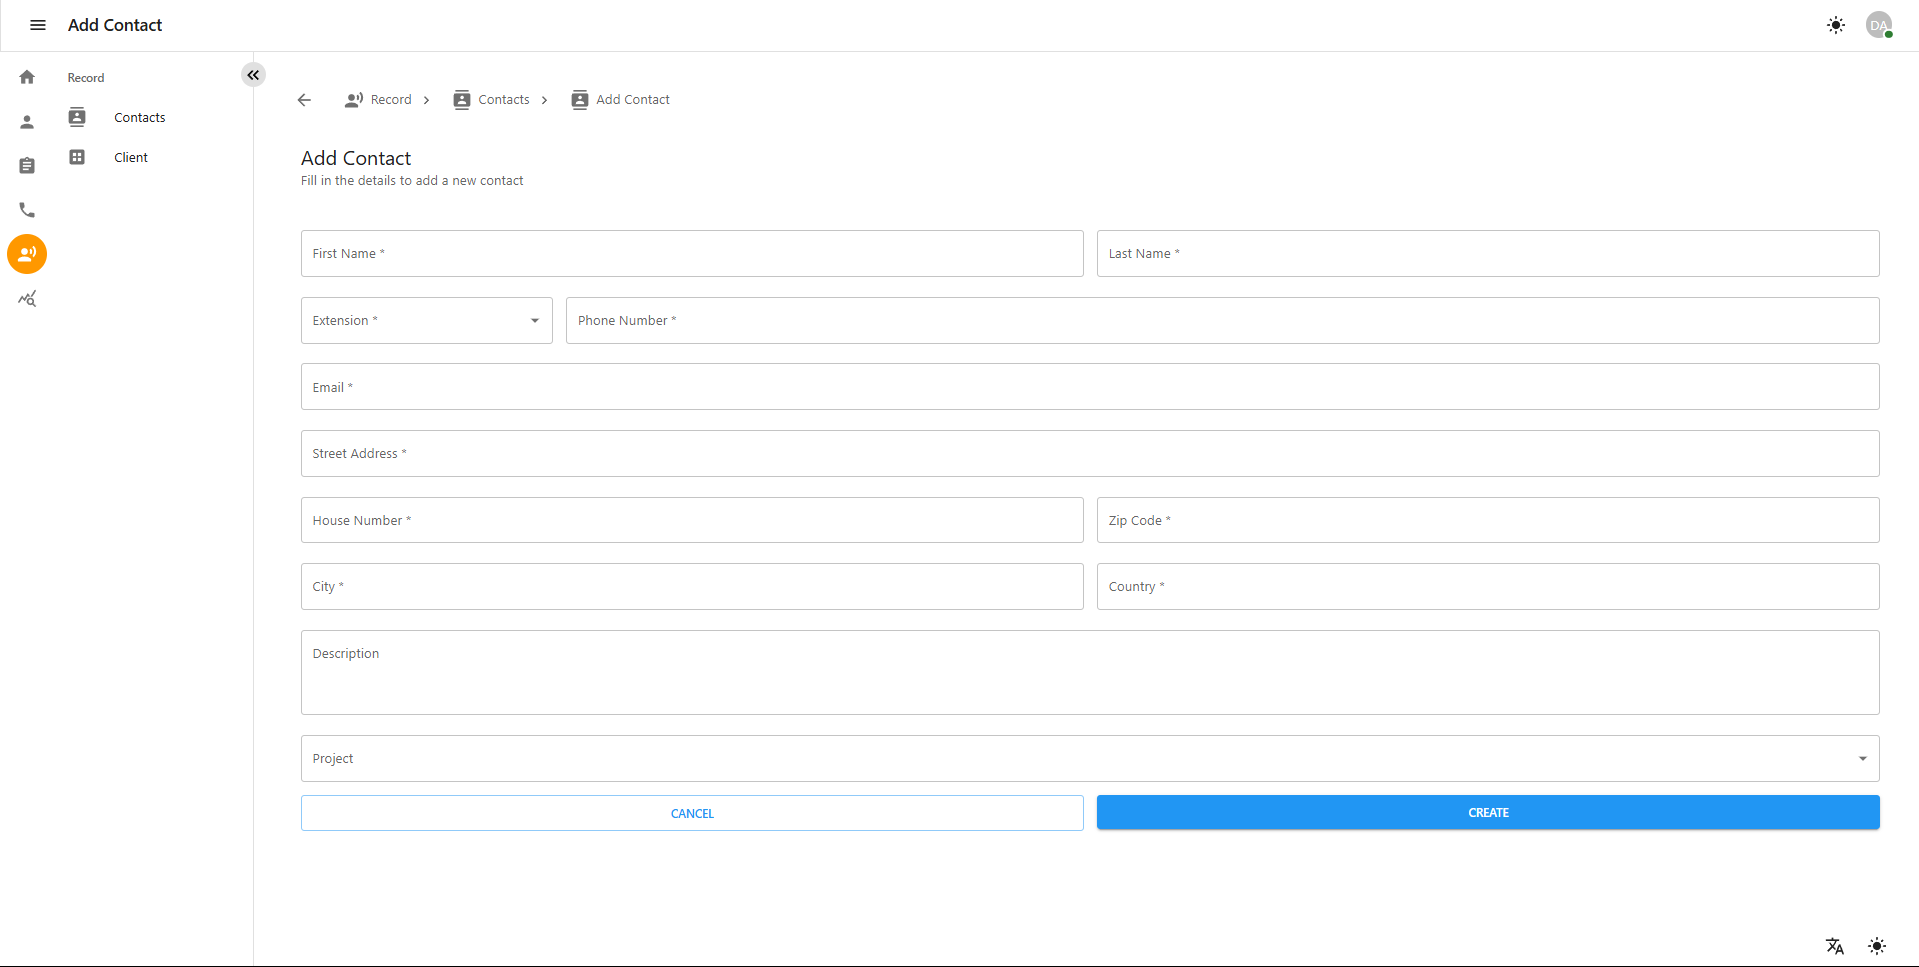
1.1 Adding a New Contact
-
Click on the "Add Contact" button.
-
A form will appear requiring the following details:
-
First Name & Last Name
-
Phone Number & Email
-
Street Address, House Number, Zip Code, City, and Country
-
Project (select list of project)
-
Description (Additional notes)
-
-
Click Save to add the contact or Cancel to discard changes.
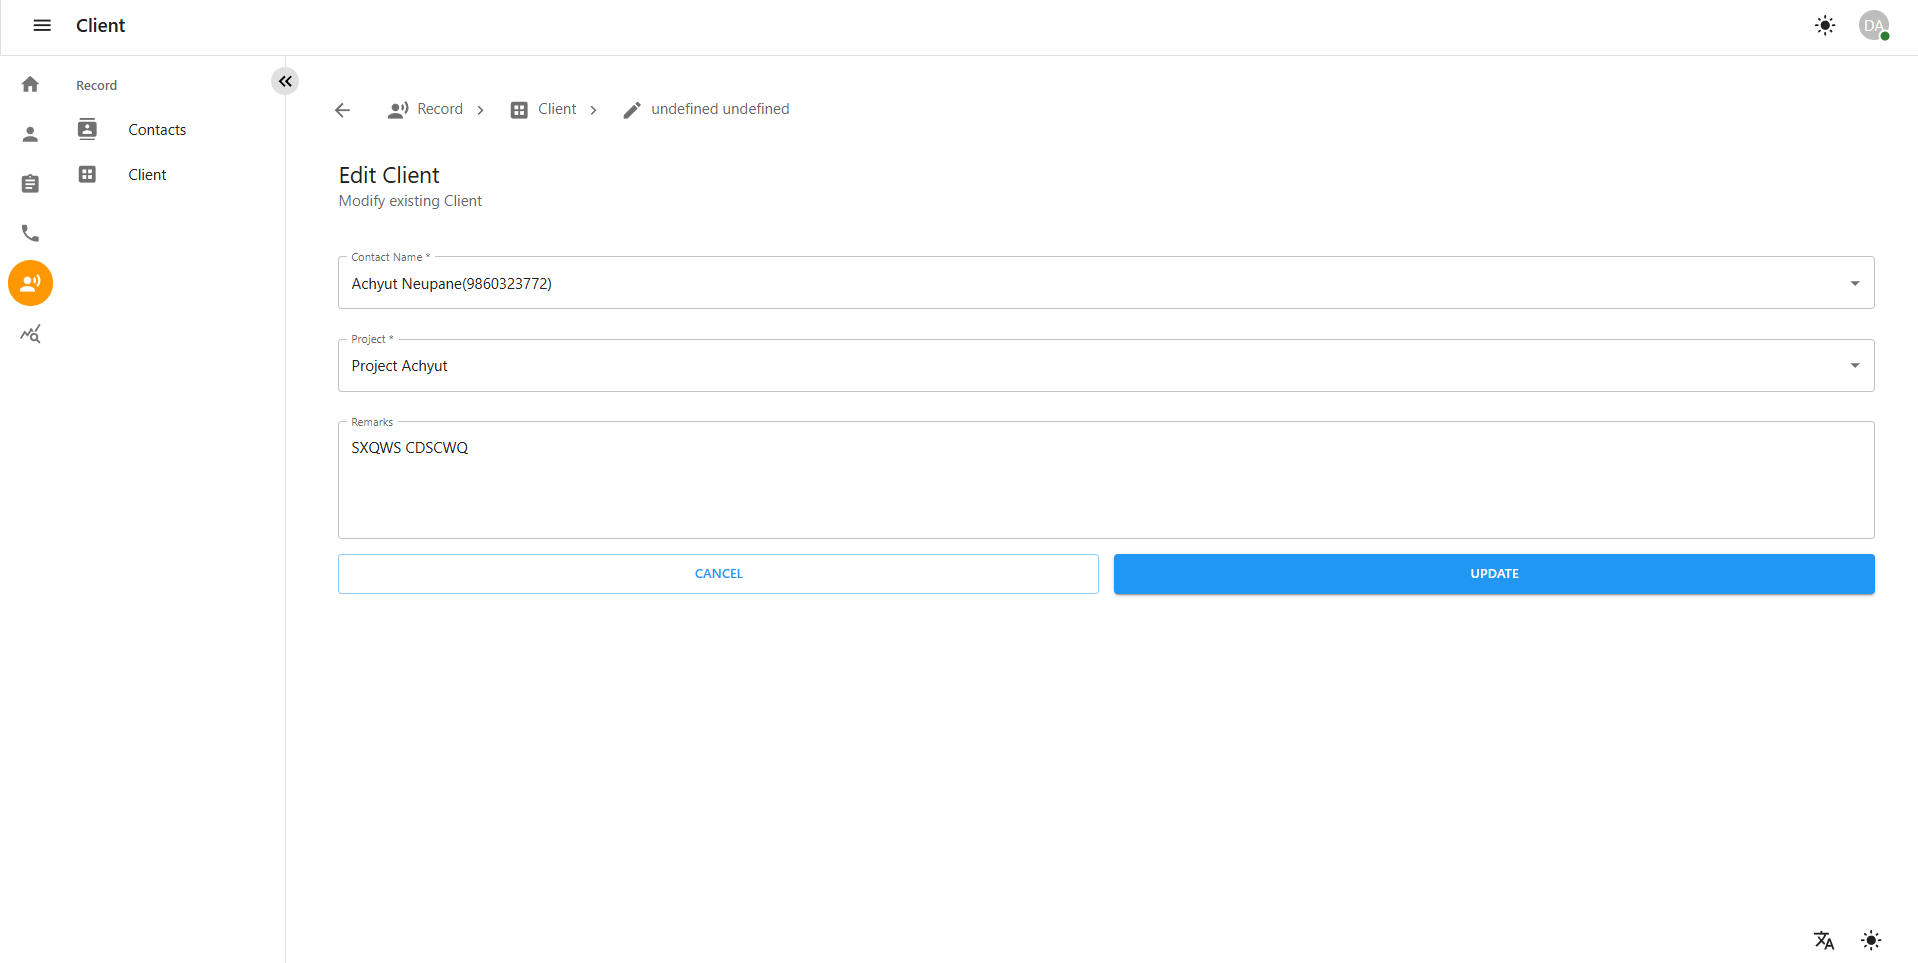
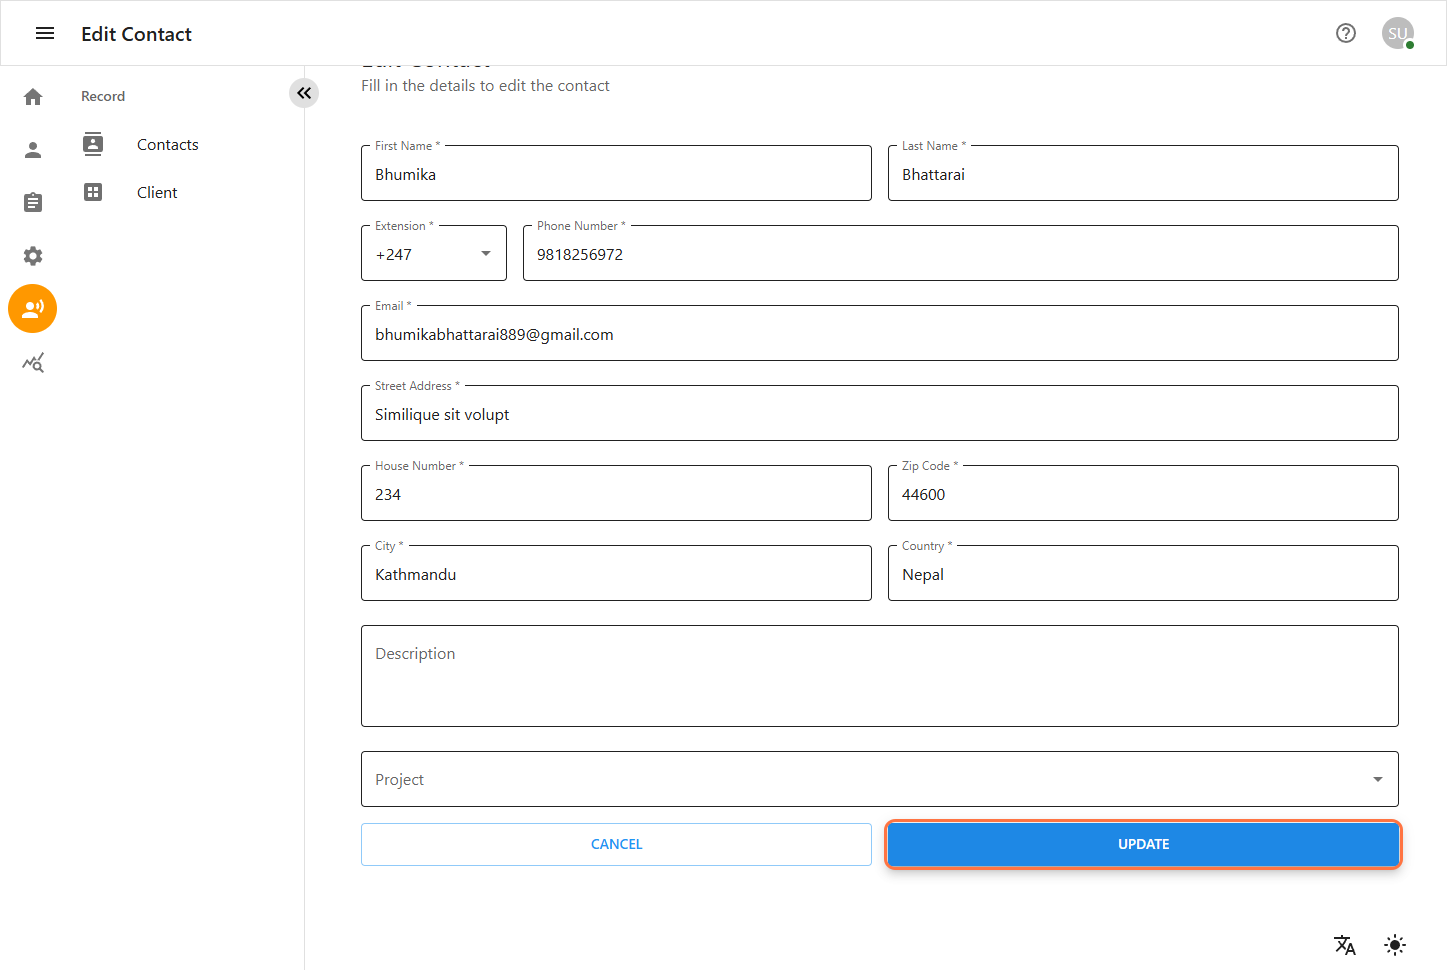
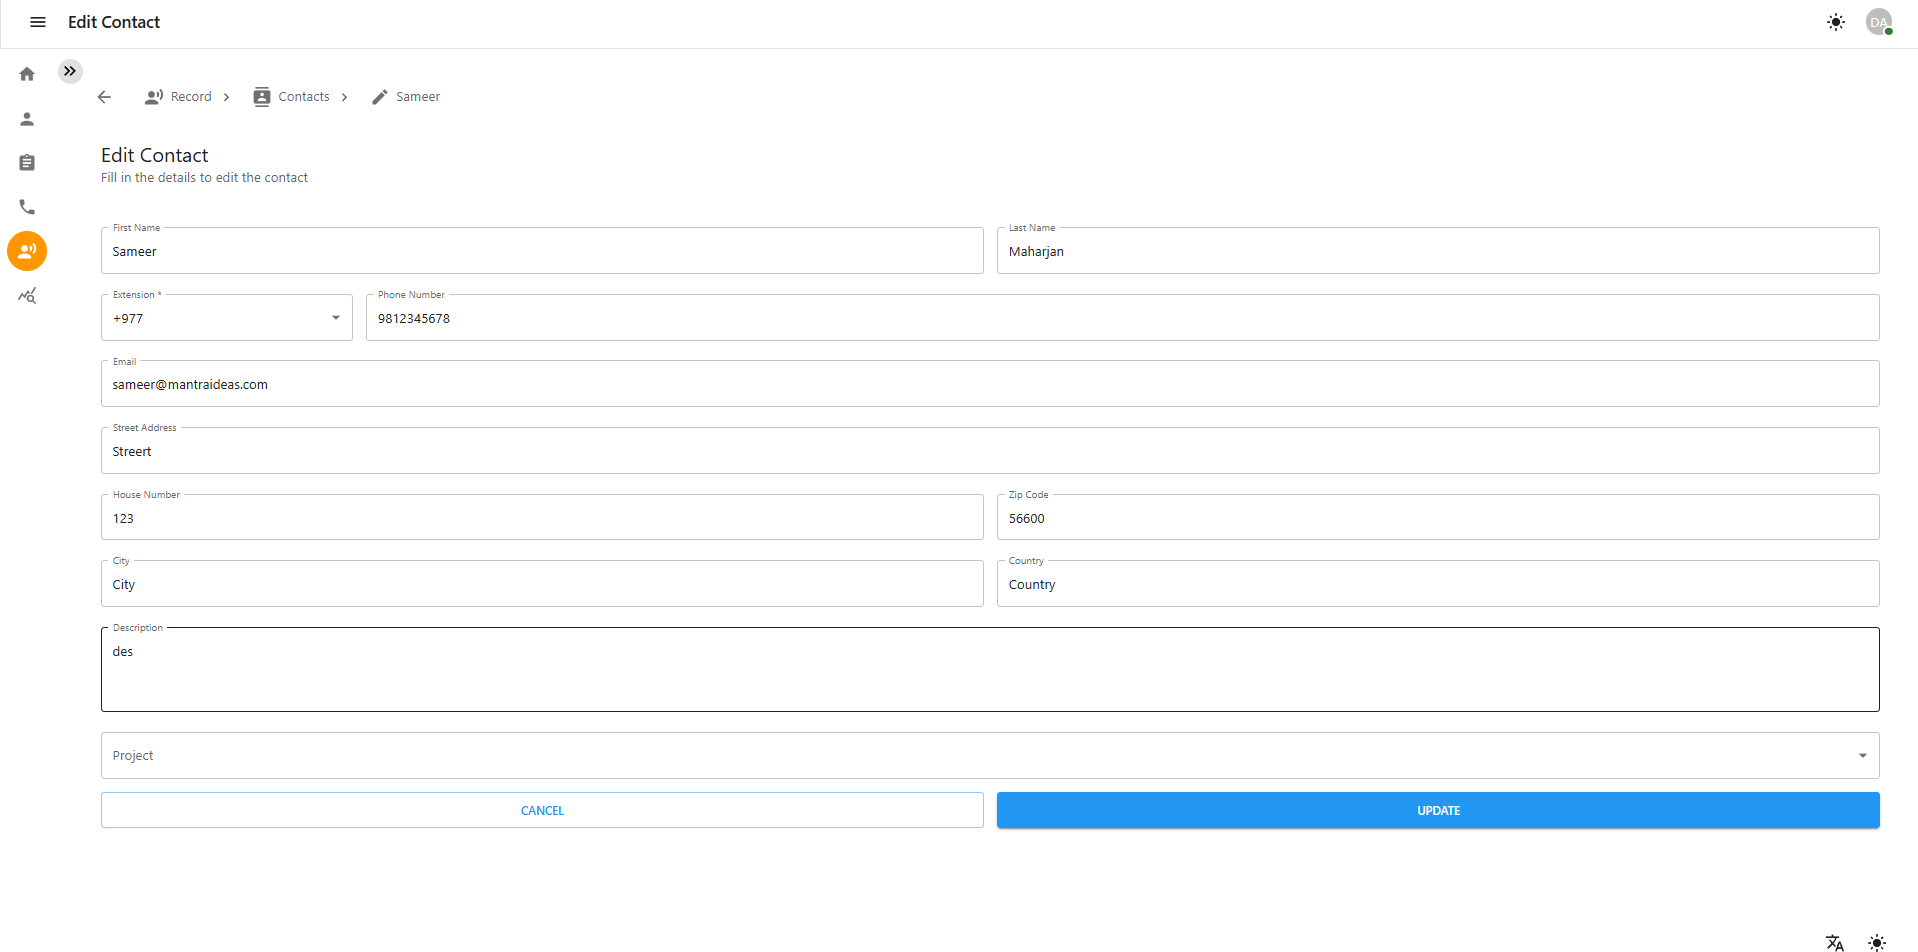
1.2 Editing a Contact
-
Locate the contact in the Contacts section.
-
Click on the contact’s record.
-
Modify the necessary fields.
-
Click Save to apply changes.


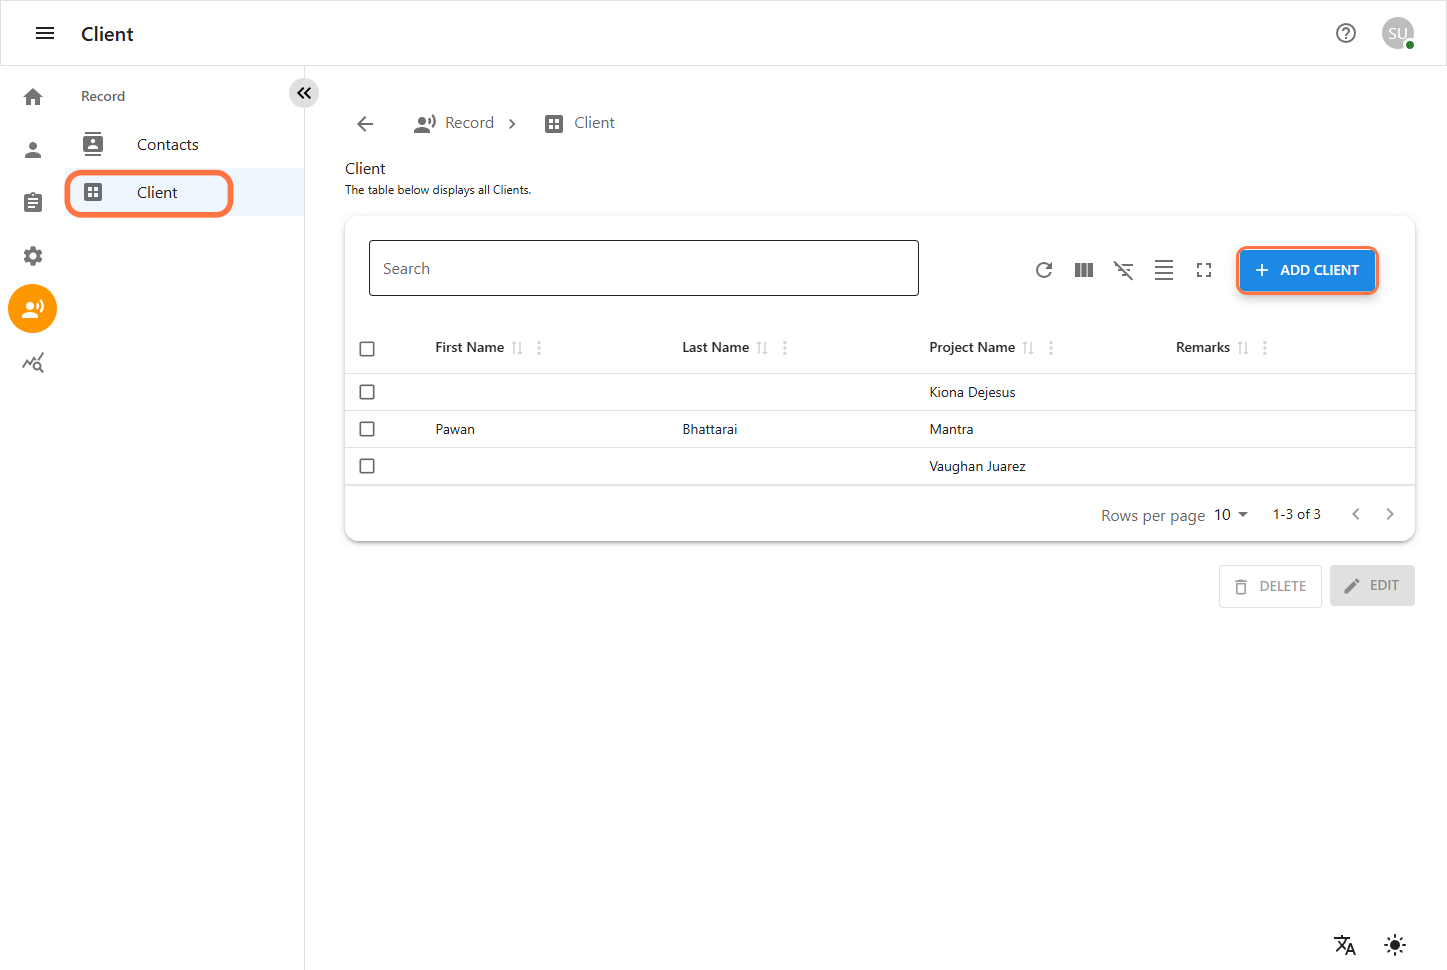
Viewing Clients
-
Click on the Human Icon (Records) section in the left sidebar.
-
Select Clients to view the list of clients.
-
A list of all saved clients will be displayed, along with their details such as project, contact information, and status.
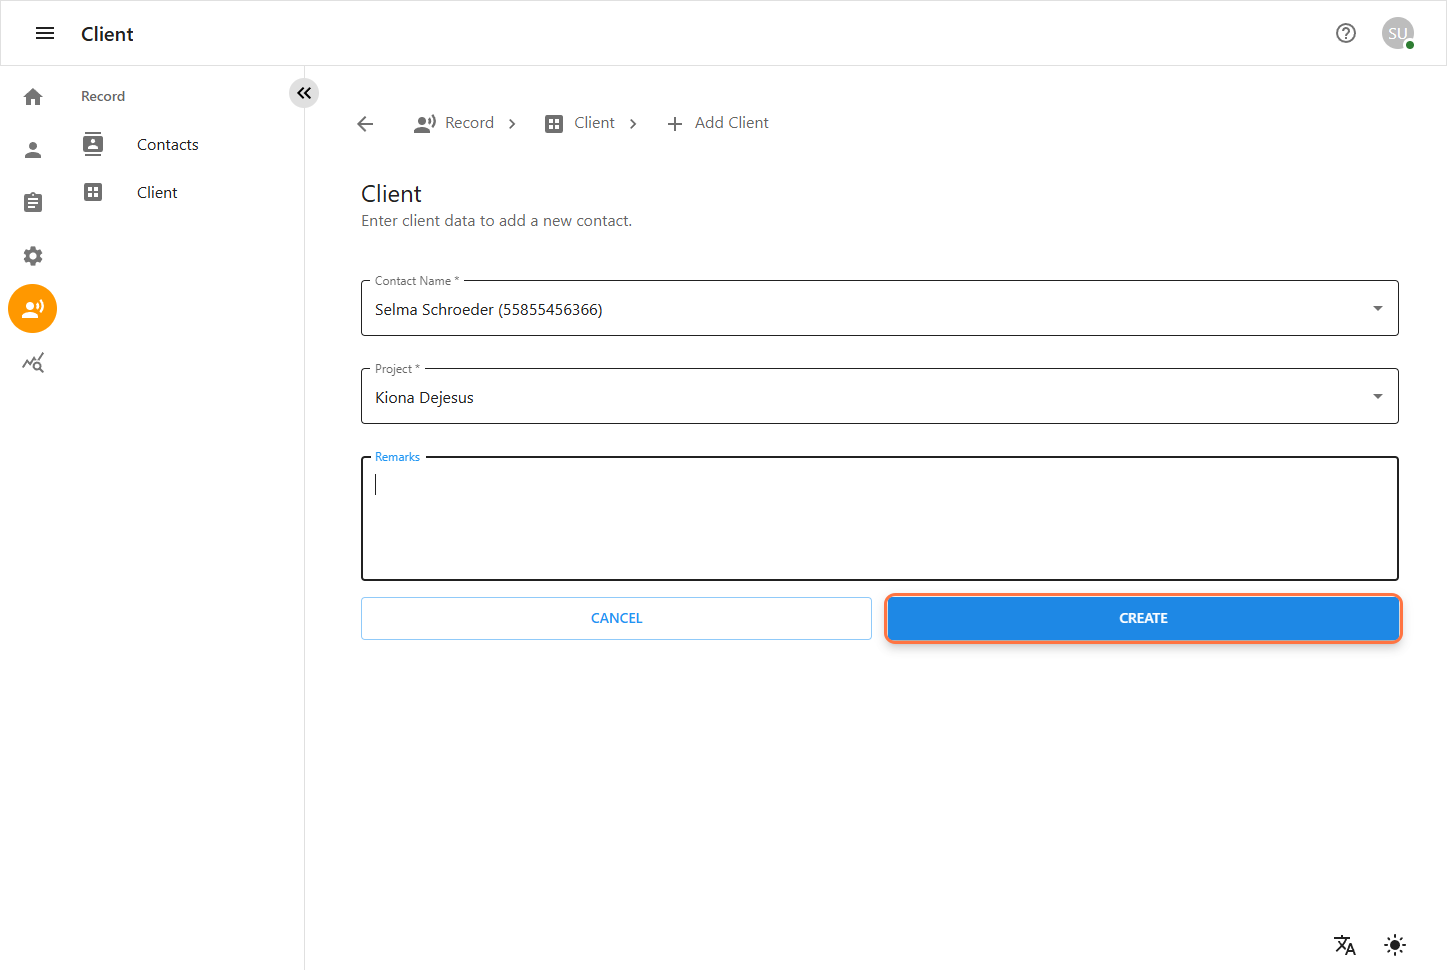
2.1 Adding a New Client
-
Click on the Add Client button.
-
A form will appear requiring the following details:
-
Client Name
-
Project Name
-
Contact Person (Name, Phone Number, Email)
-
Address (Street, House Number, Zip Code, City, Country)
-
Status (Active, Inactive)
-
Additional Notes (Optional)
-
-
Click Save to add the client or Cancel to discard changes.
2.2 Editing a Client
-
Locate the client in the Clients section.
-
Click on the client’s record.
-
Modify the necessary fields.
-
Click Save to apply changes.