Global Settings
1. Introduction
This manual provides an overview of the OCCS dashboard, detailing the User Management Module, Project Management Module, Global Setting Module, and Record Module. The system includes three pre-defined groups with varying permissions and rights: SuperAdmin, Admin, and Clerk, with one SuperAdmin user.
This manual provides step-by-step instructions on how to use the Global Setting features in OCCS. The Global Setting includes the following sections:
Calendar – Manage work schedules and holidays.
Email Accounts – Configure and manage email accounts.
Outcomes Actions – Define and manage actions based on call outcomes.
Call Types – Manage different types of calls and their attributes.
2 Calendar
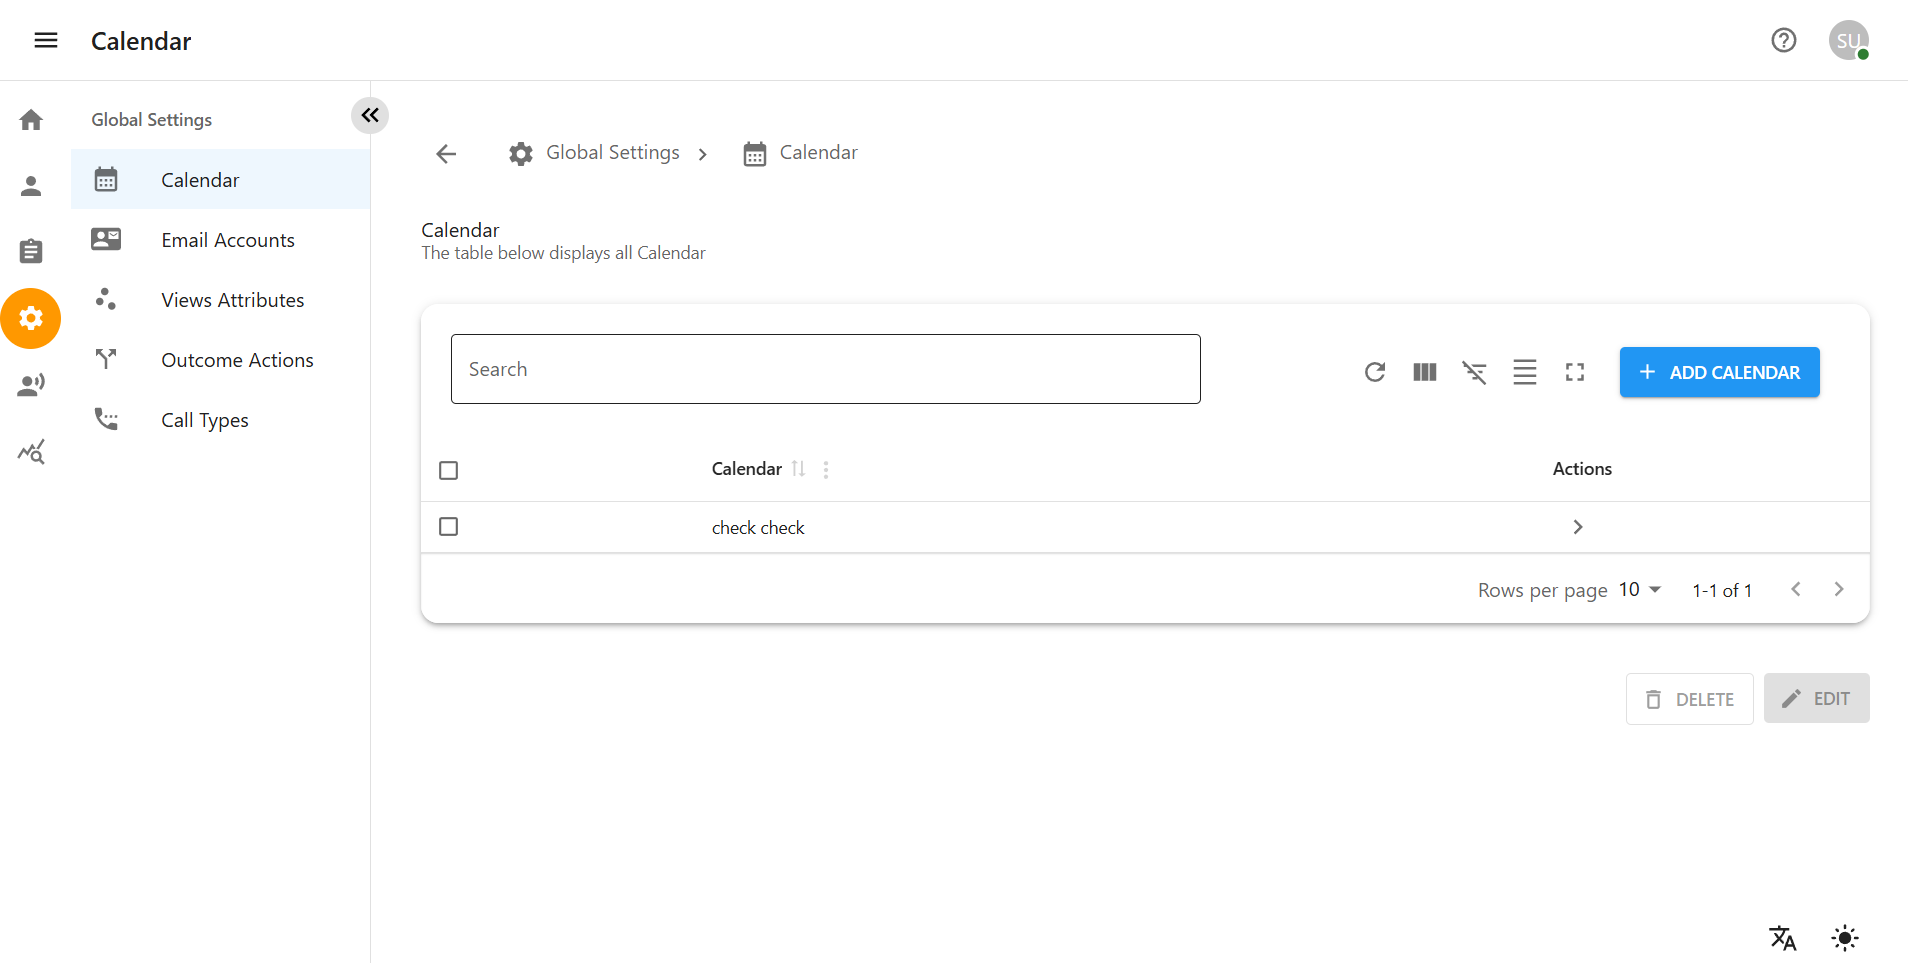
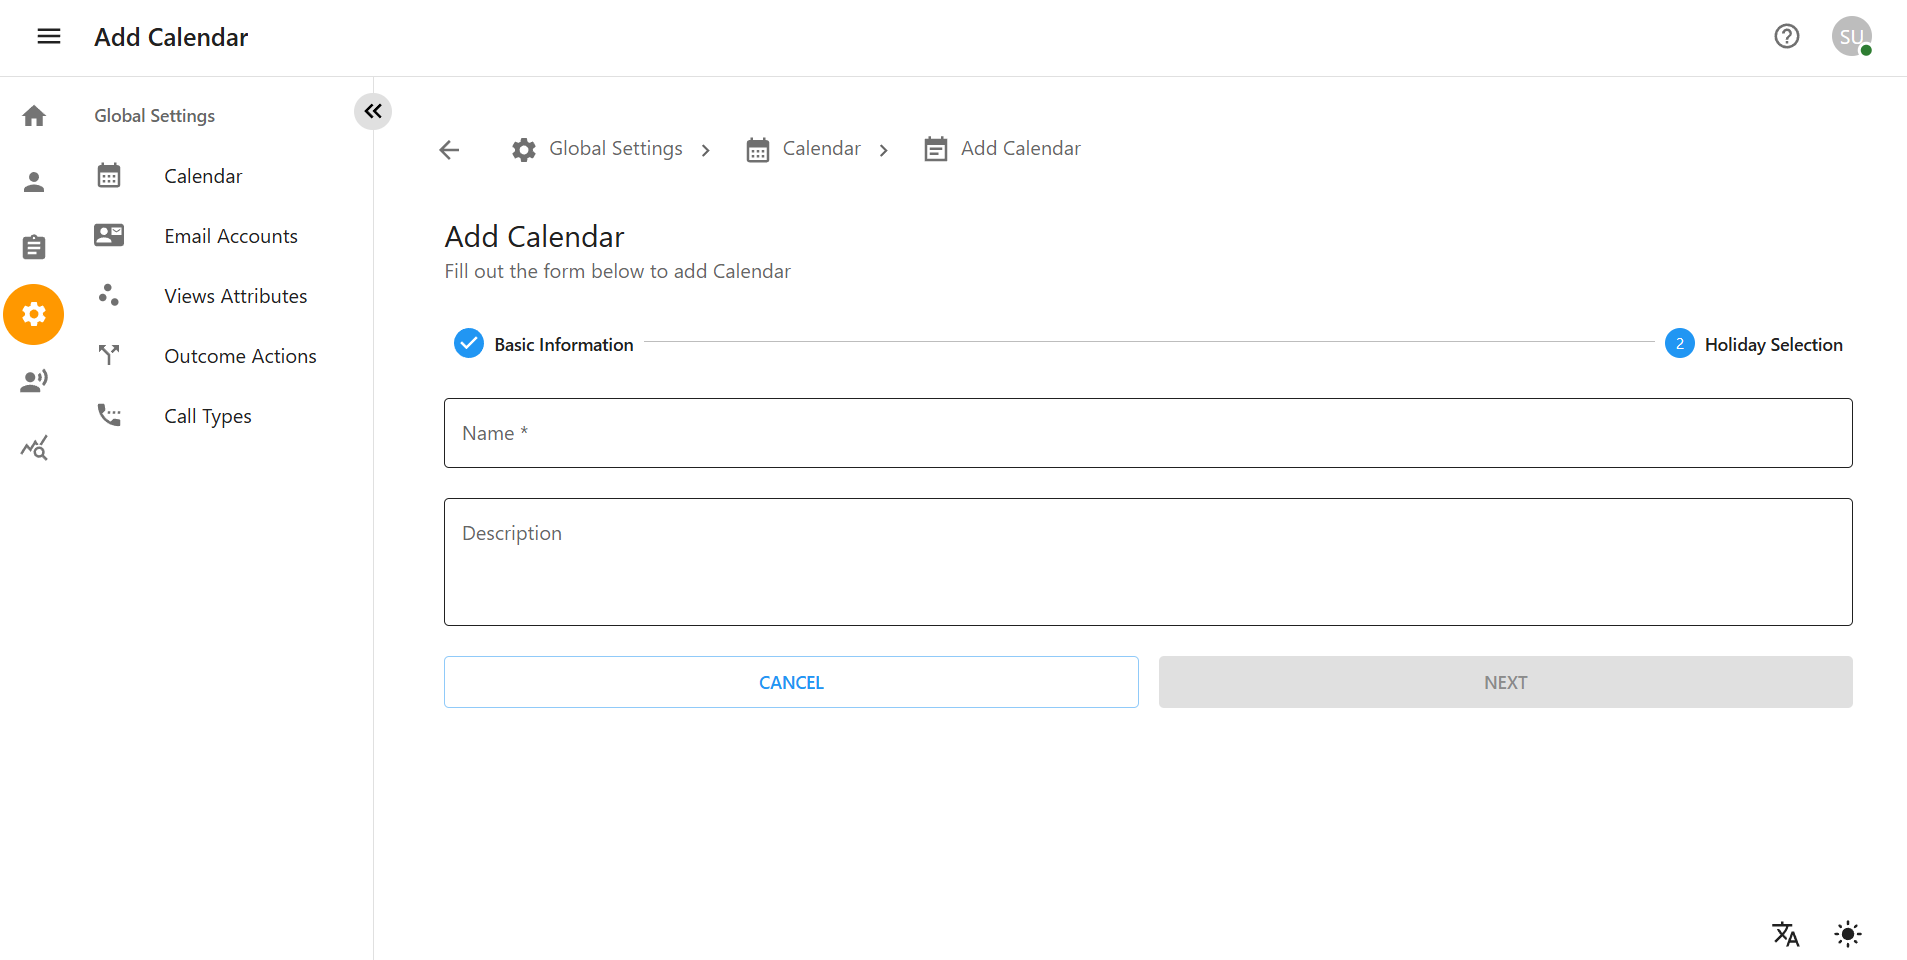
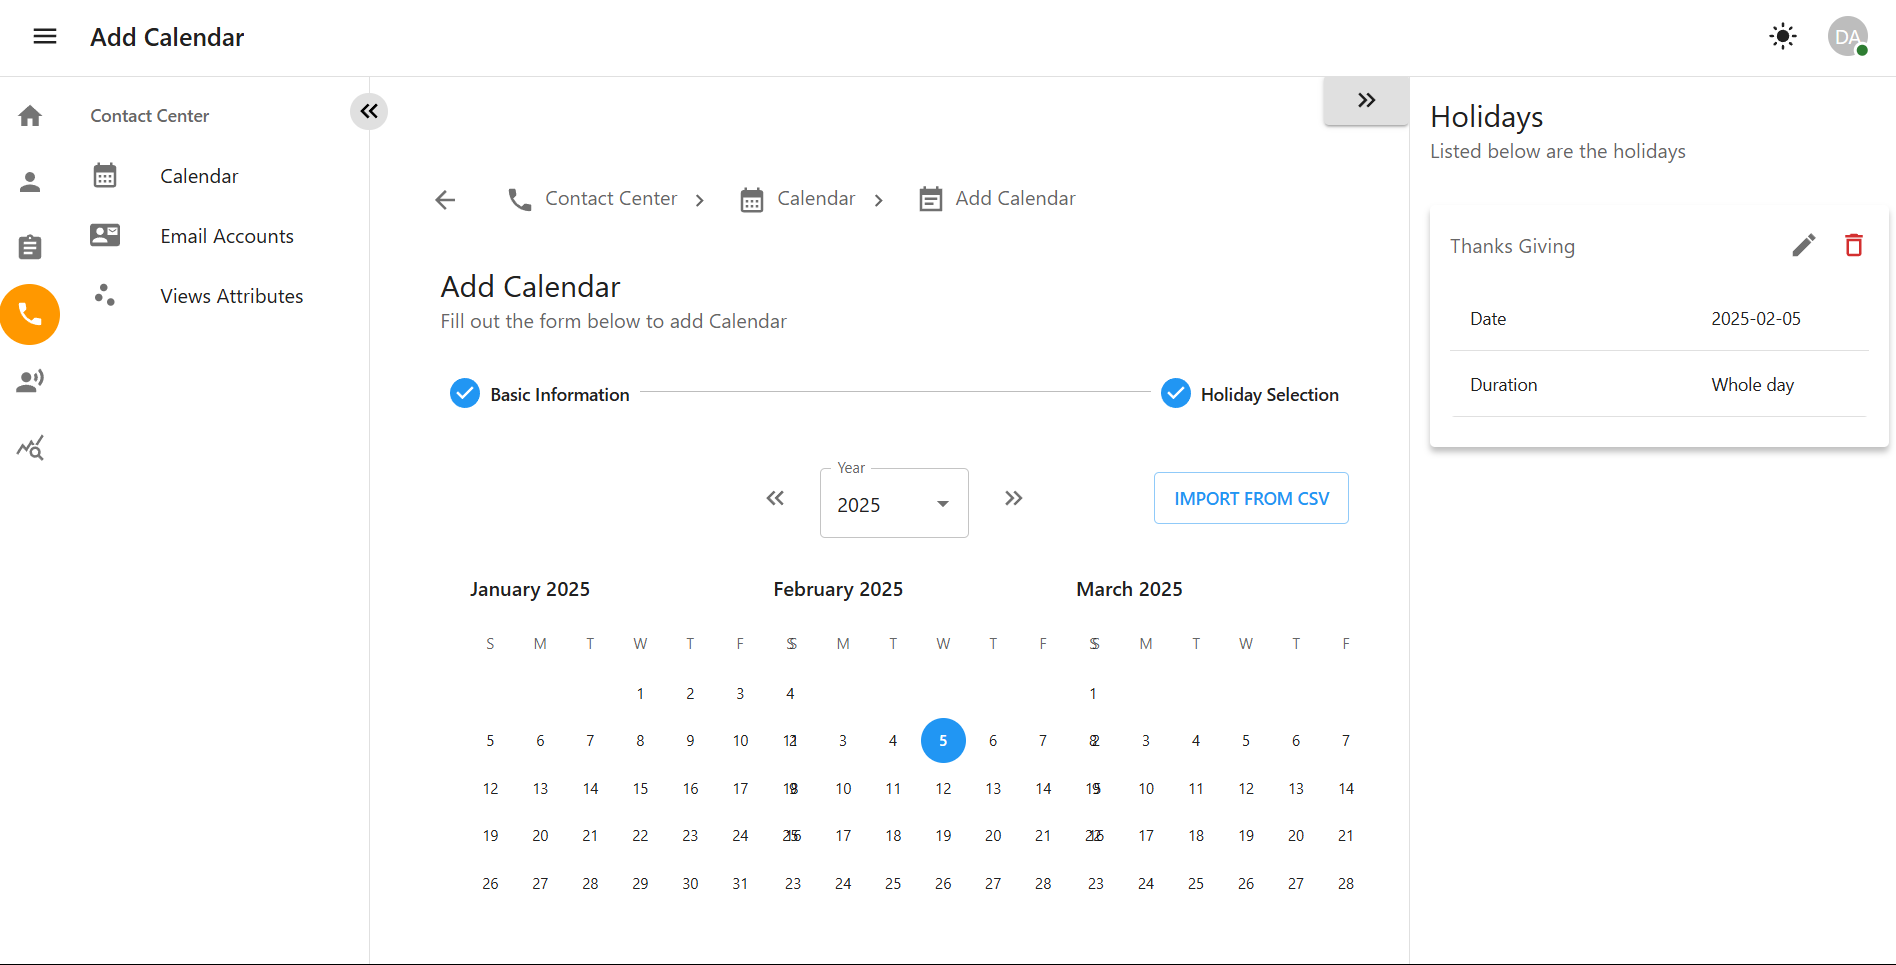
2.1 Adding a New Calendar
Step 1: Access the Calendar Section
-
Navigate to the Global Setting from the left sidebar.
-
Click on Calendar to enter the calendar management section.
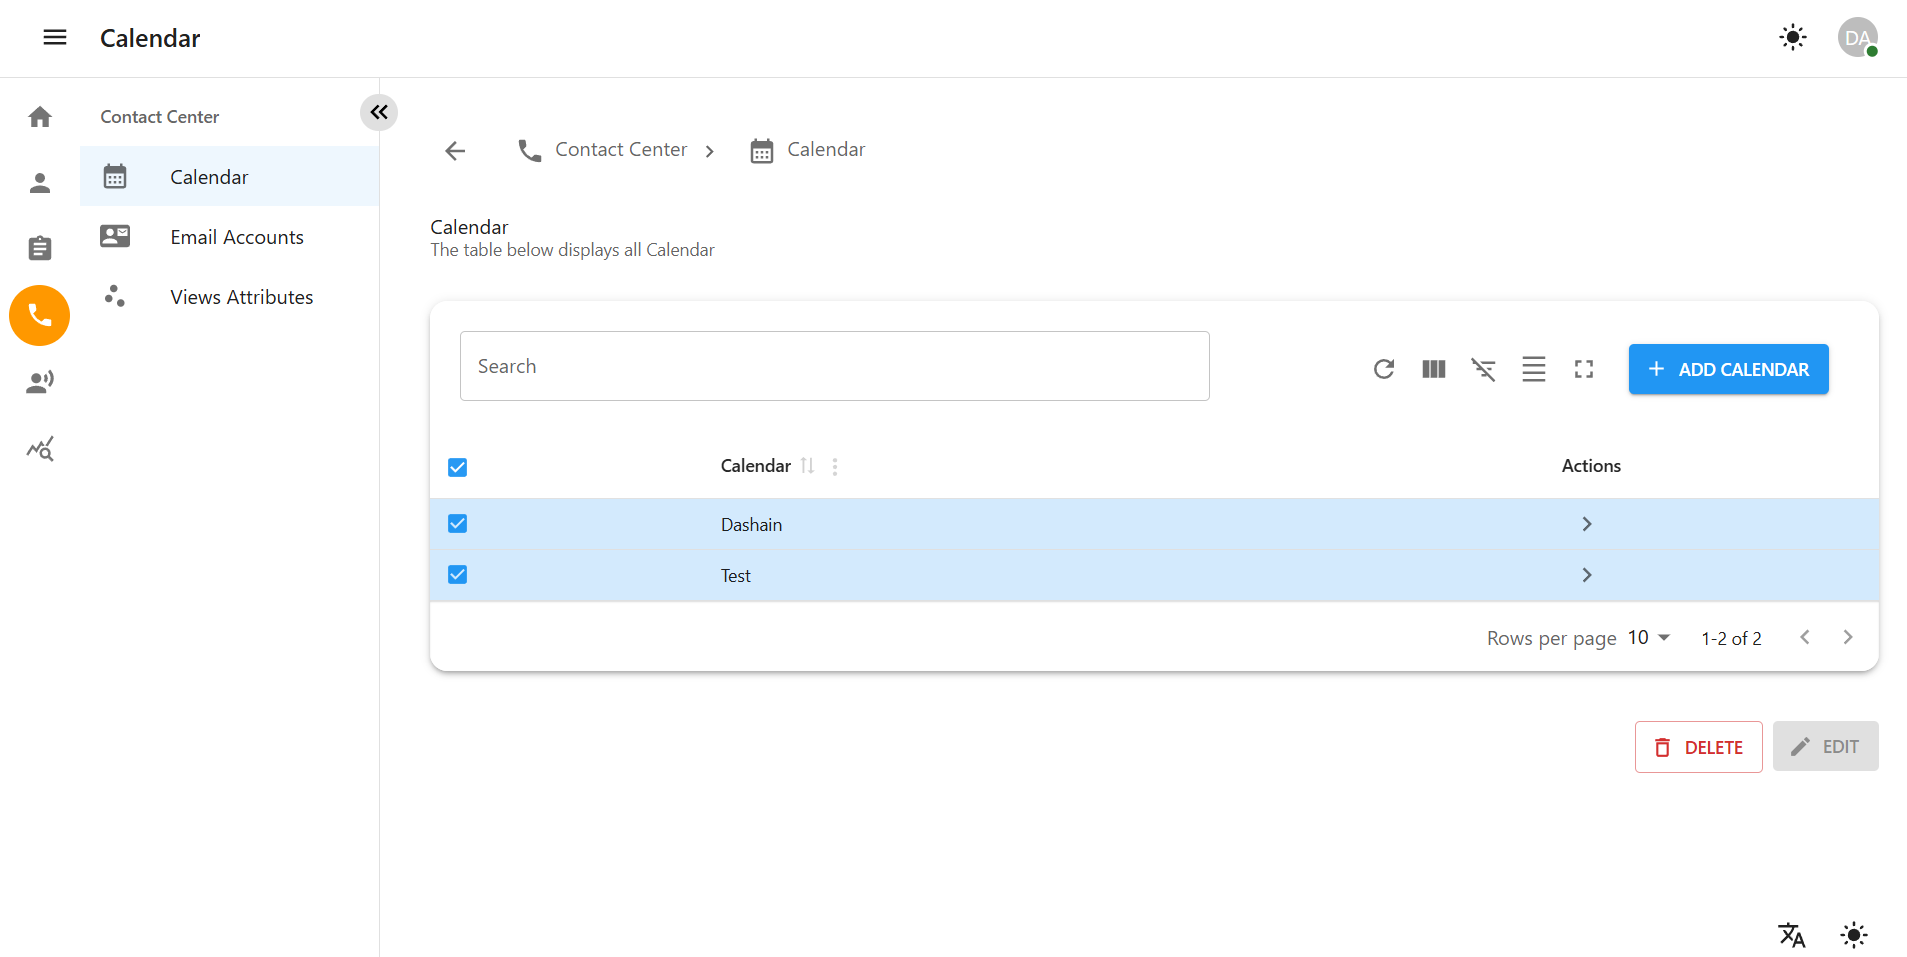
2.2 Editing an Existing Calendar
Step 1: Open the Calendar for Editing
-
Navigate to Global Setting > Calendar.
-
Select the calendar you want to modify.
-
Click on the Edit Calendar button.
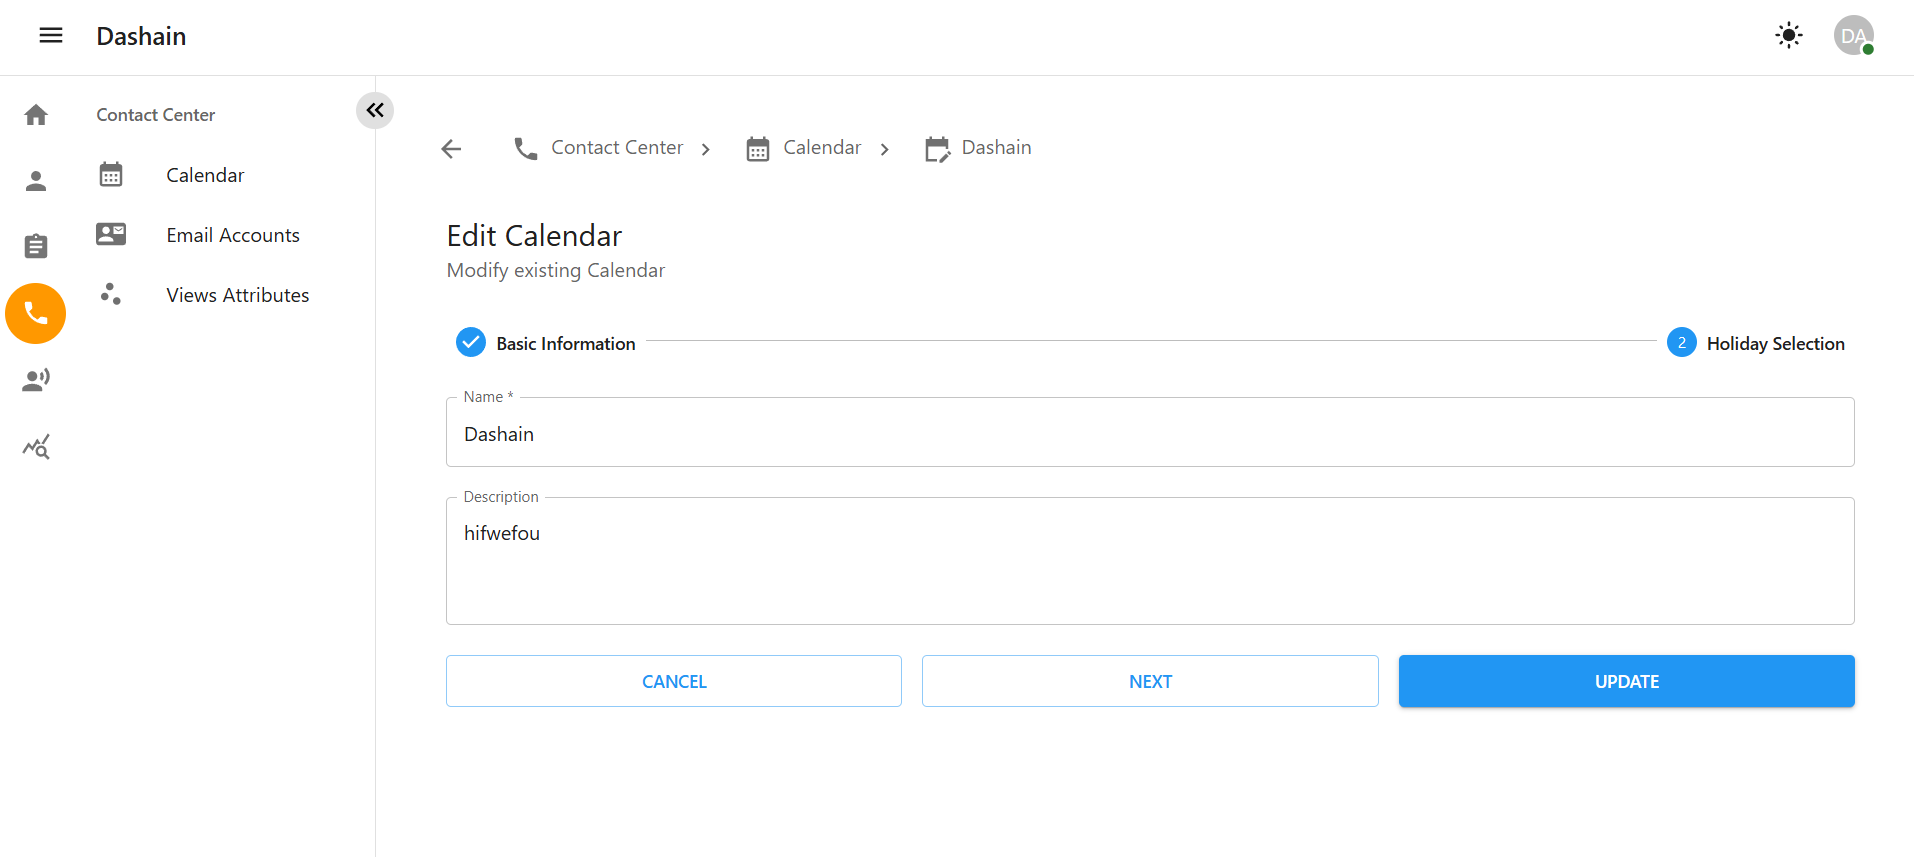
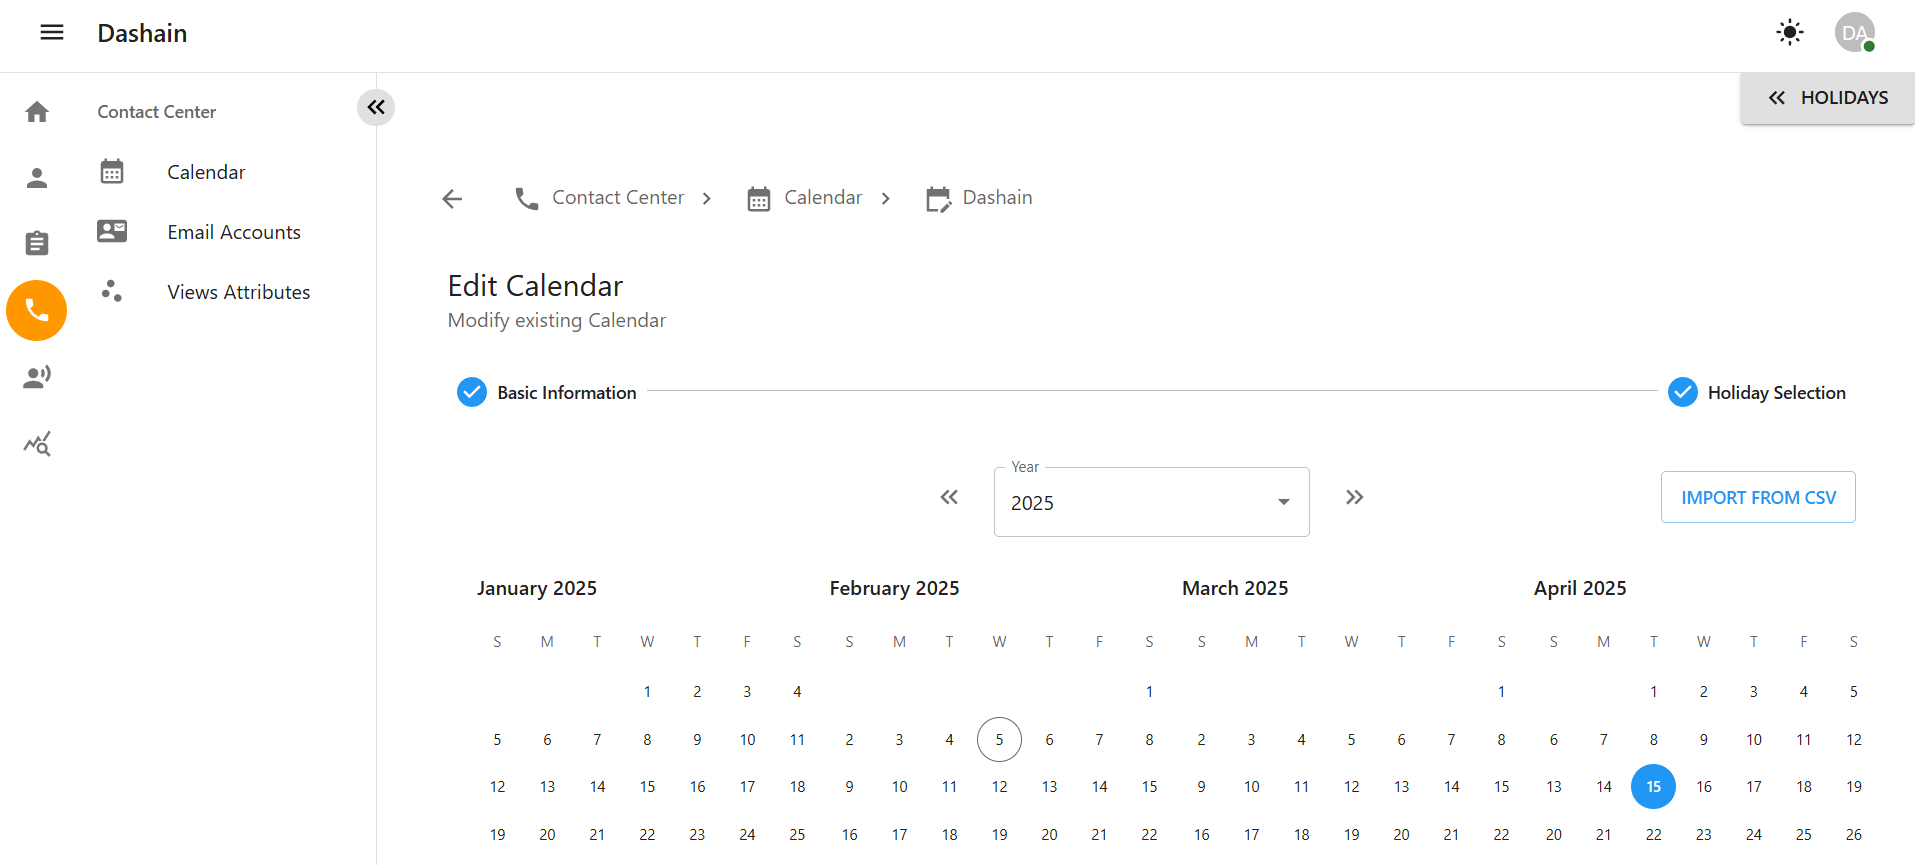
Step 2: Update Calendar Details
-
Update the calendar name or description if necessary.
-
Adjust the calendar year using the dropdown menu.
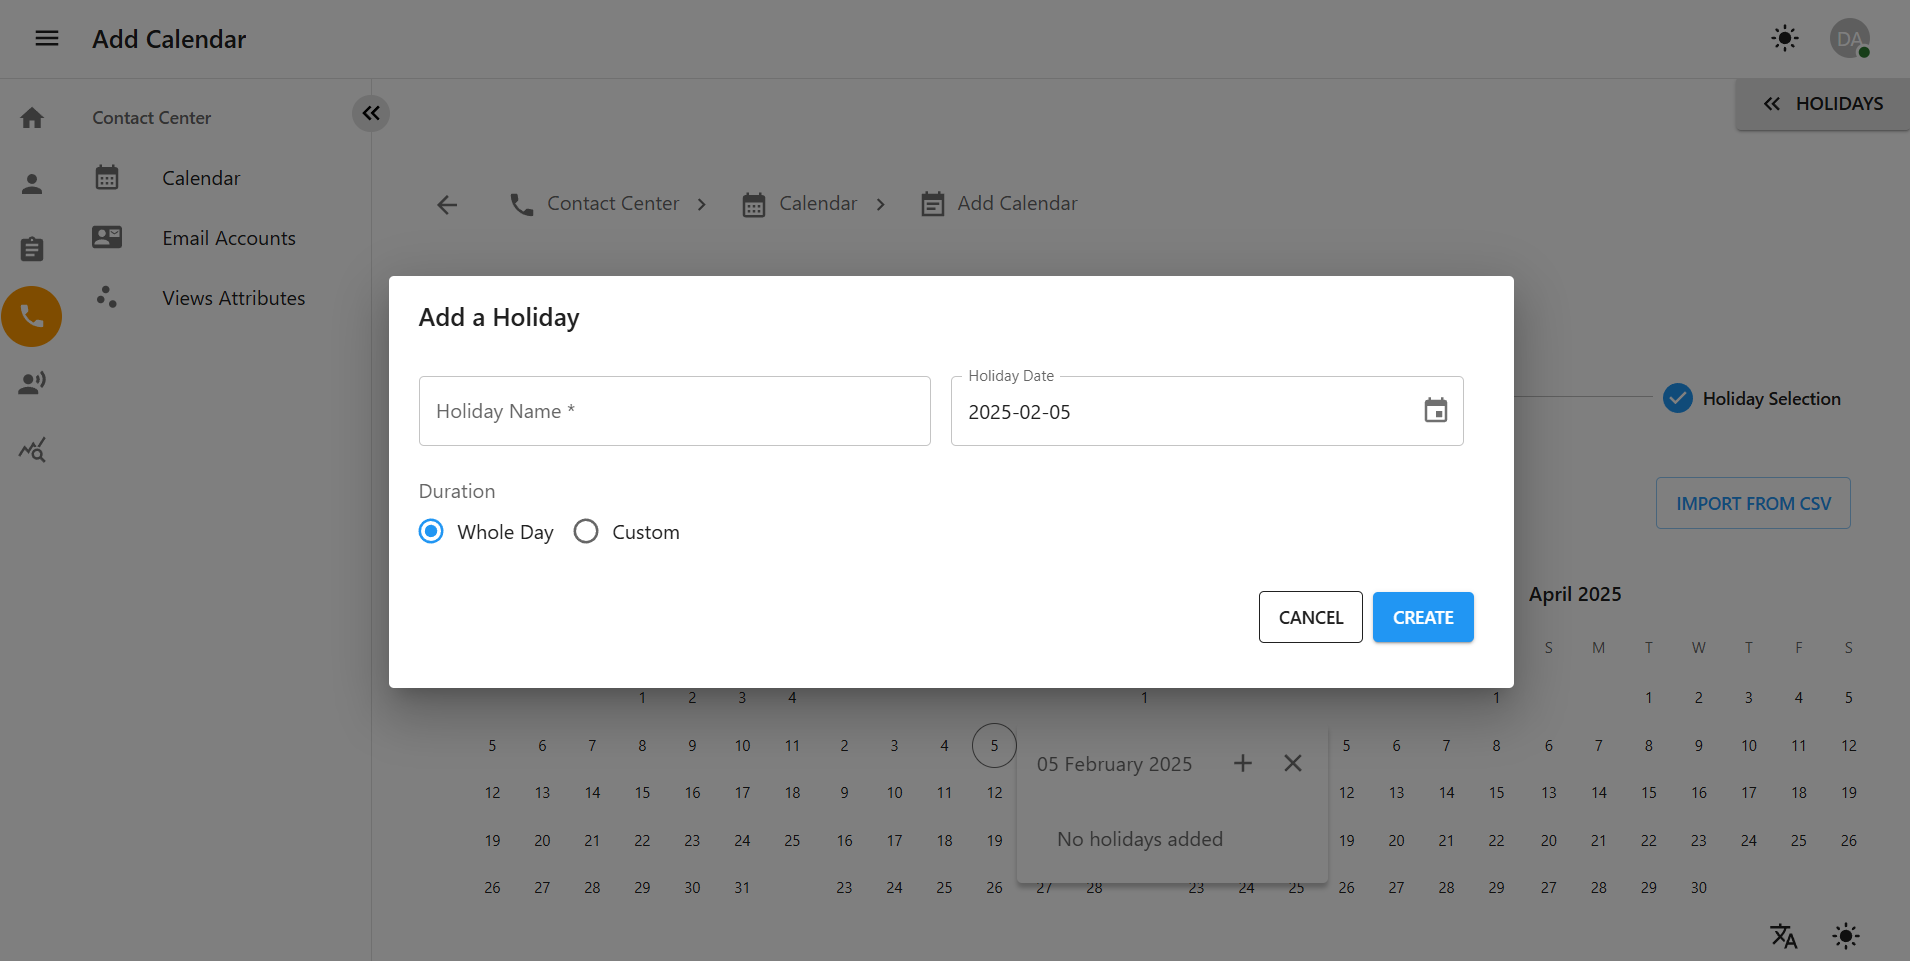
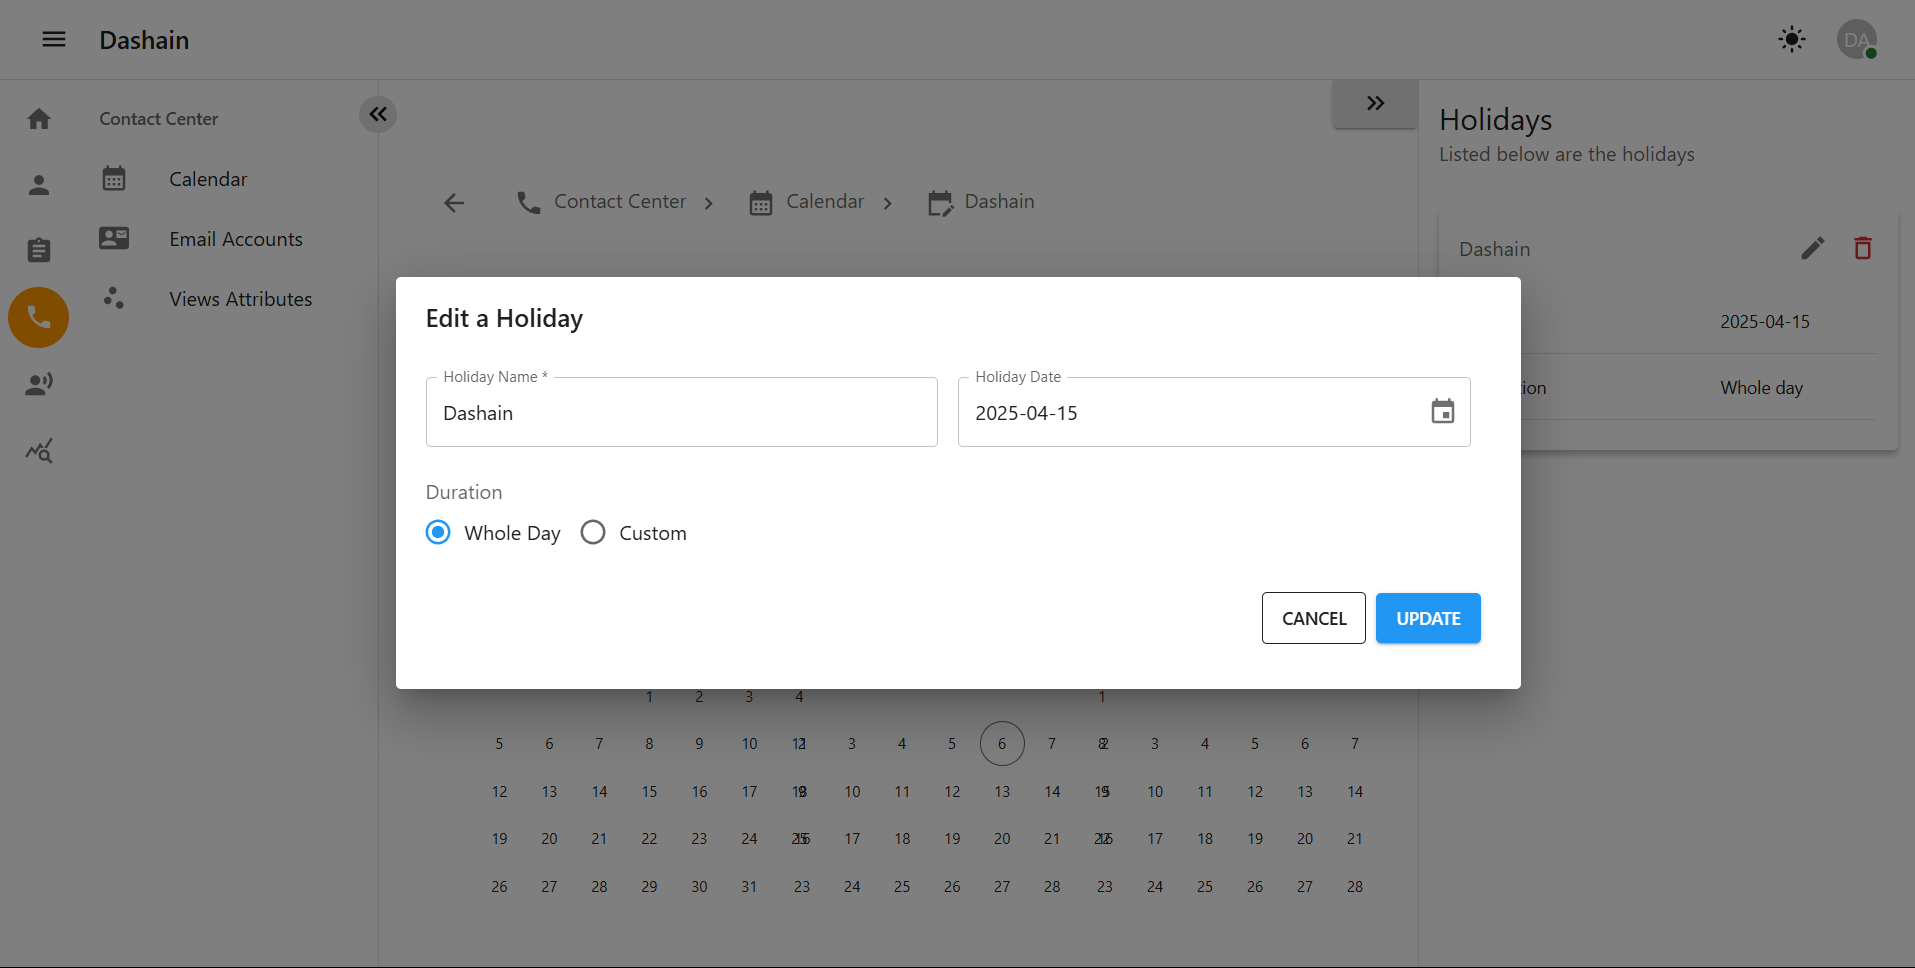
Step 3: Manage Holidays
In the Holiday Selection section, you can:
-
Add a new holiday by clicking the Add button.
-
Edit an existing holiday by clicking the pencil icon.
-
Delete a holiday by clicking the trash icon.
-
Multiple Delete: Select multiple holidays using checkboxes and click the Delete Selected button.
-
Click Save to apply the changes.
3 Email
3.1 Steps to Add an Email Account
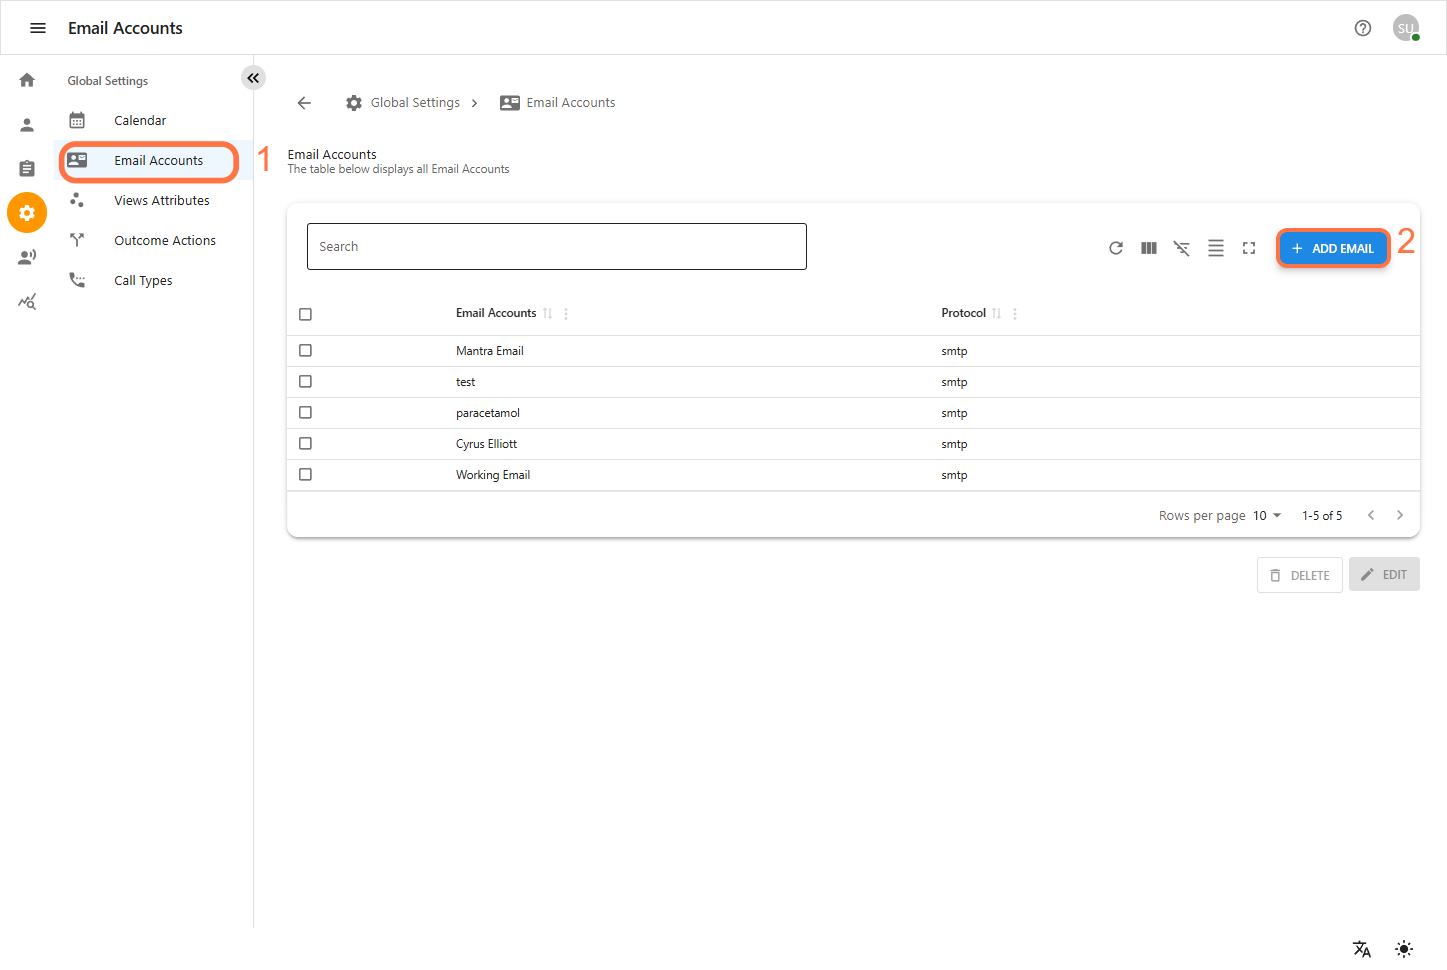
-
Navigate to Email Account Management:
Click on the Email Account option from the sidebar.
You will be redirected to the Email Account page.
-
Add a New Email Account:
Click the Add Email Account button.
You will be redirected to the Add Email Account page.
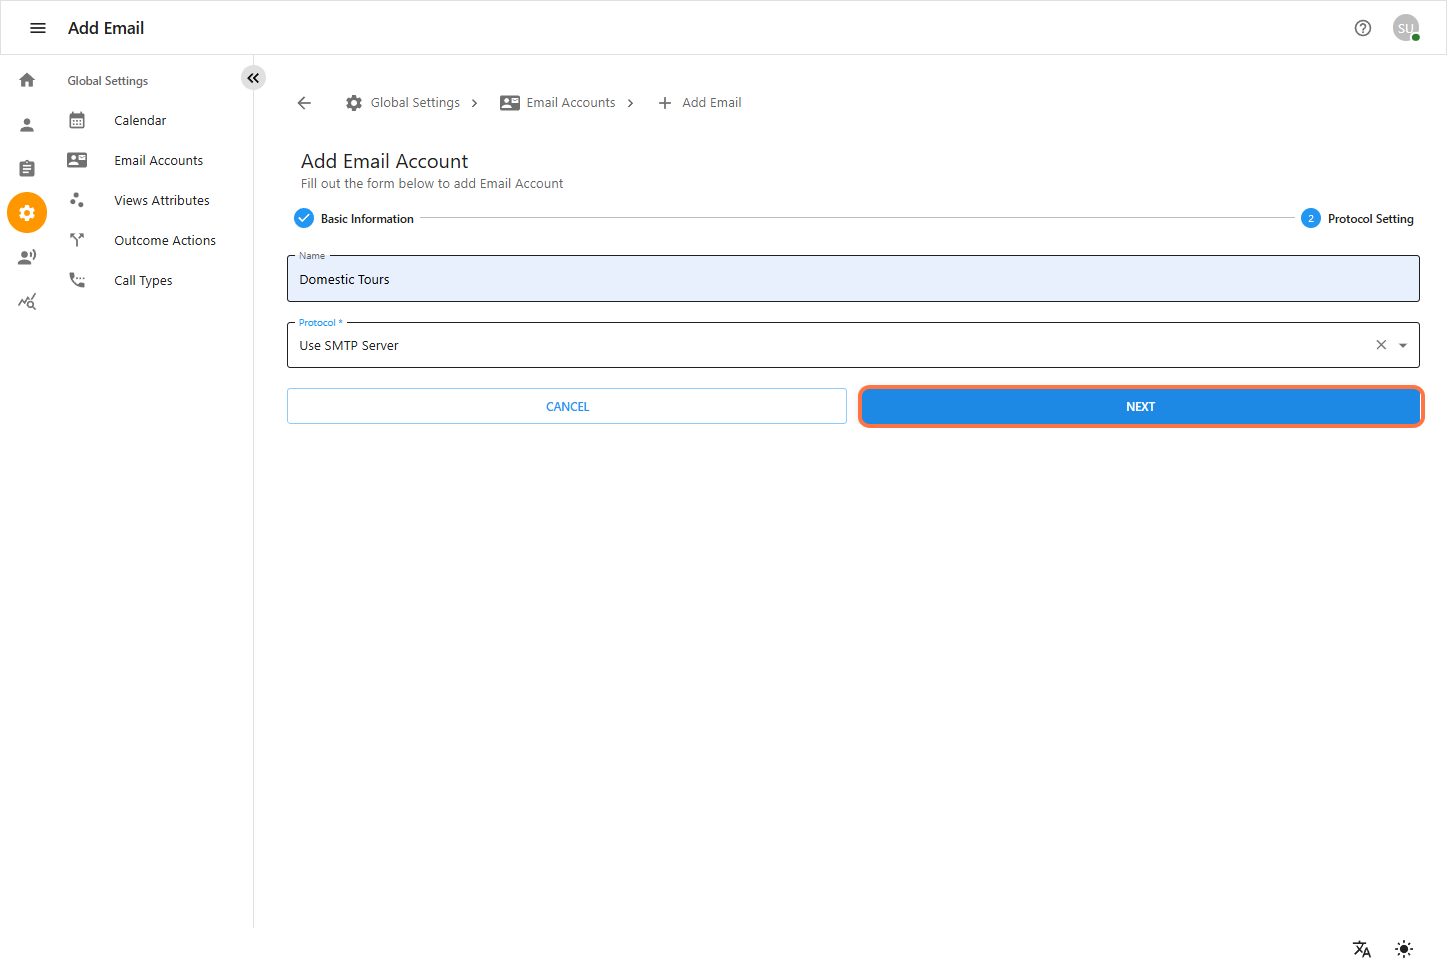
You will see the Basic Information and Protocol Setting sections:
-
Name: Enter a name for the email account as needed.
-
Protocol: Select the email protocol. Choose Use SMTP Server from the dropdown menu.
Once the required fields are filled out, click the Next button to proceed to the next step.
Fill in the following fields:
-
Authentication Method: Choose your email authentication method (e.g., Basic, OAuth).
-
Security Protocol: Select the security protocol used (e.g., SSL, TLS).
-
Mail Server: Enter the email server address (e.g., smtp.example.com).
-
Default Port: Input the port number (e.g., 587 for TLS or 465 for SSL).
-
Username: Enter the email username.
-
Password: Type in the secure password for the email account.
-
Email Address: This is the sender address that will be used when sending emails.
-
Display Name: Enter the name you want to be displayed as the sender.
Enter valid data in the Email Account form.
Click the Next button to proceed.Then you will be redirect to the main Email Account page.
3.2 Edit Email Account
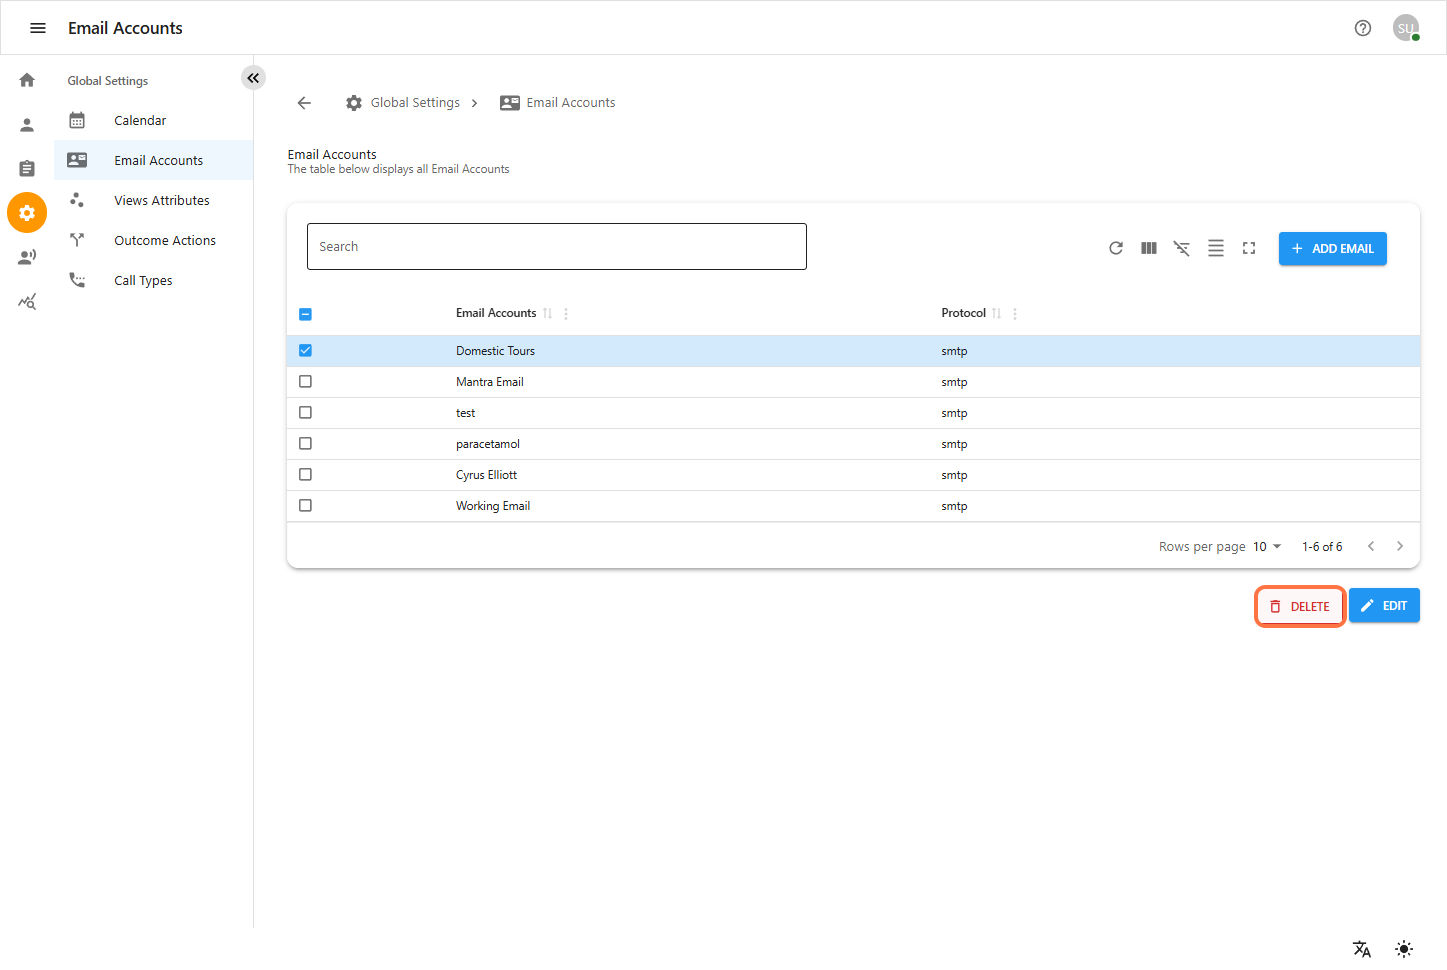
To edit an existing email account:
-
Navigate to the sidebar and click on Email Accounts under Global Settings.
-
Locate the desired email account and click the edit (✏️) icon.
-
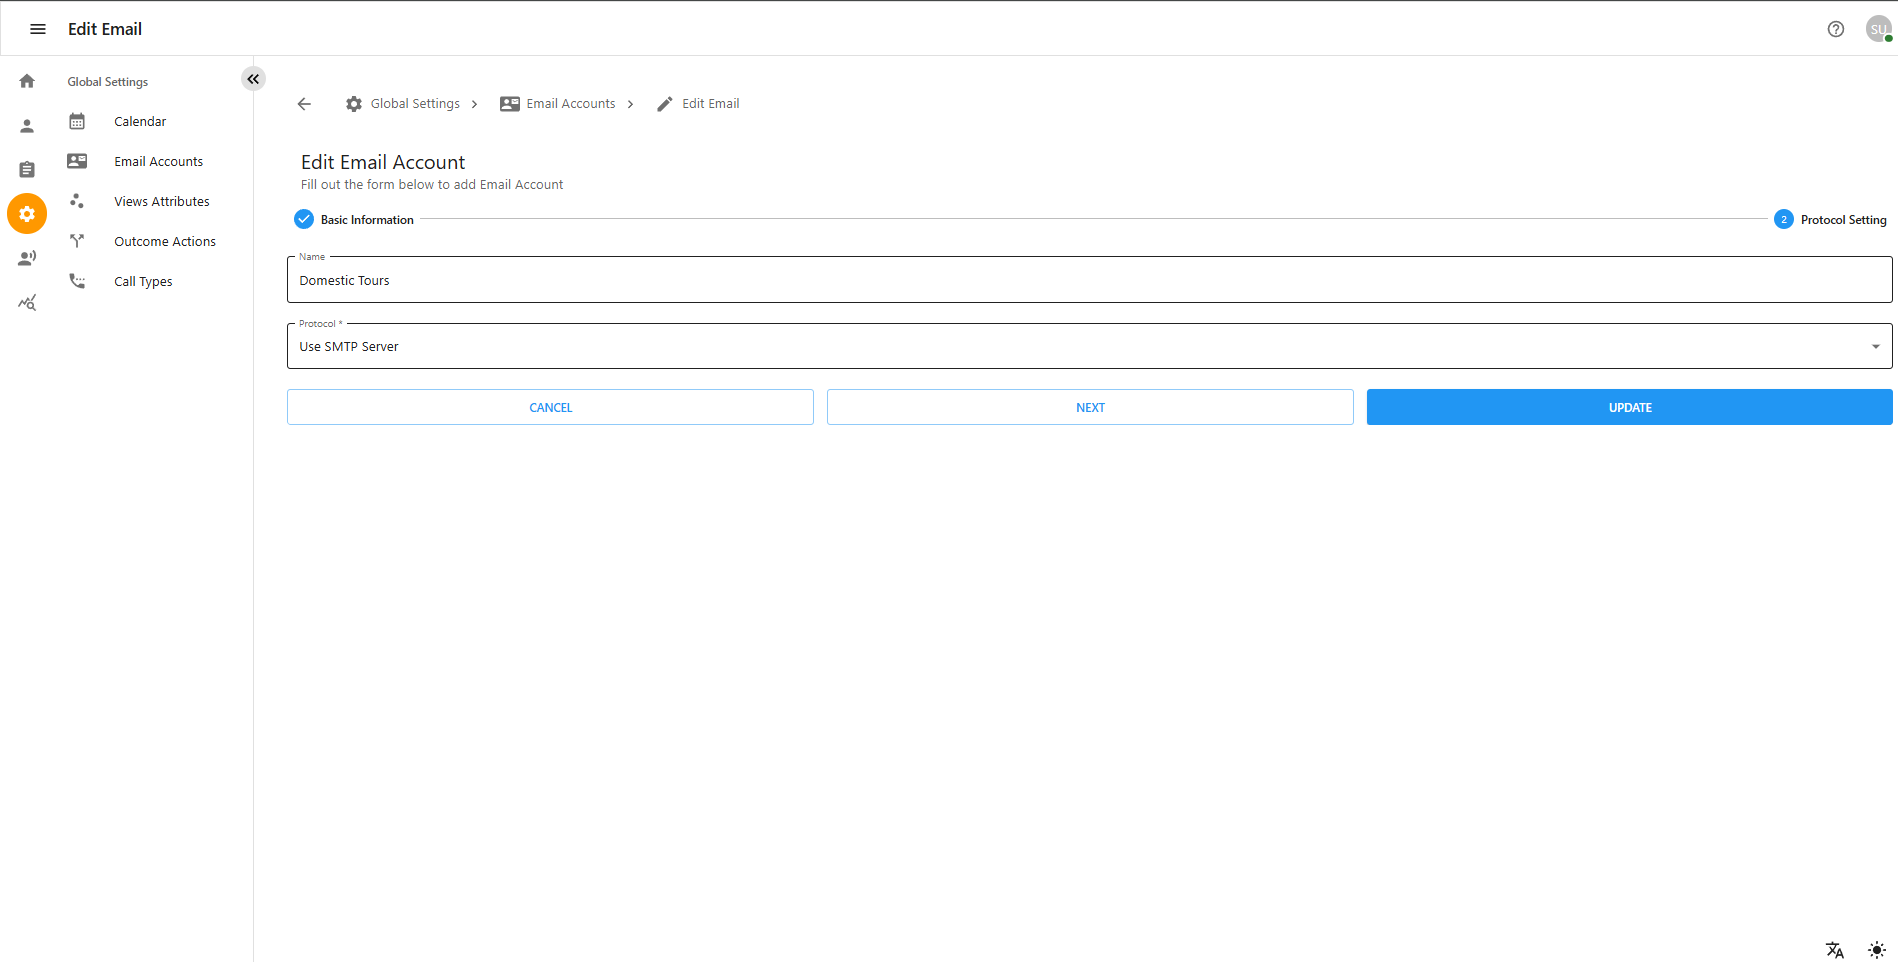
On the Edit Email Account screen:
Modify the field as needed
Select the desired protocol from the Protocol dropdown (e.g., Use SMTP Server). . Click the NEXT button to proceed with further settings or click UPDATE to save changes directly. . If you wish to discard changes, click CANCEL.
4 Outcomes
Introduction
Outcome Actions help categorize the result of each call. They allow agents and supervisors to track what happened after the interaction — for example, whether the call was successful, not answered, or needed follow-up. These outcomes provide valuable data for performance tracking, customer experience analysis, and follow-up actions.
4.1 Navigating to Outcome Actions
To access the Outcome Actions section:
-
Click on the ⚙️ Settings icon on the left sidebar.
-
Under Global Settings, click on Outcome Actions.
This will open the Outcome Actions interface where existing actions are displayed and new ones can be added.
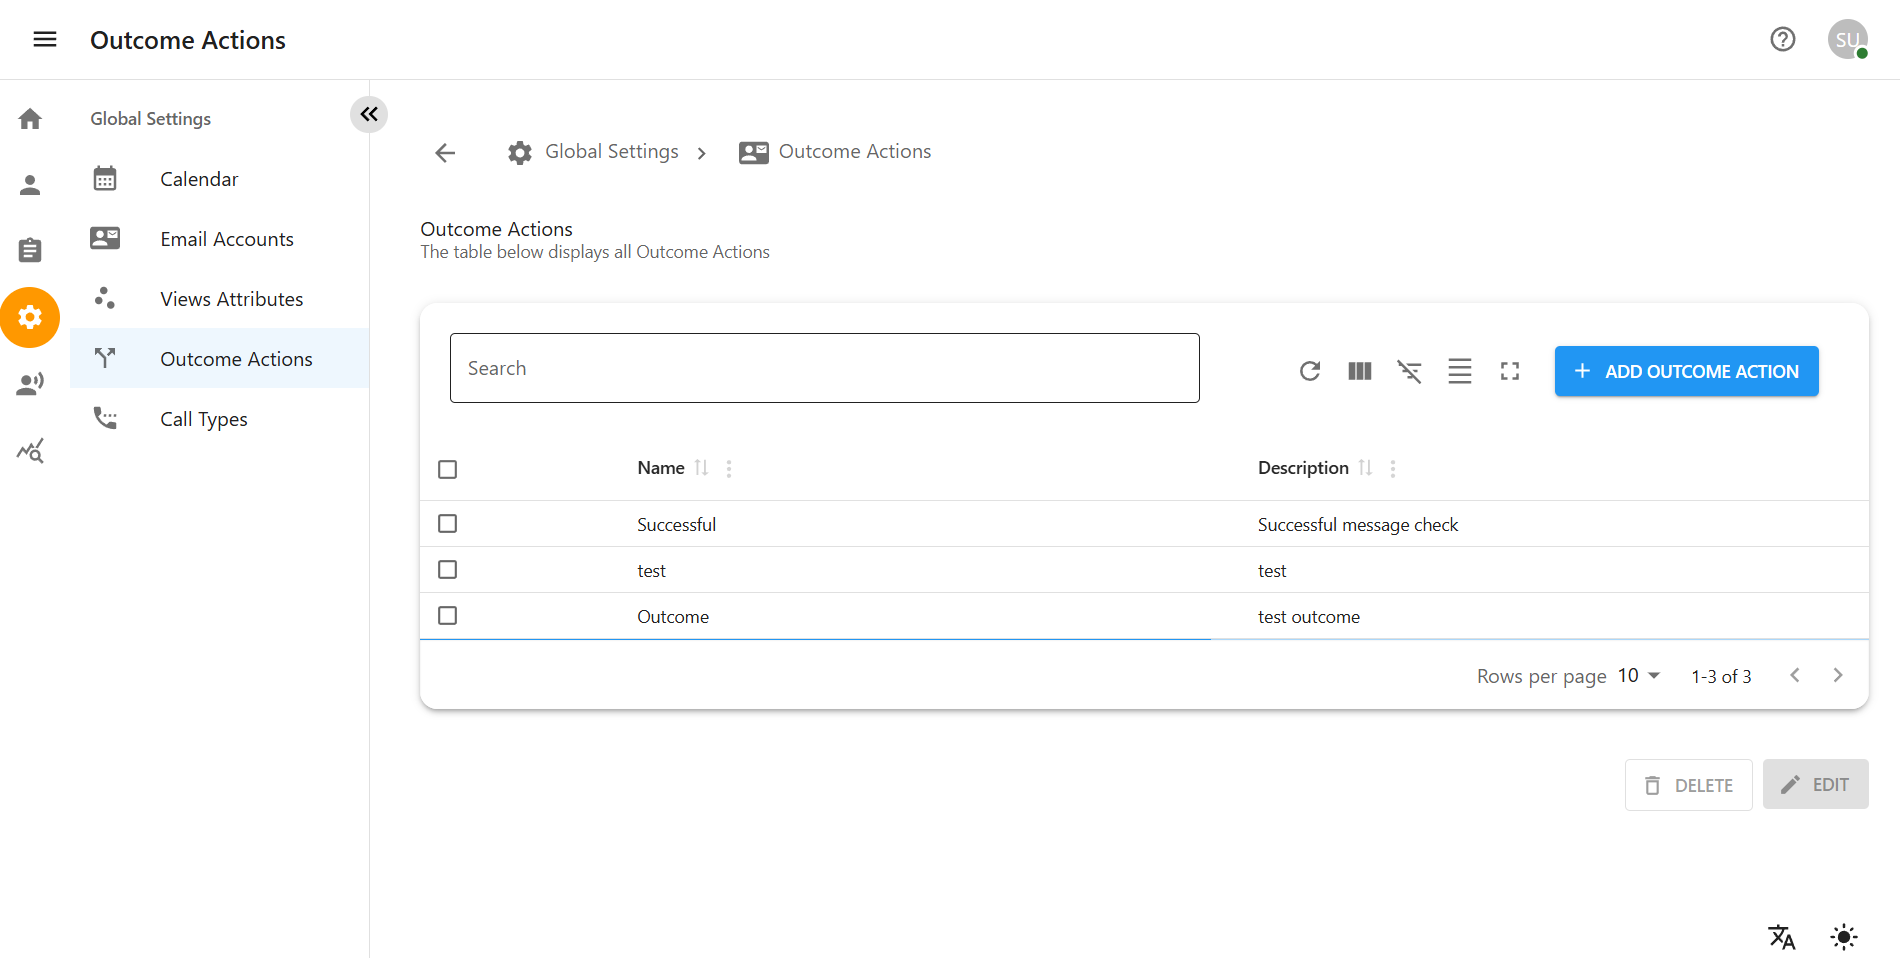
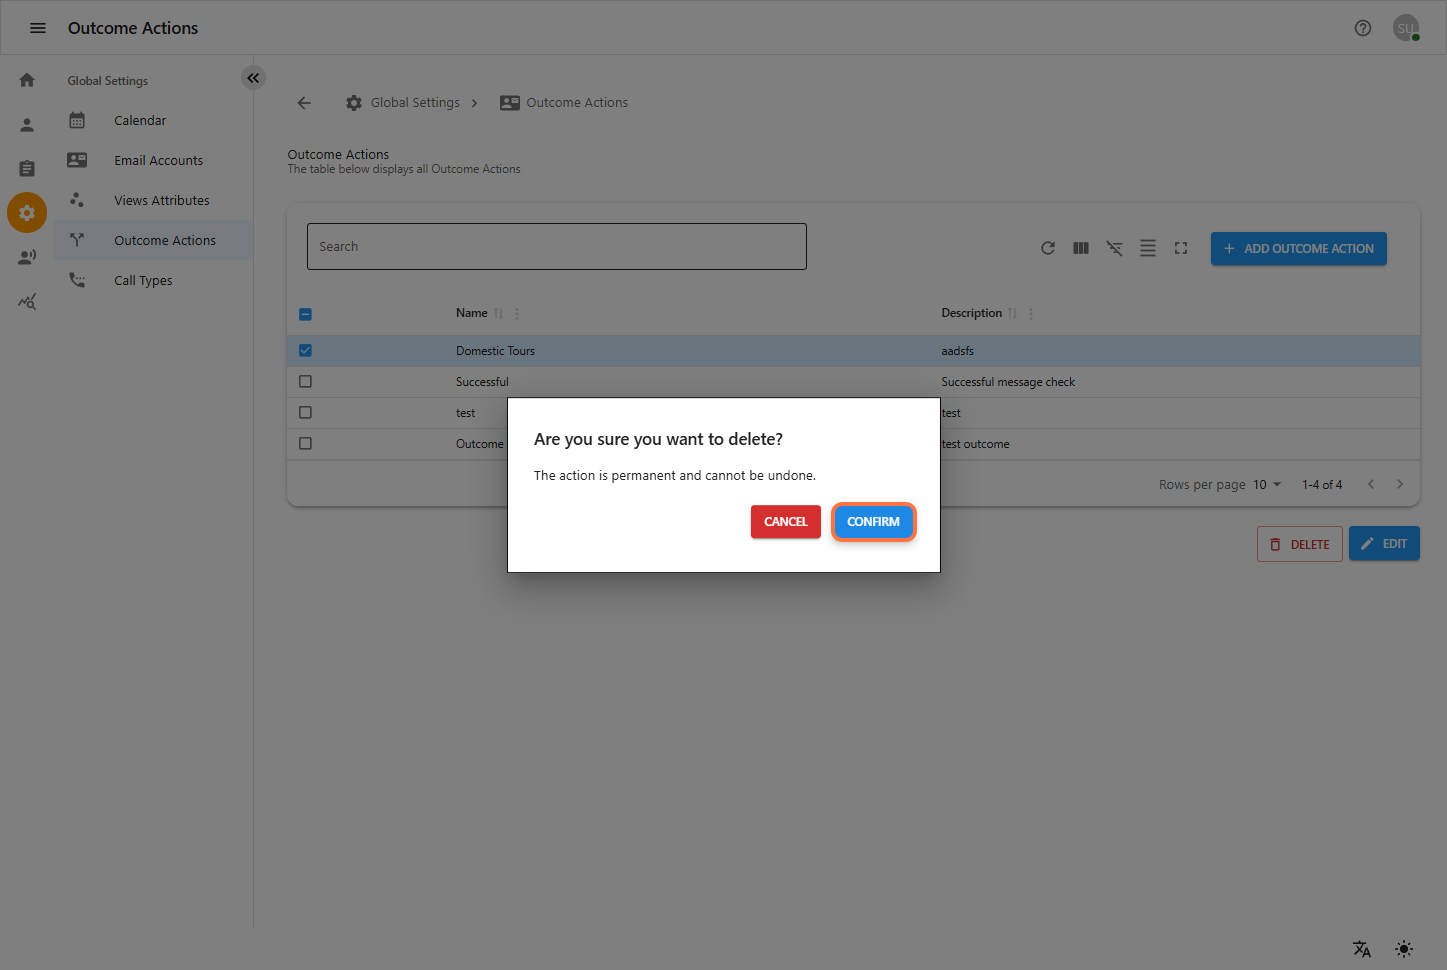
4.2 Viewing Outcome Actions
Once inside the Outcome Actions page:
A table will display all existing outcome actions.
Each row shows:
Name: The label of the outcome (e.g., Successful, not answered, need to follow up).
Description: A short explanation of what the outcome represents.
You can also:
Search for outcomes using the search bar.
Sort and refresh the table.
Use pagination to view multiple results.
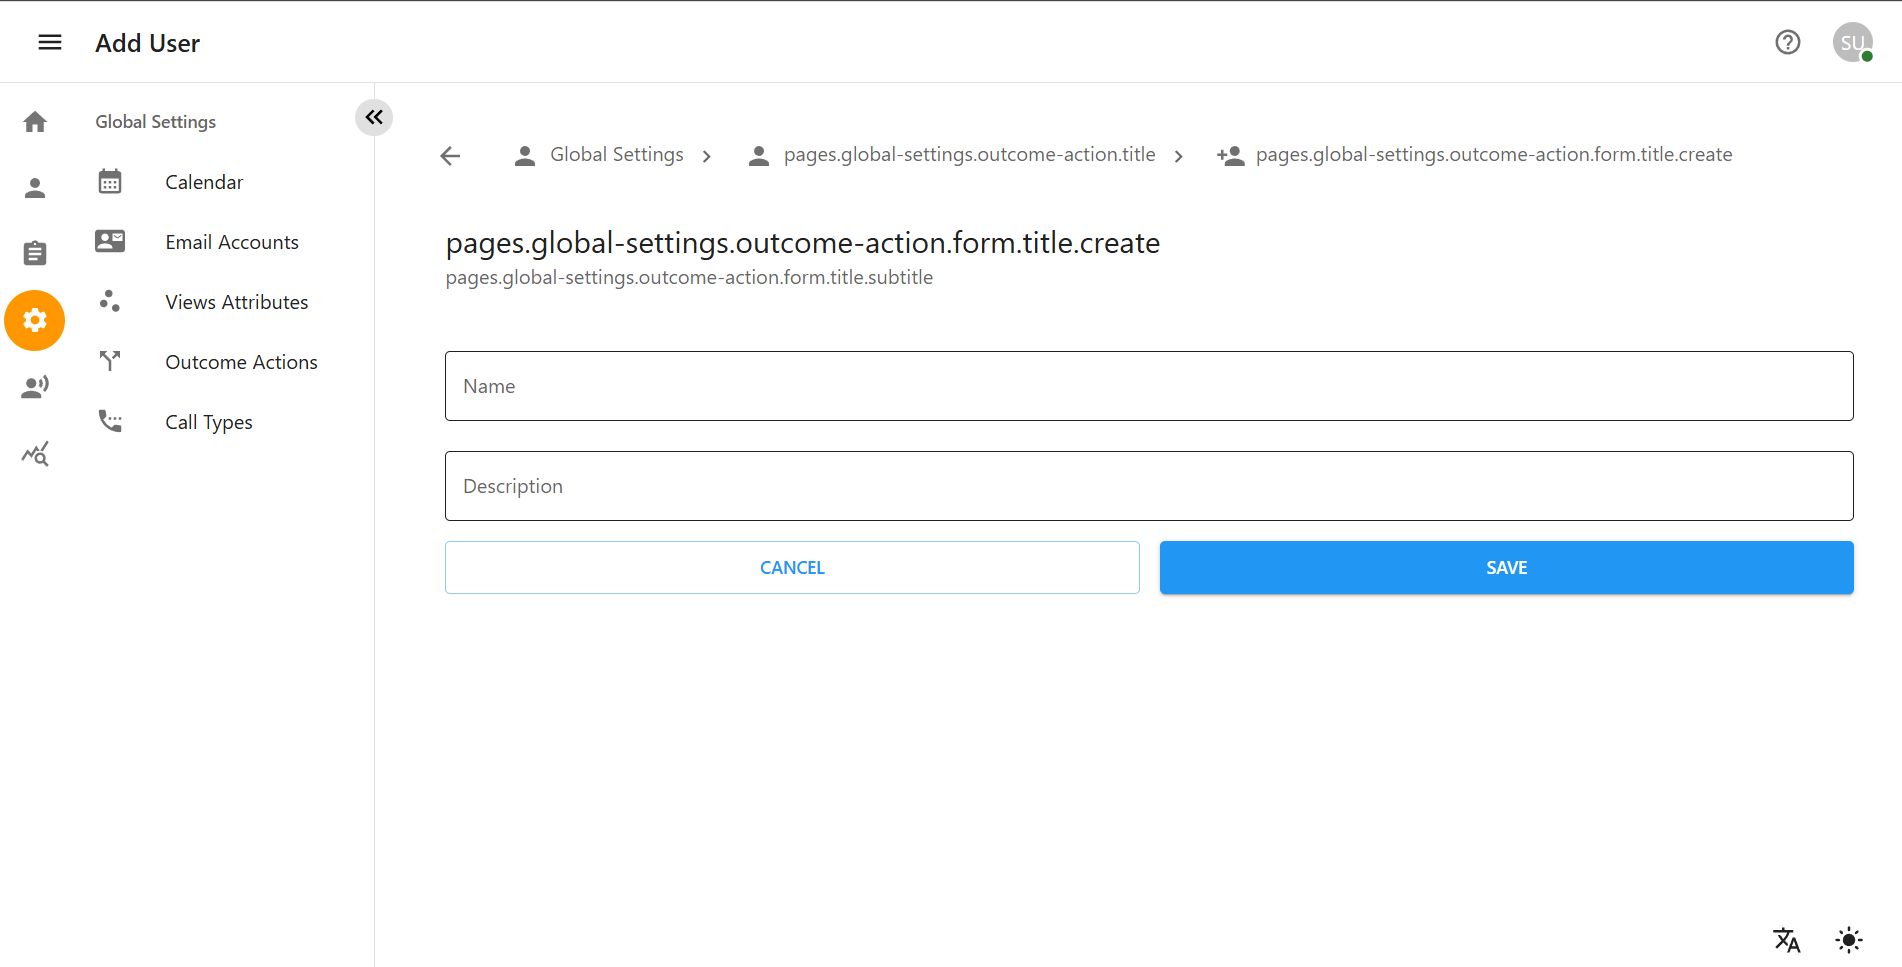
4.3 Adding a New Outcome Action
To add a new outcome action:
-
Click on the blue button + ADD OUTCOME ACTION.
-
A form will appear with fields:
-
Name: Enter the outcome action name.
-
Description: Optionally provide a brief description.
-
-
Click SAVE to store the outcome action, or CANCEL to exit without saving.
5 Call Types
Introduction
The Call Types module allows users to define and manage different types of calls handled in the system. It helps in categorizing call interactions for reporting and workflow purposes.
5.1 Navigating to Call Types
To access the Call Types section:
-
Click on the ⚙️ Settings icon on the left sidebar.
-
Under Global Settings, click on Call Types.
This will open the Call Types interface where existing call types are listed and new ones can be added.
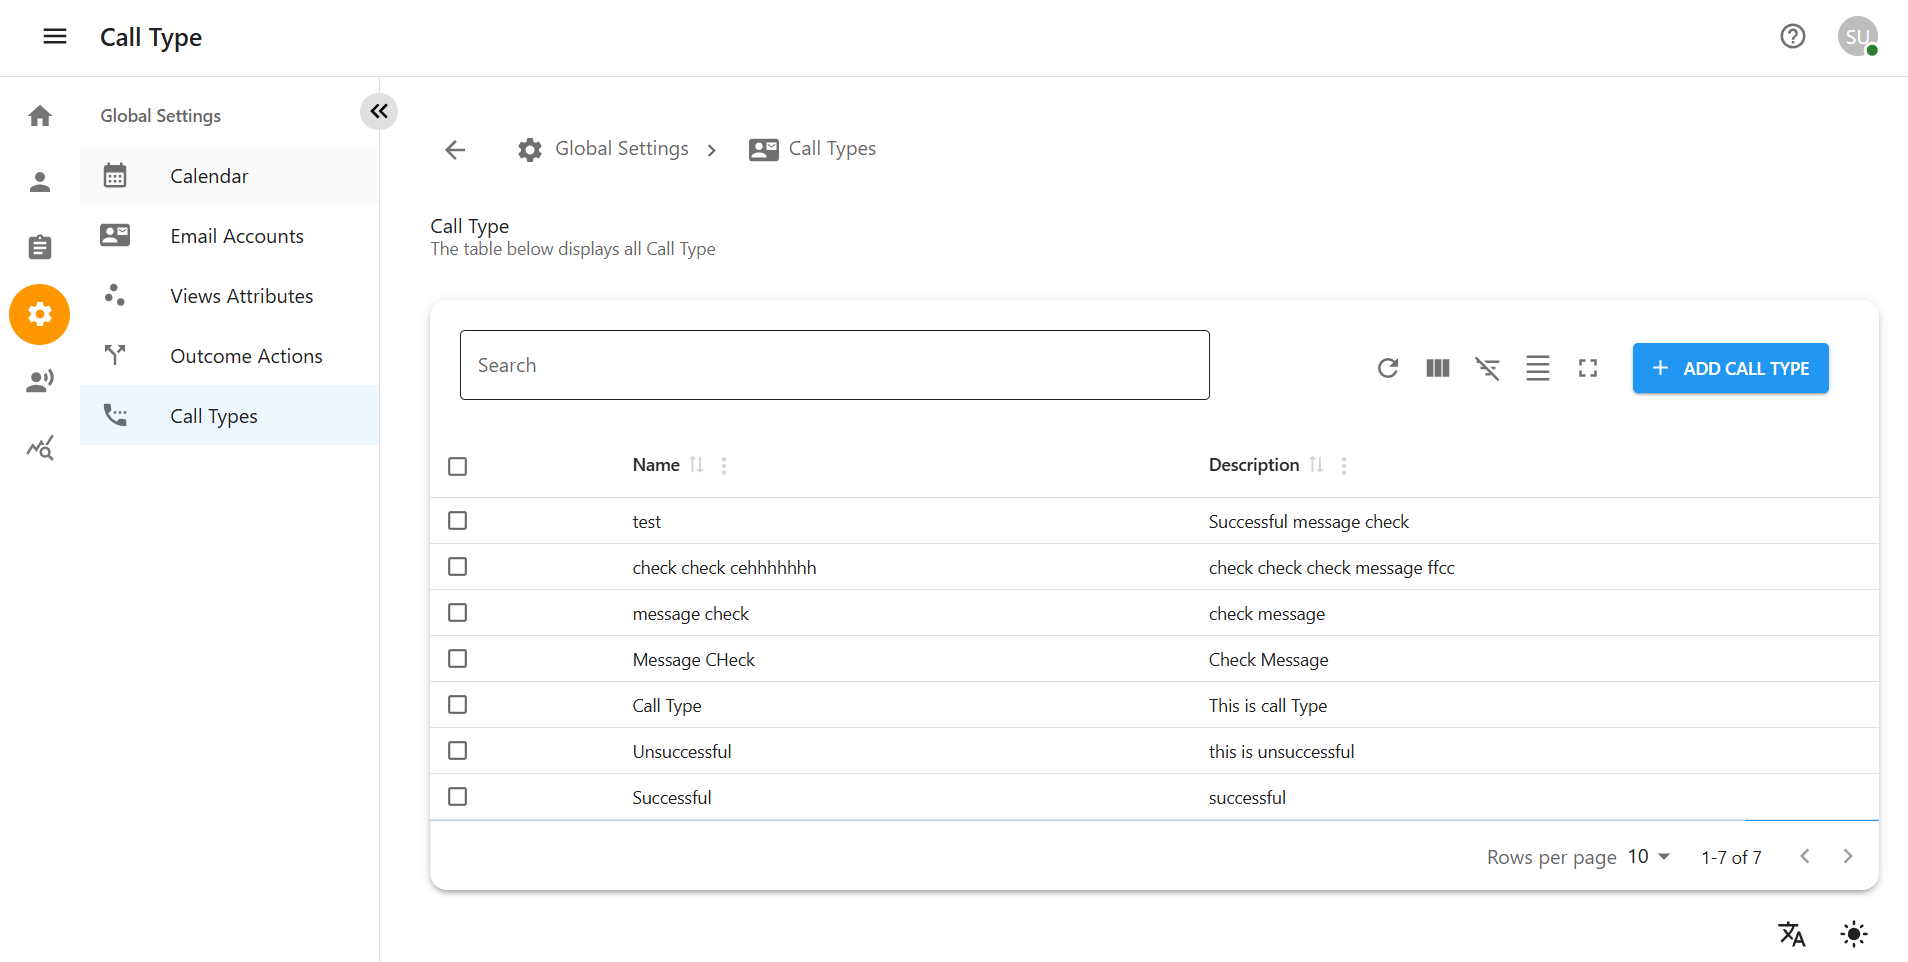
5.2 Viewing Call Types
-
Once inside the Call Types page:
-
A table will list all defined call types.
-
Each row shows:
Name: The label or identifier of the call type.
Description: A brief explanation of what the call type represents.
-
You can also:
Use the search bar to find specific call types.
Sort the table data as needed.
Refresh or change page views using the toolbar.
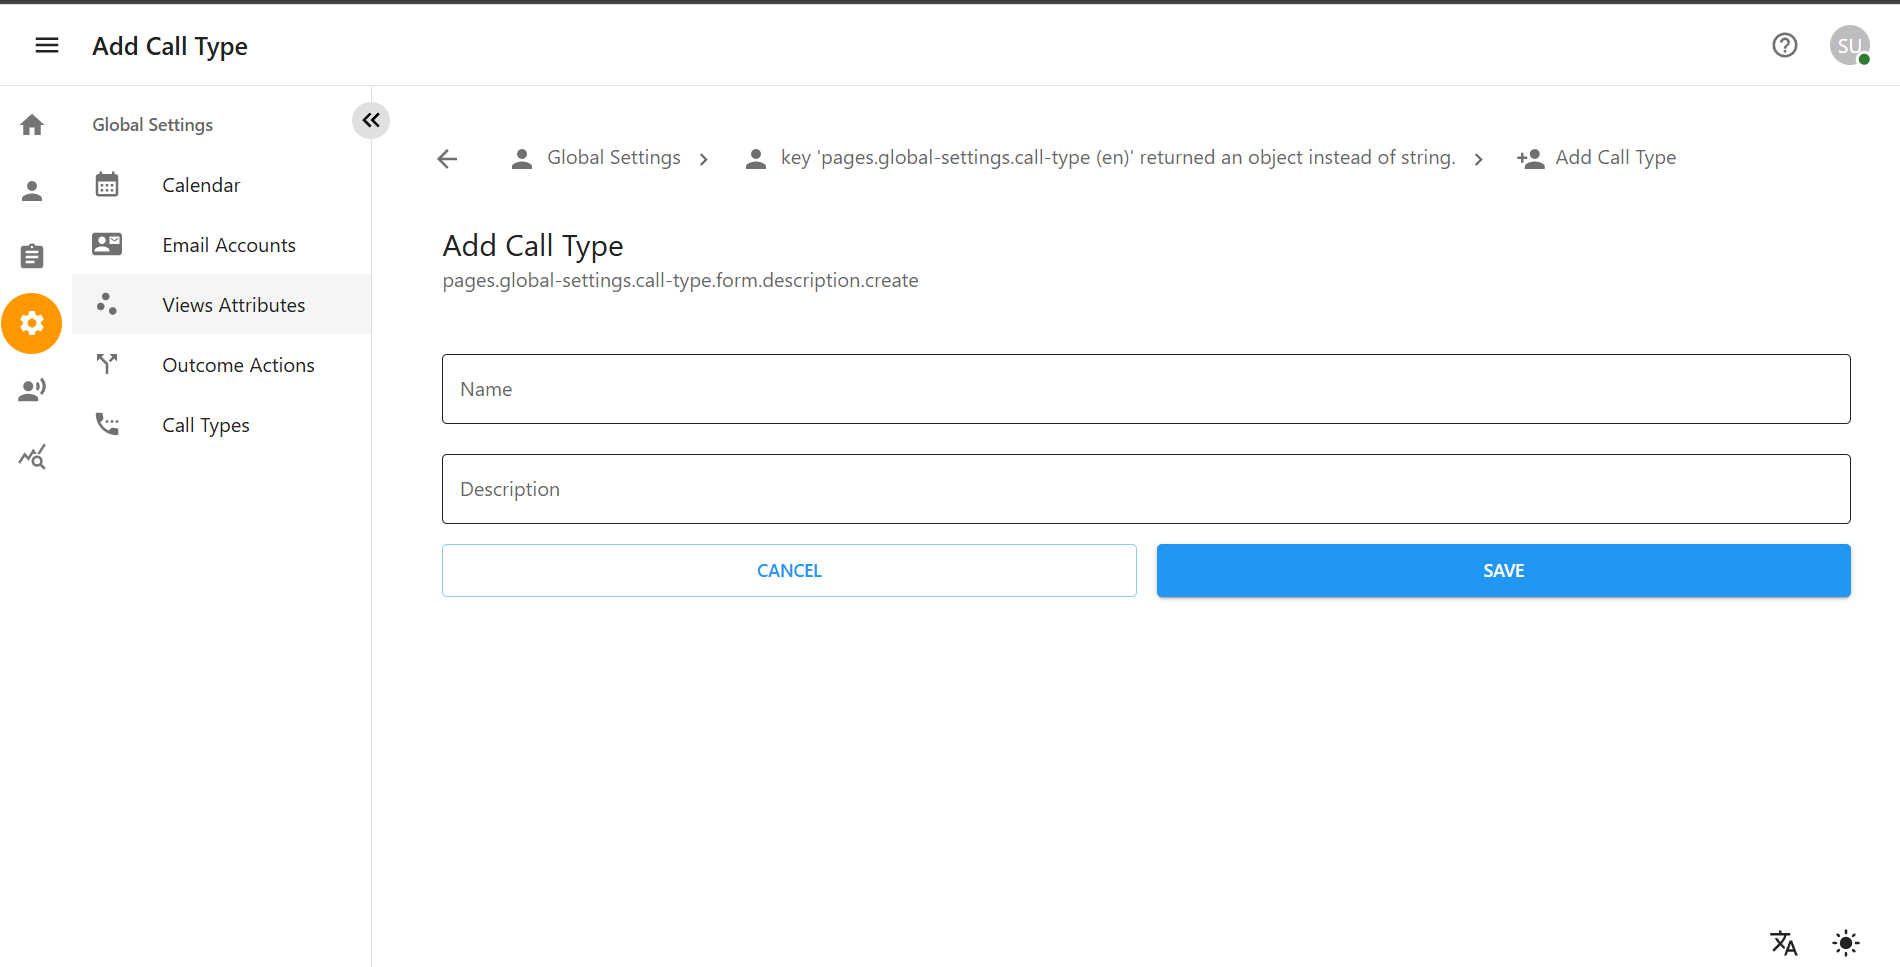
5.3 Adding a New Call Type
To add a new call type:
-
Click on the blue button + ADD CALL TYPE.
-
A form will appear with fields:
Name: Enter the call type name.
Description: Optionally add a short description. . Click SAVE to create the call type, or CANCEL to exit.
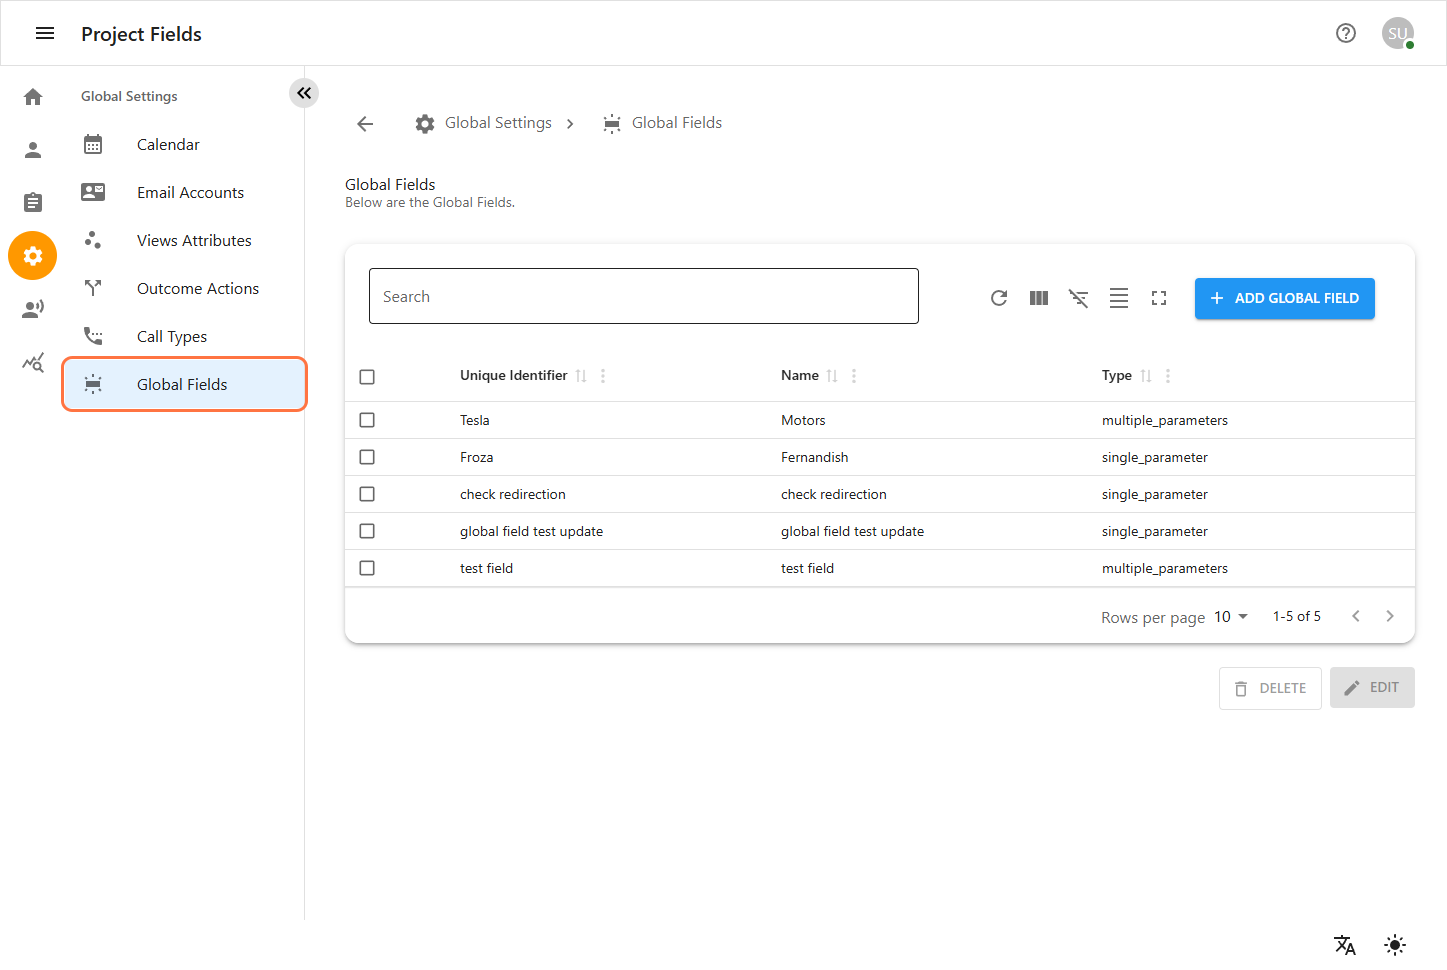
6.1 Creating Global Project Field
To create a global project field: . Navigate to the Global Settings section from the left sidebar of the Global Settings.
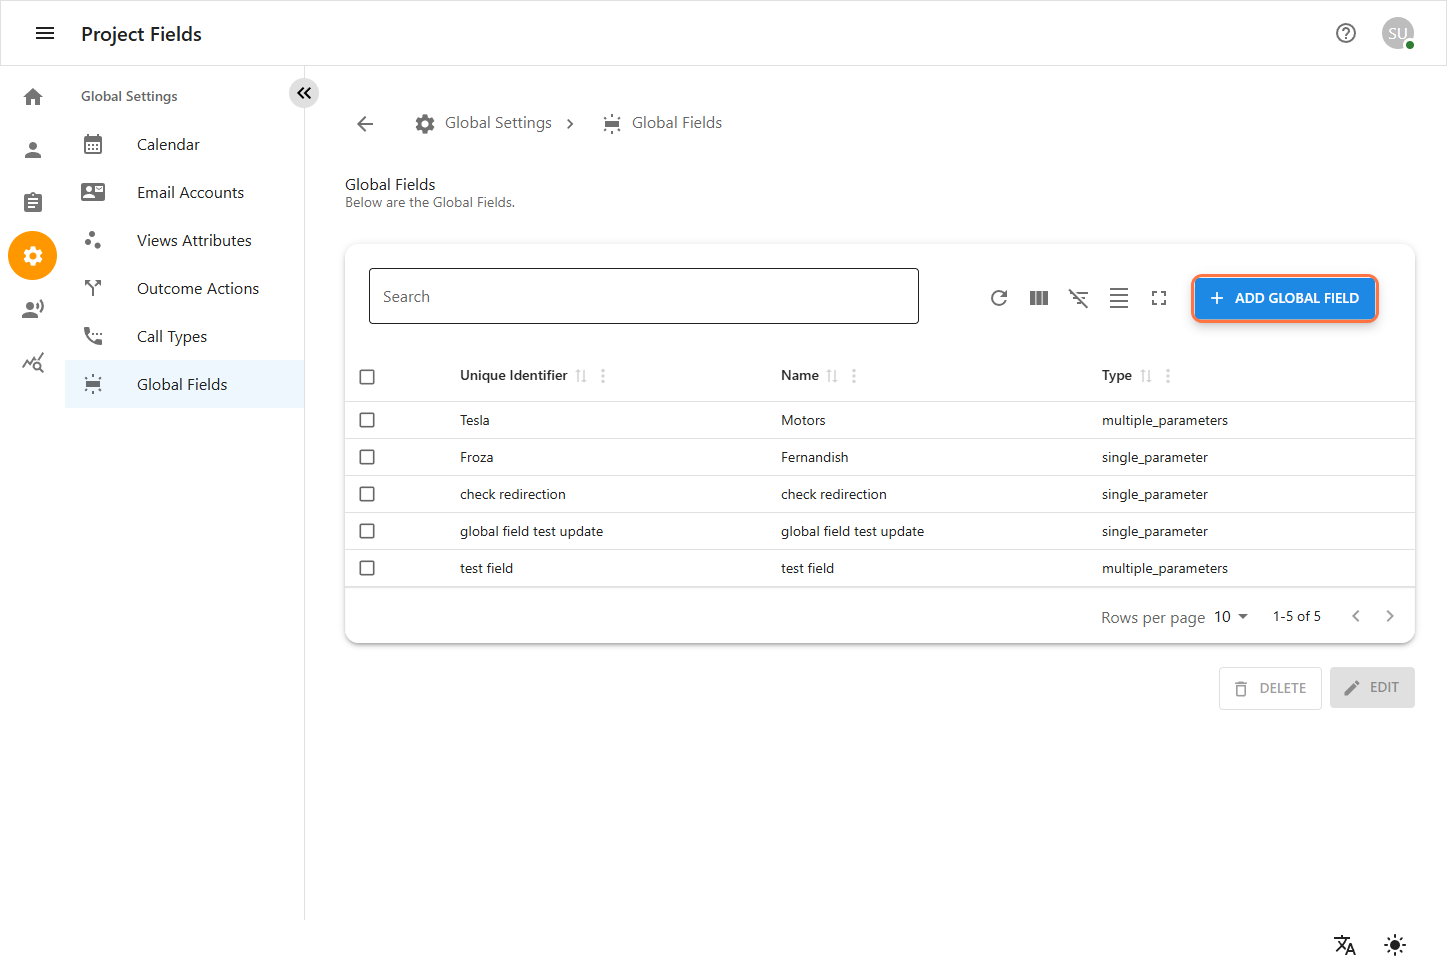
-
Click the
+icon or the Add Project Field button. -
In the Add Fields form, fill out the following:
-
Unique Identifier: A unique internal name for the field.
-
Name: A user-friendly name shown in the UI.
-
Type: Select the type of field [e.g.General Parameter(text,number,other character),Single Parameter,Multiple Parameter].
-
-
Click CREATE to finalize the field creation.
-
Click CANCEL to exit without saving.
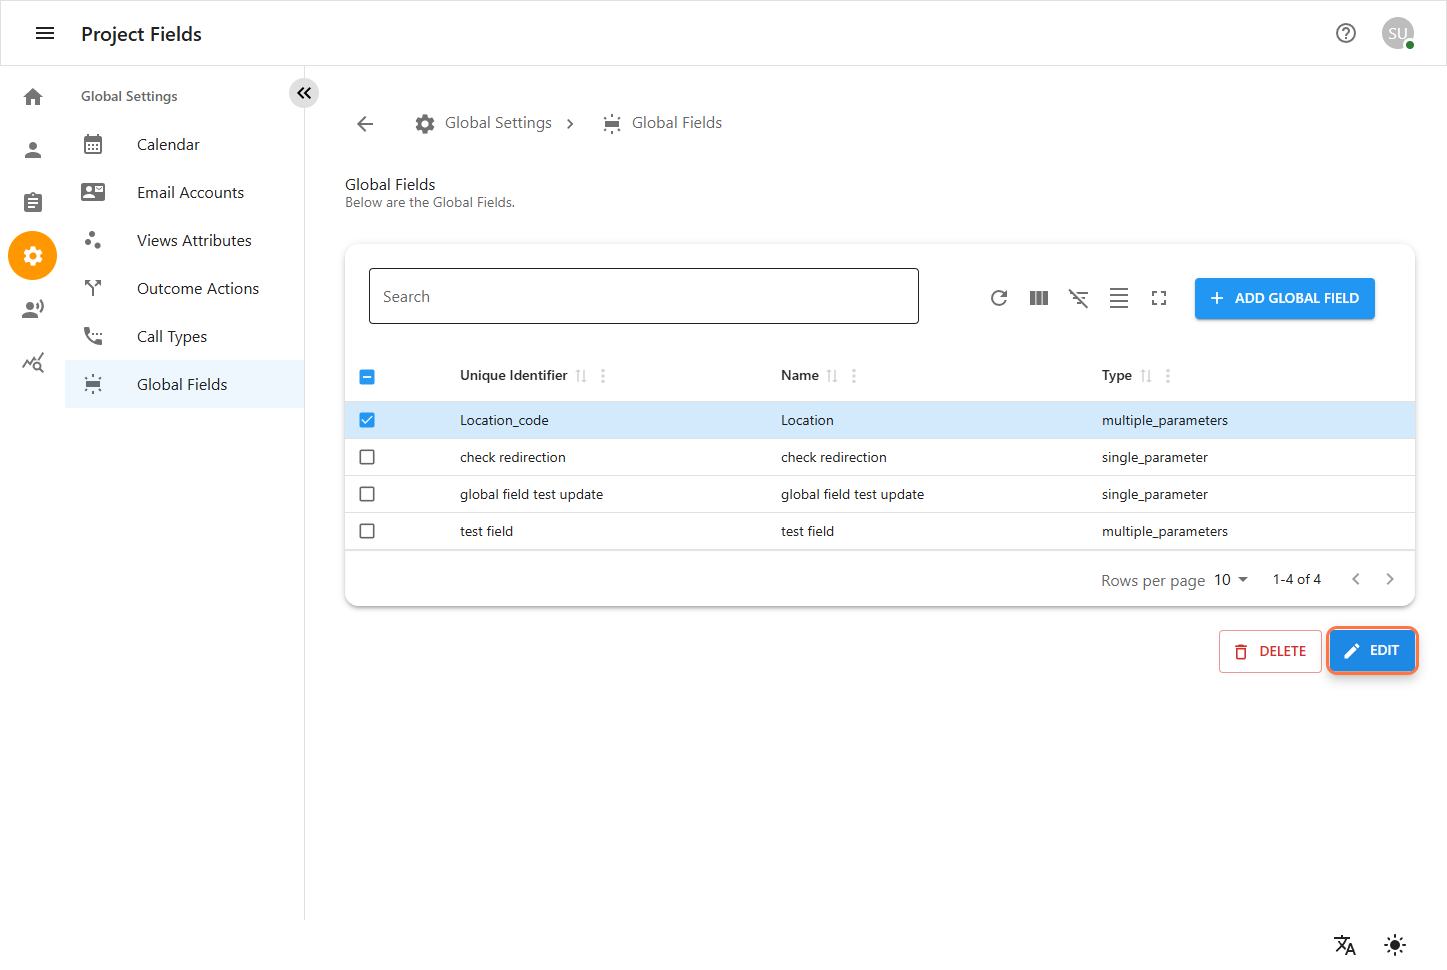
6.2 Editing a Global Field
To modify an Global field:
-
From the Fields list, locate the field you wish to edit.
-
Click the field name to open its details.
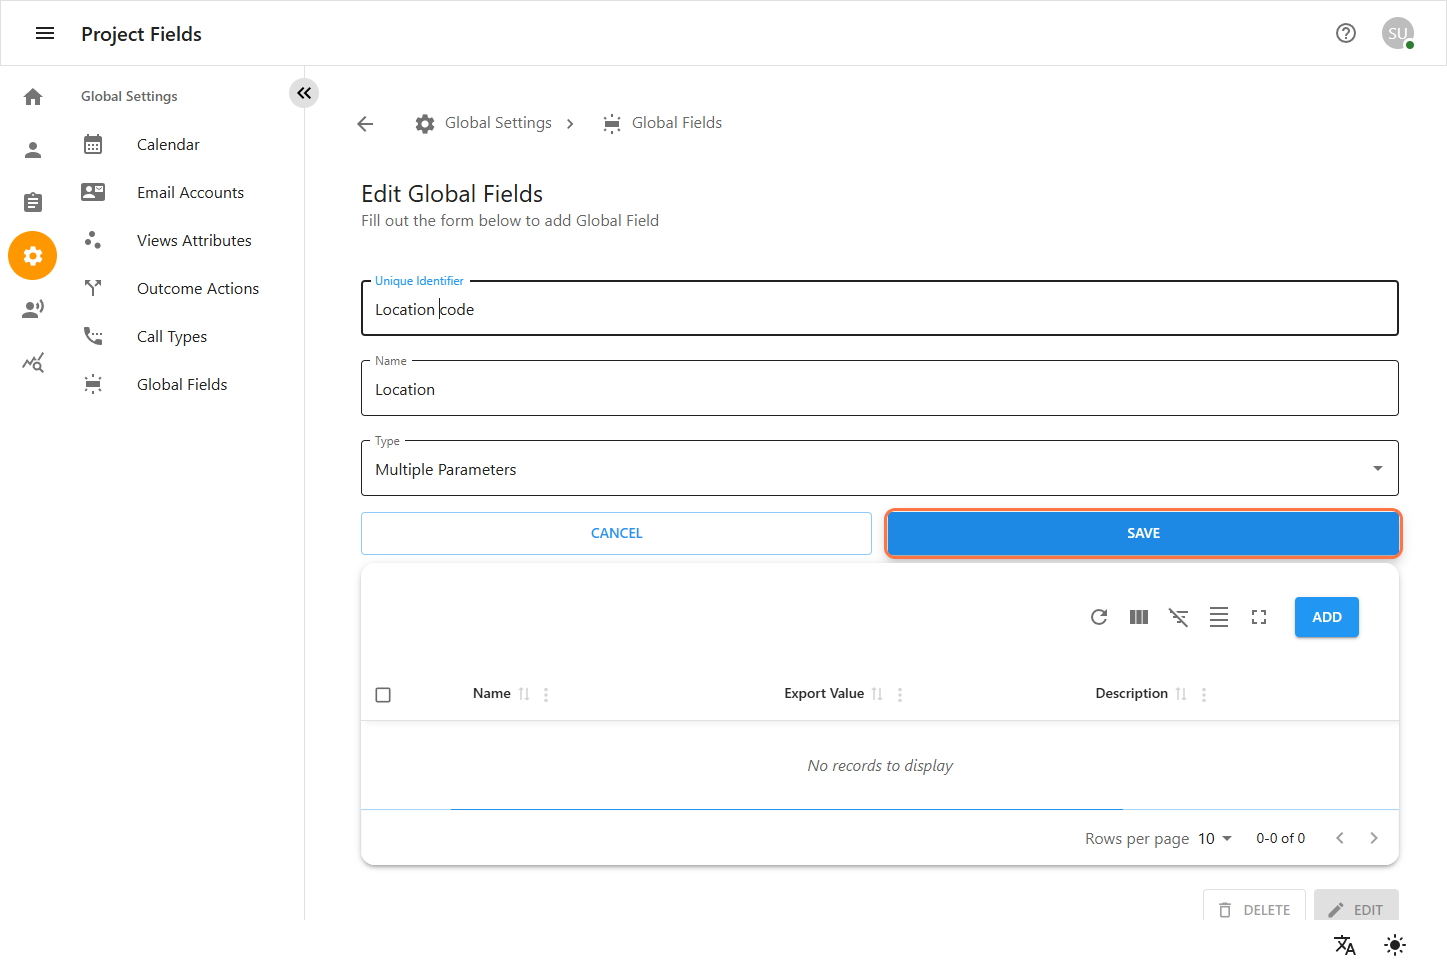
-
Update any of the following as needed:
-
Unique Identifier: A unique internal name for the field.
-
Name: A user-friendly name for the field.
-
Type (if editable)
-
Option entries (add, edit, or remove dropdown values)
-
-
Click UPDATE to apply changes.
-
Click CANCEL to discard changes.
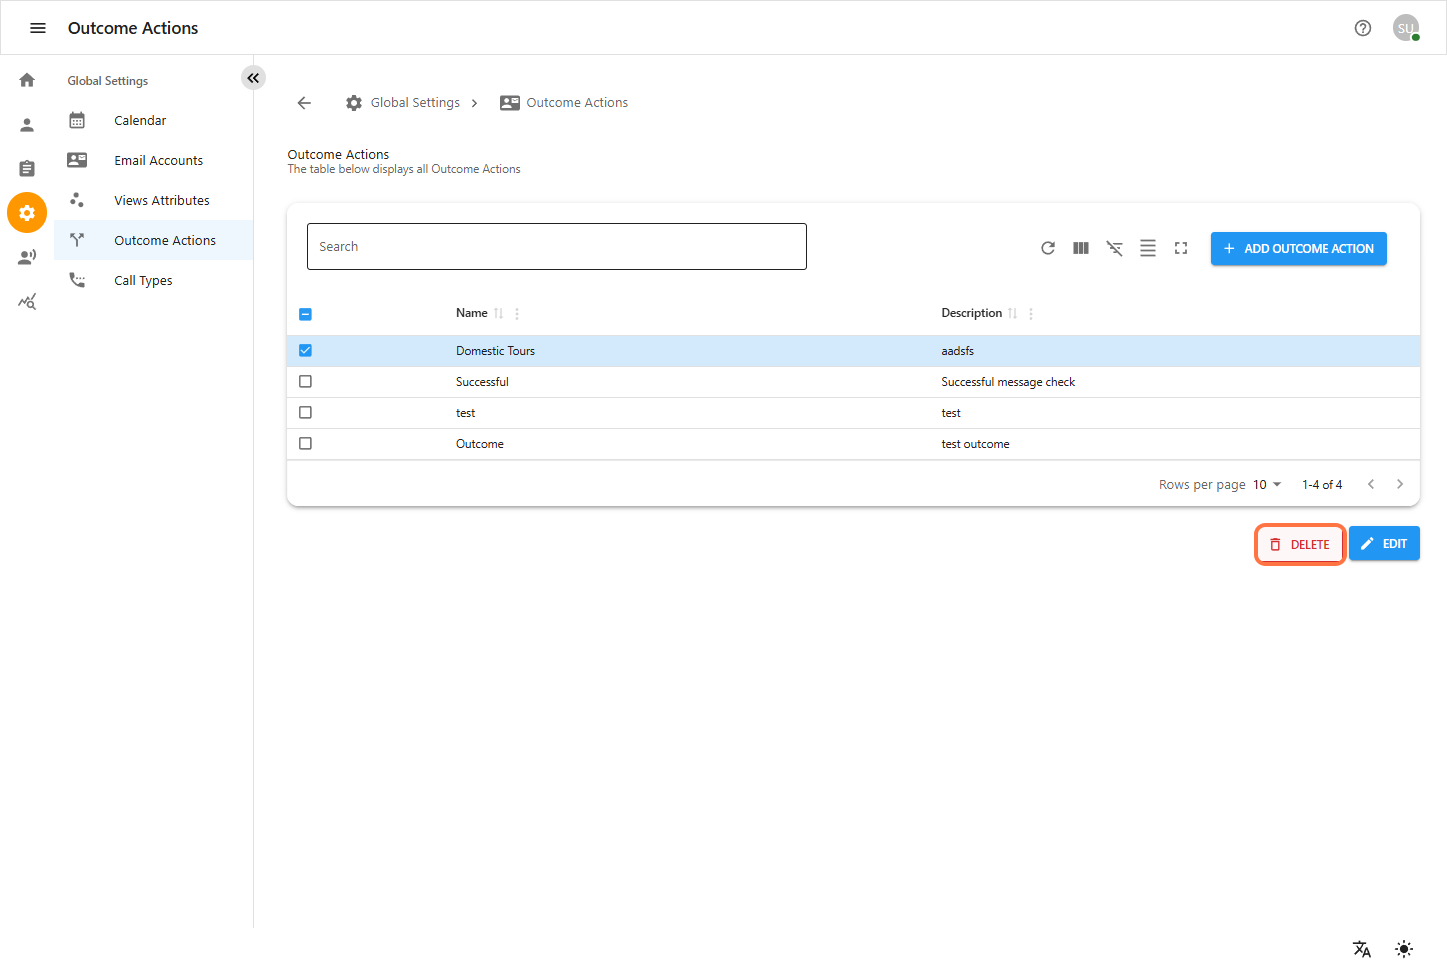
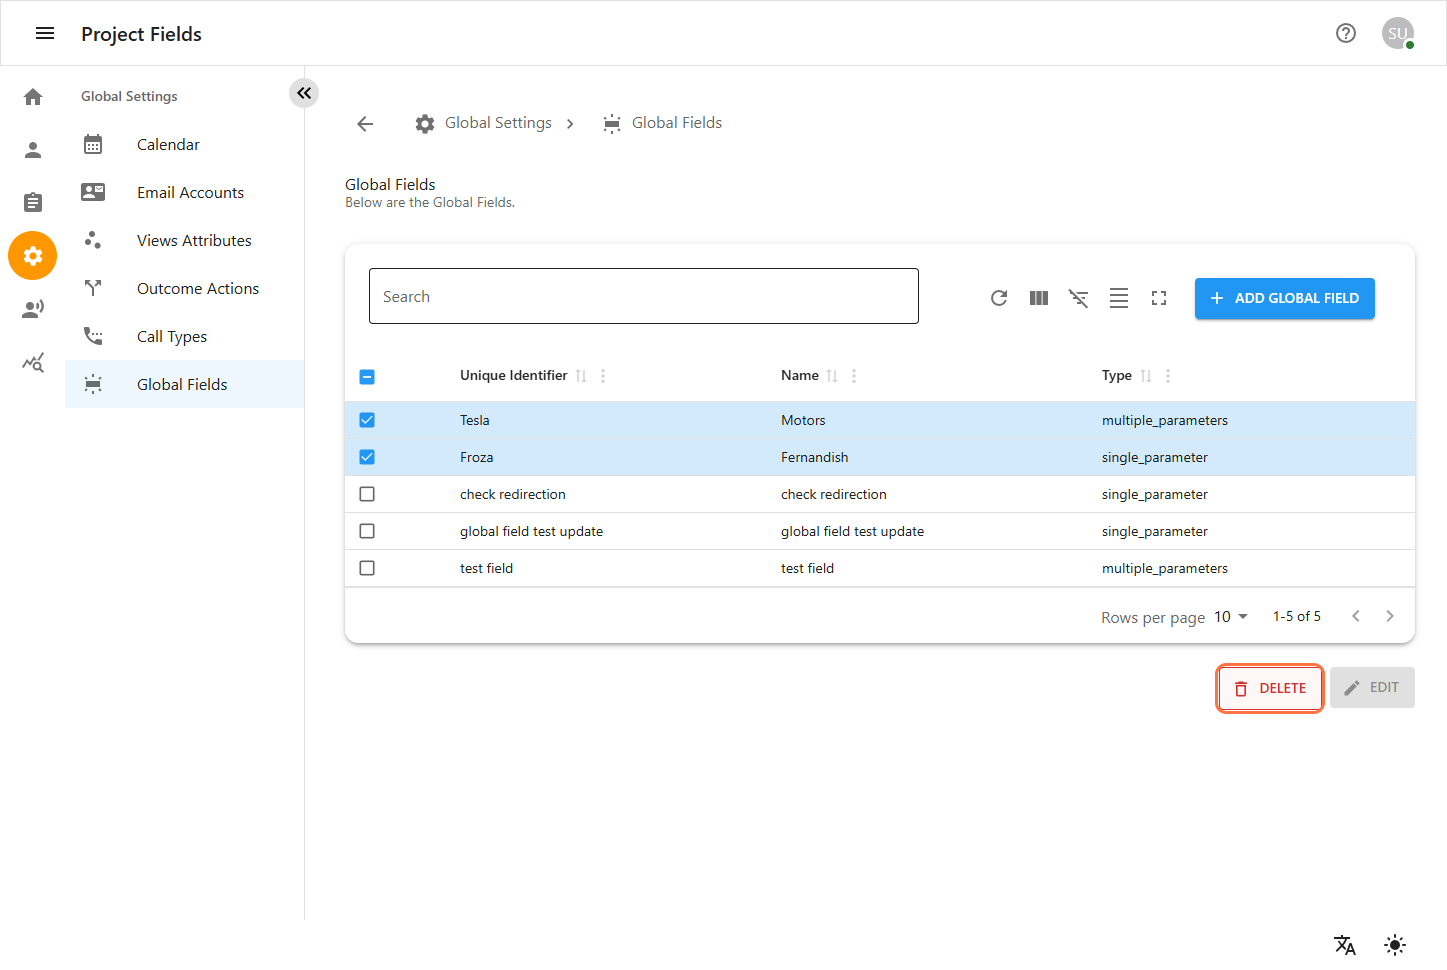
6.3 Deleting Global Project Field
To delete an existing Global field:
-
In the Fields list, locate the desired field.
-
Click the Delete (trash can) icon next to the entry.
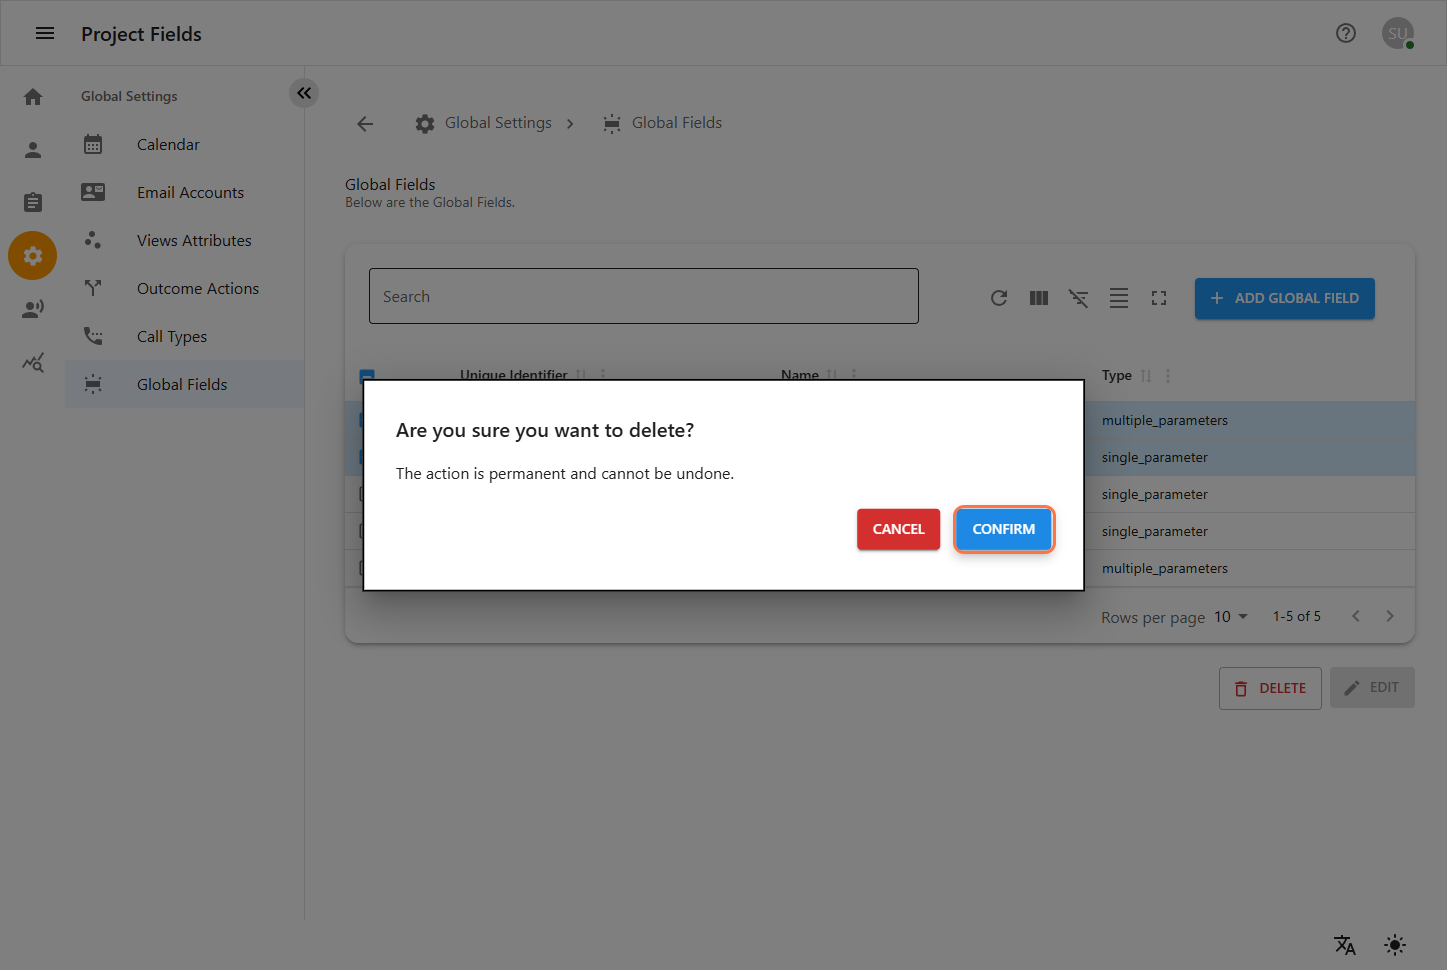
-
A confirmation dialog will appear. Confirm deletion to proceed.
-
The field will be permanently removed and will no longer appear in forms or data exports.
Then you can redirect to the main Global Field page.