Overview
This manual provides step-by-step instructions for using the User Panel. The panel is divided into three main areas:
-
Dashboard
-
Tools
-
Sections
Home
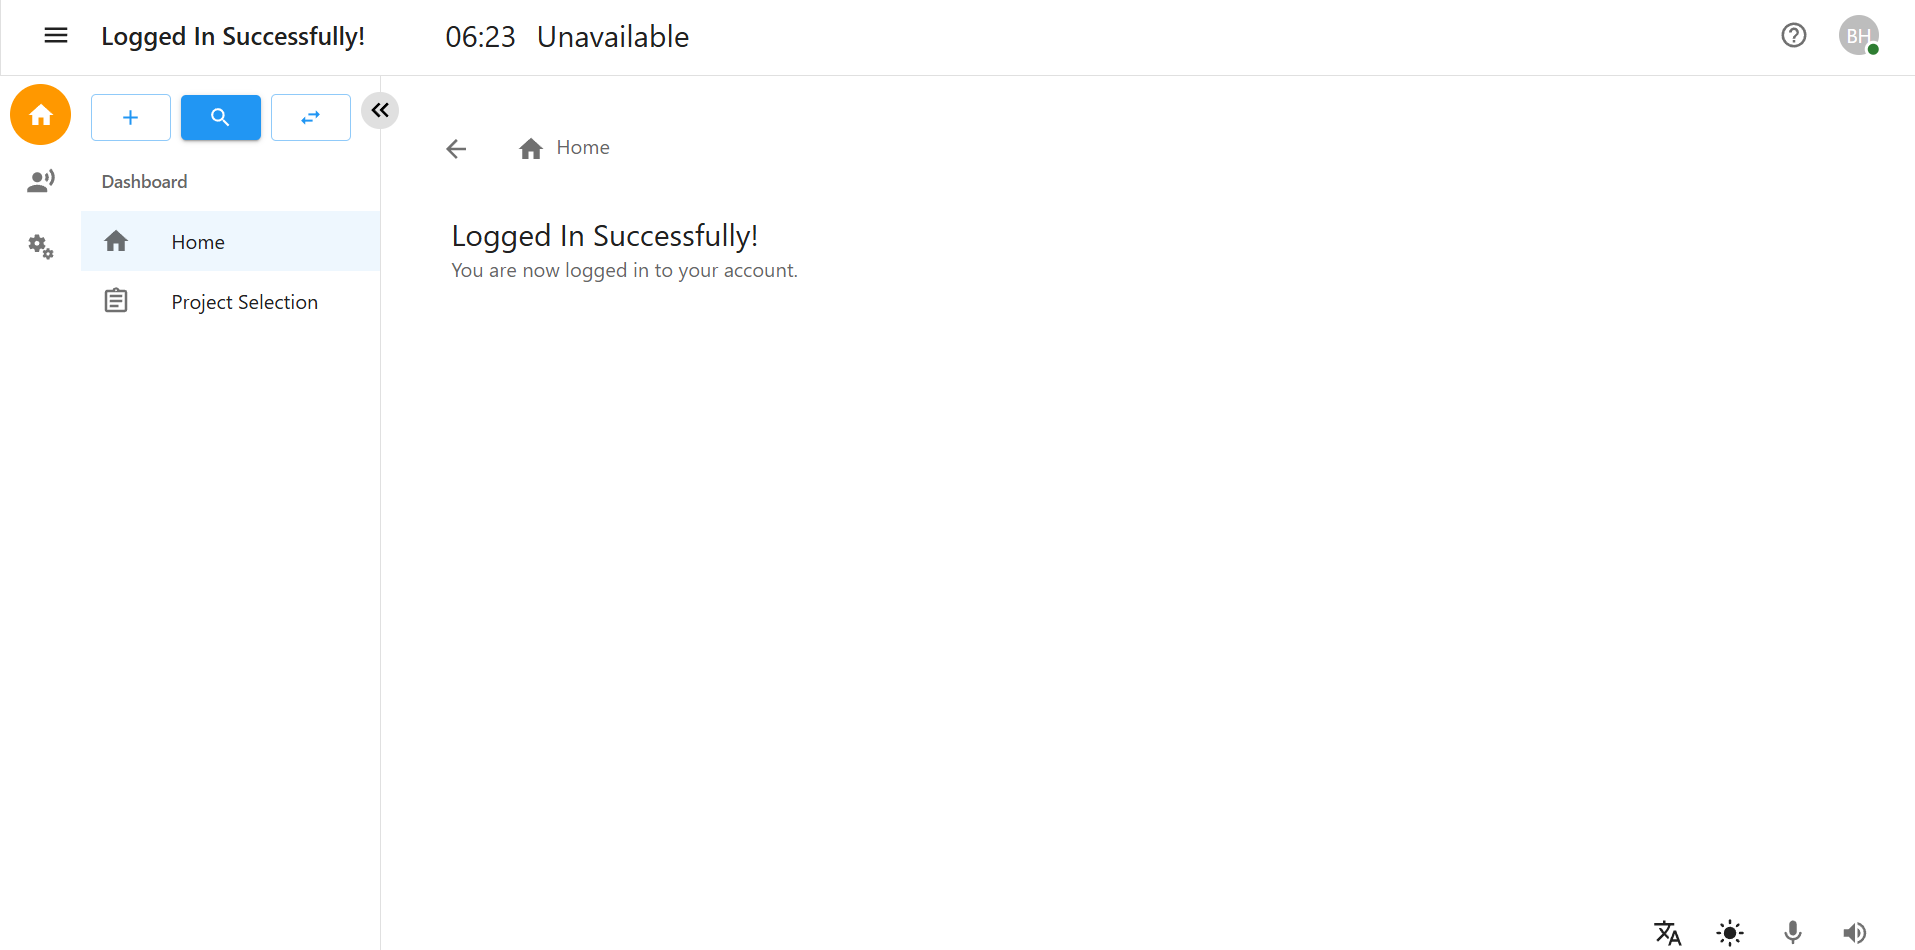
After logging in, users are directed to the Dashboard. The dashboard includes:
-
Home: Displays the message
Logged In Successfully!indicating a successful login. -
Project Selection: Allows you to choose your project focus for the session.
Project Selection
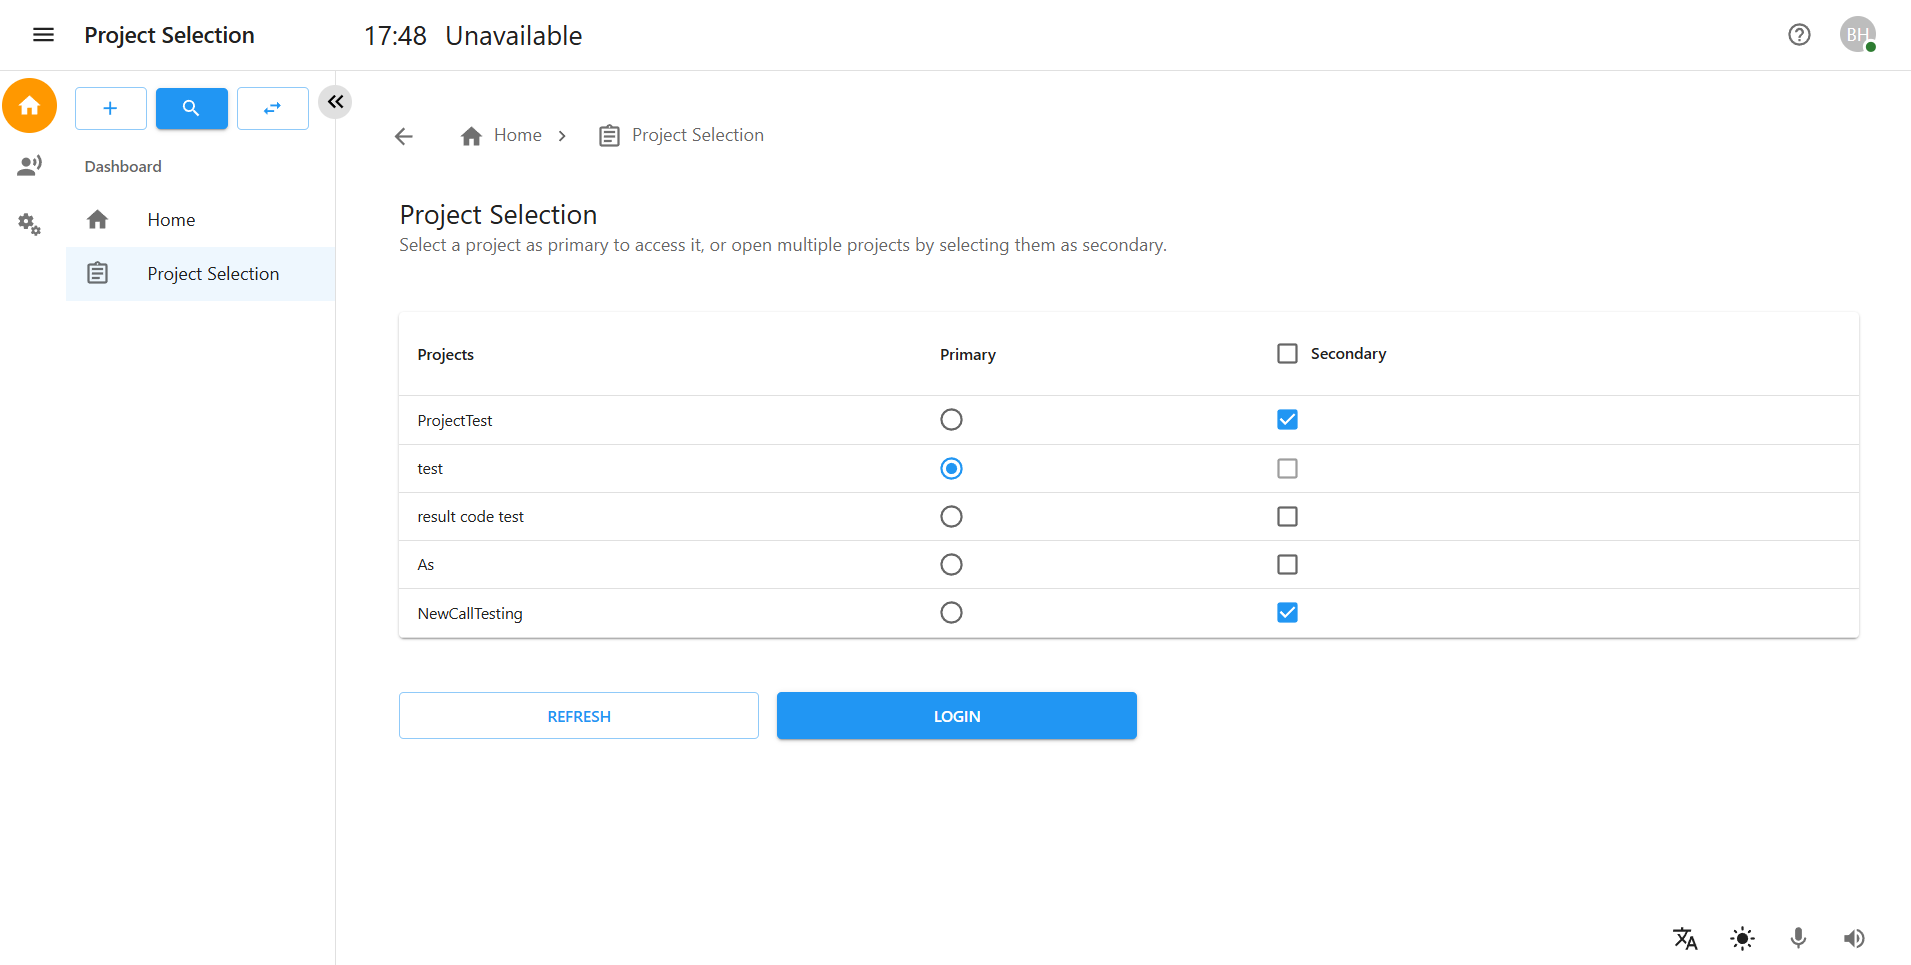
The Project Selection page appears after selecting "Project Selection" from the left sidebar.
This page allows you to define your working context by selecting projects to work on. You must select one project as Primary, and you can select multiple Secondary projects as needed.
Page Components:
-
Navigation Path: Located at the top center of the page (e.g.,
Home > Project Selection), it shows your current location in the panel. -
Project Table:
-
Displays a list of available projects in rows.
-
Columns:
-
Projects: Name of the available projects.
-
Primary (●): Radio button to choose only one primary project.
-
Secondary (☑): Checkbox to optionally select one or more secondary projects.
-
Buttons:
-
REFRESH: Refreshes the project list to ensure the latest projects are available. -
LOGIN: After selecting the desired project(s), clickLOGINto proceed to the Record Section.
Notes:
-
You must select one primary project before proceeding.
-
You may select multiple secondary projects along with your primary selection.
-
Projects selected as secondary will not replace the primary but will be accessible in the background.
-
If no primary project is selected, the system will not allow login to the next section.
Accessing Records
-
Click on the Human Icon (Records) section in the left sidebar.
-
A menu will appear with different options.
-
Select Contacts or Clients to manage contact or client records.

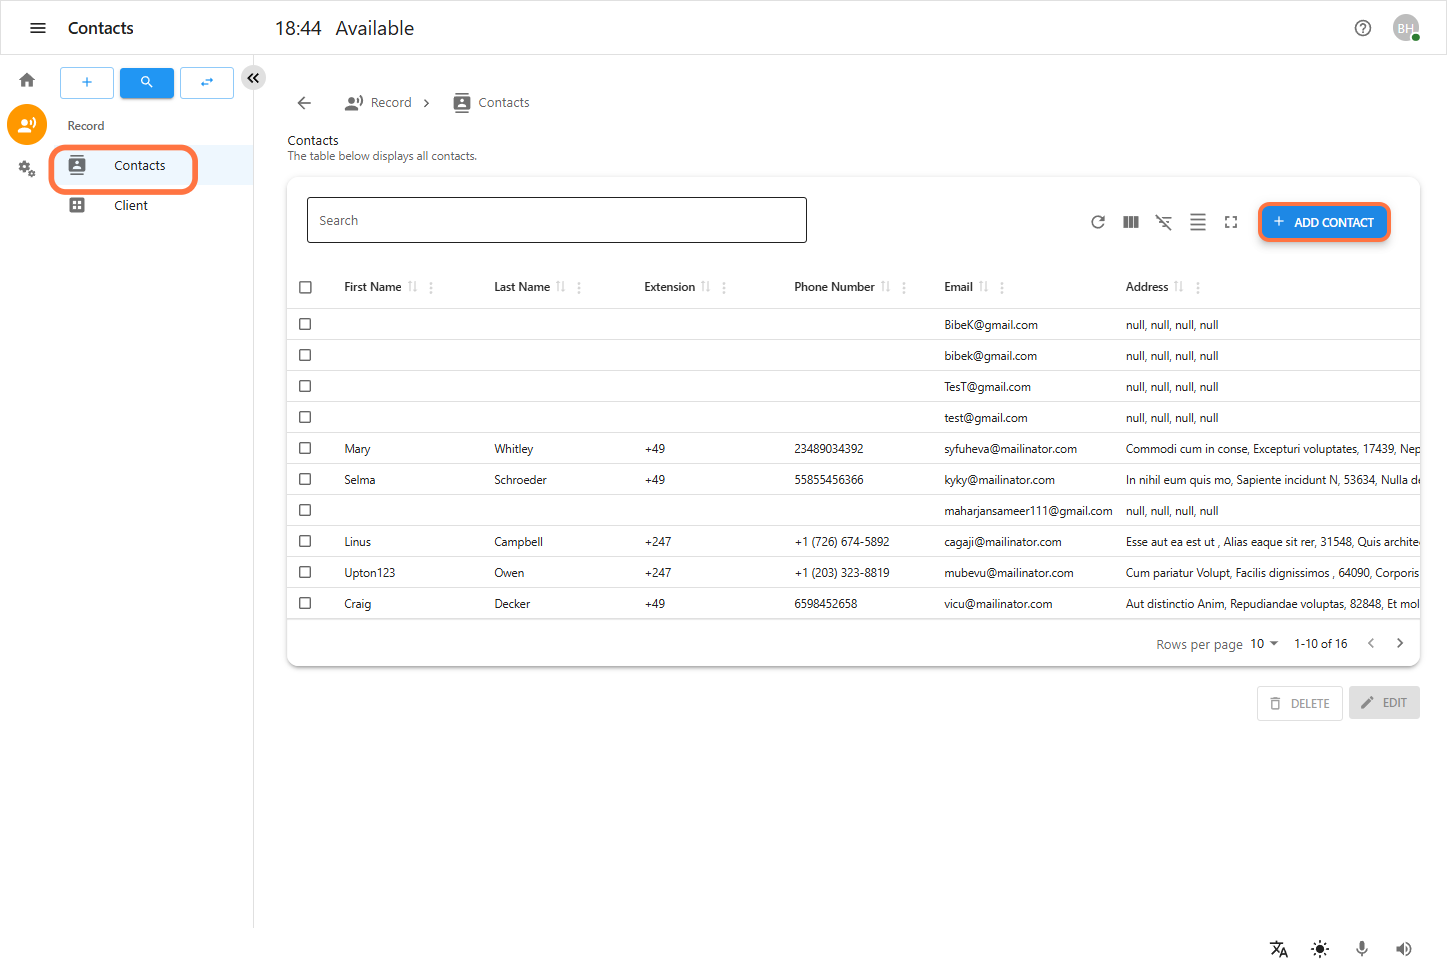
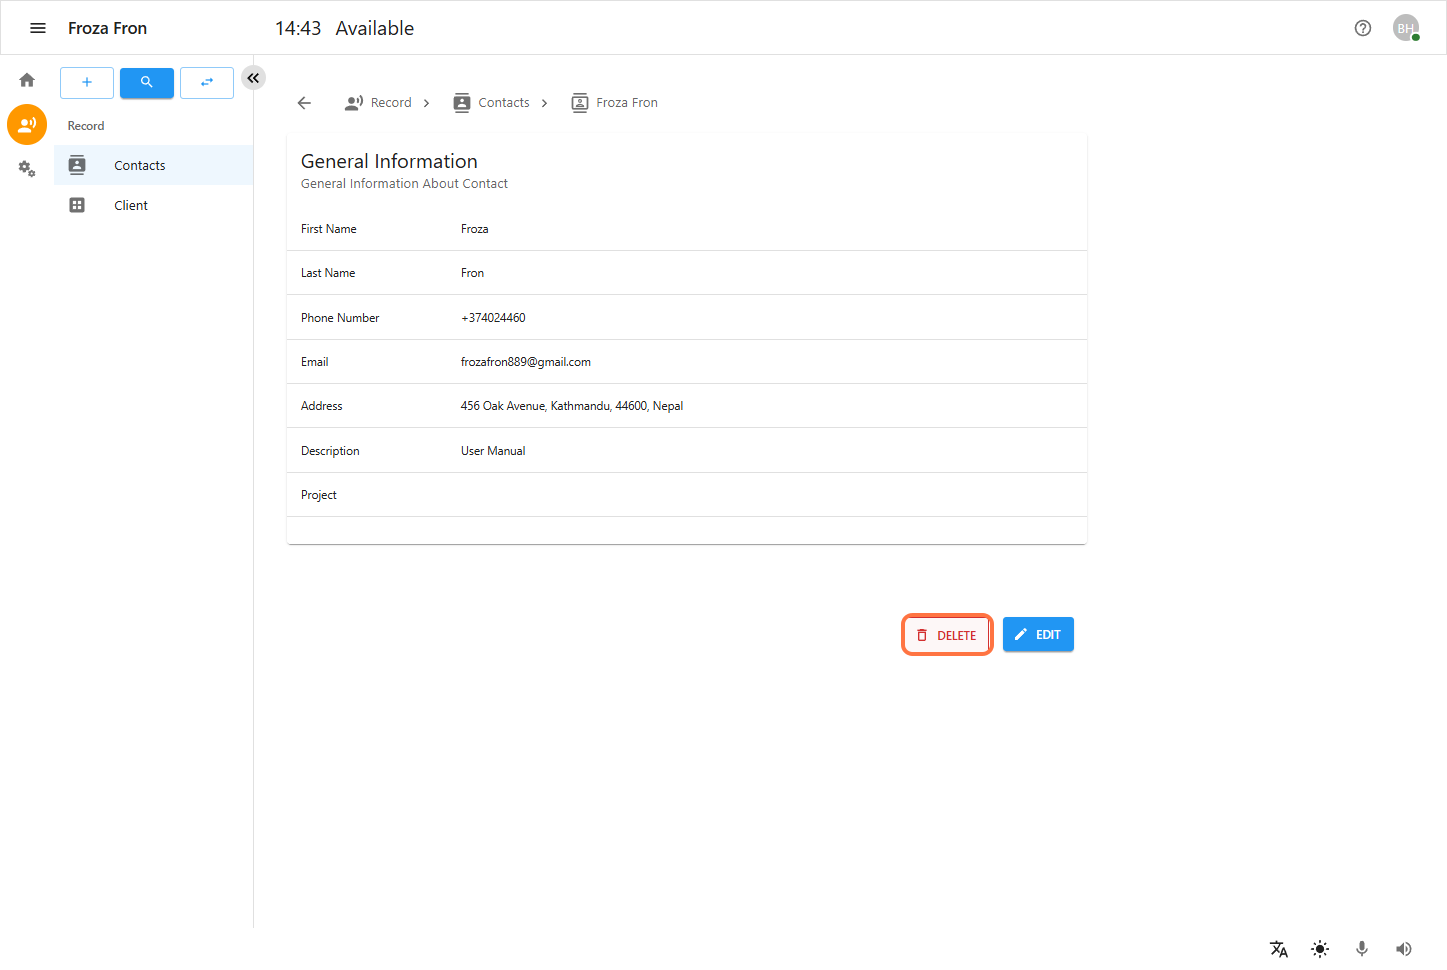
Viewing Contacts
-
Follow the steps in Accessing Records to reach the Contacts section.
-
A list of all saved contacts will be displayed.
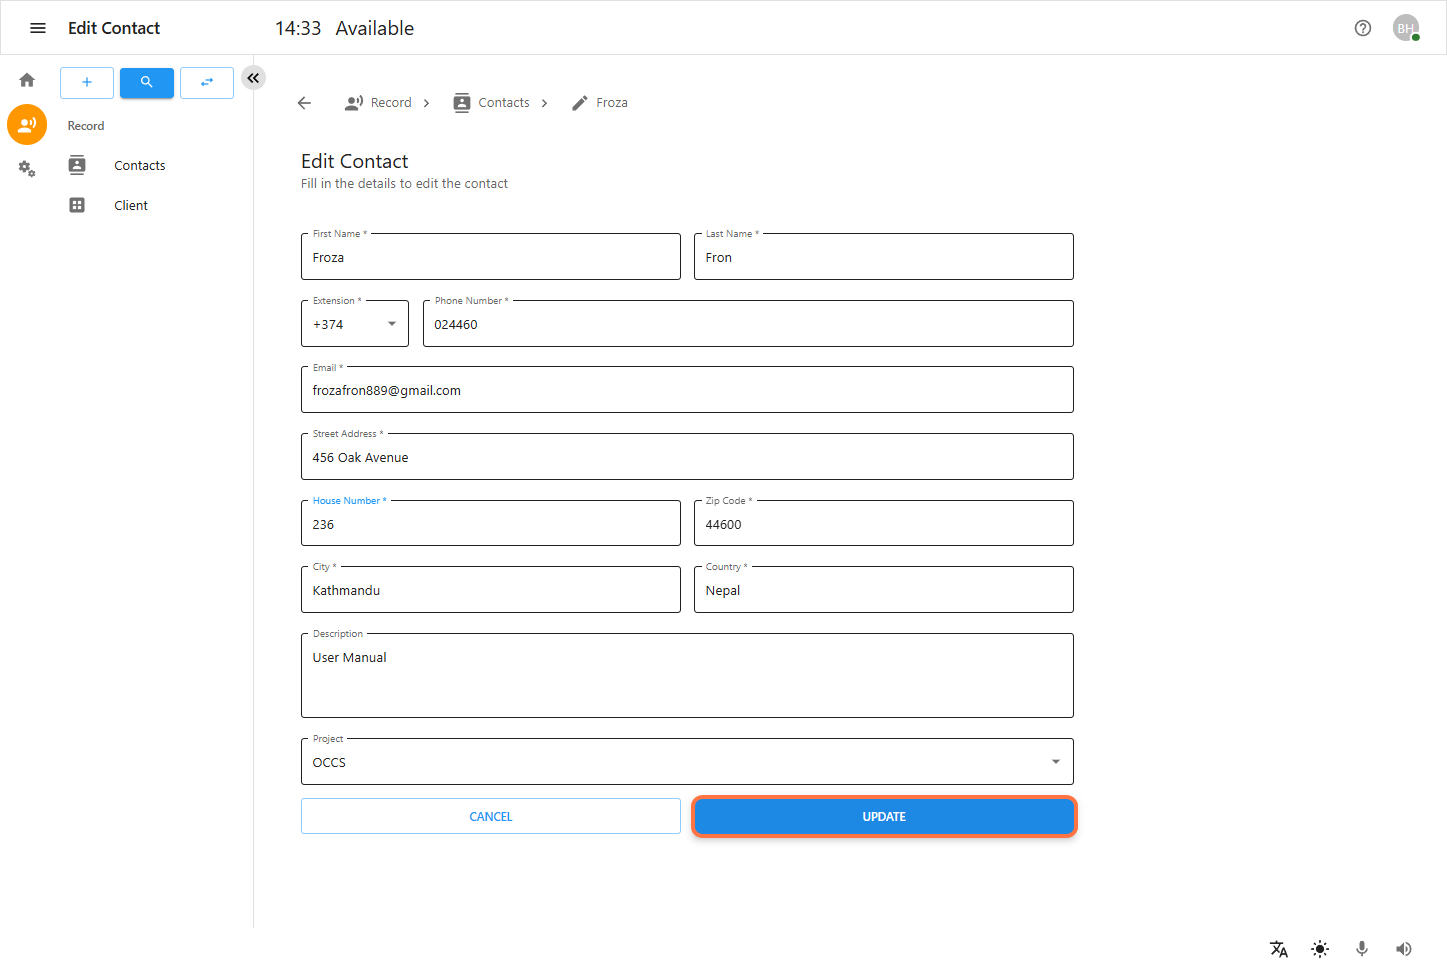
Adding a New Contact
-
Click on the "Add Contact" button.
-
A form will appear requiring the following details:
-
First Name & Last Name
-
Phone Number & Email
-
Street Address, House Number, Zip Code, City, and Country
-
Project (select list of project)
-
Description (Additional notes)
-
-
Click Save to add the contact or Cancel to discard changes.
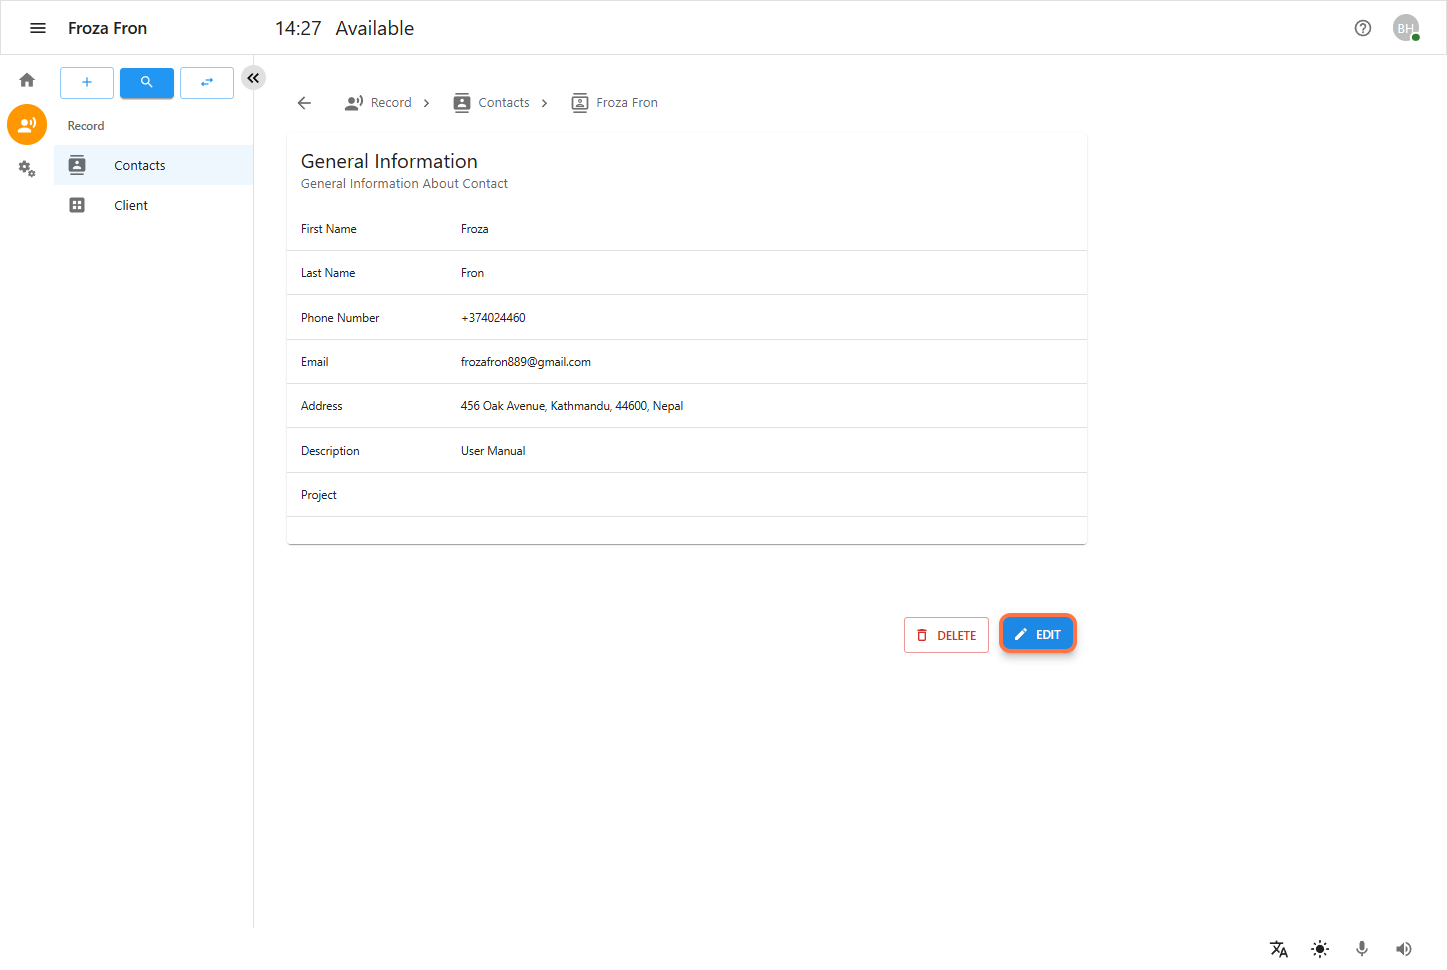
Editing a Contact
-
Locate the contact in the Contacts section.
-
Click on the contact’s record.
-
Modify the necessary fields.
-
Click Save to apply changes.
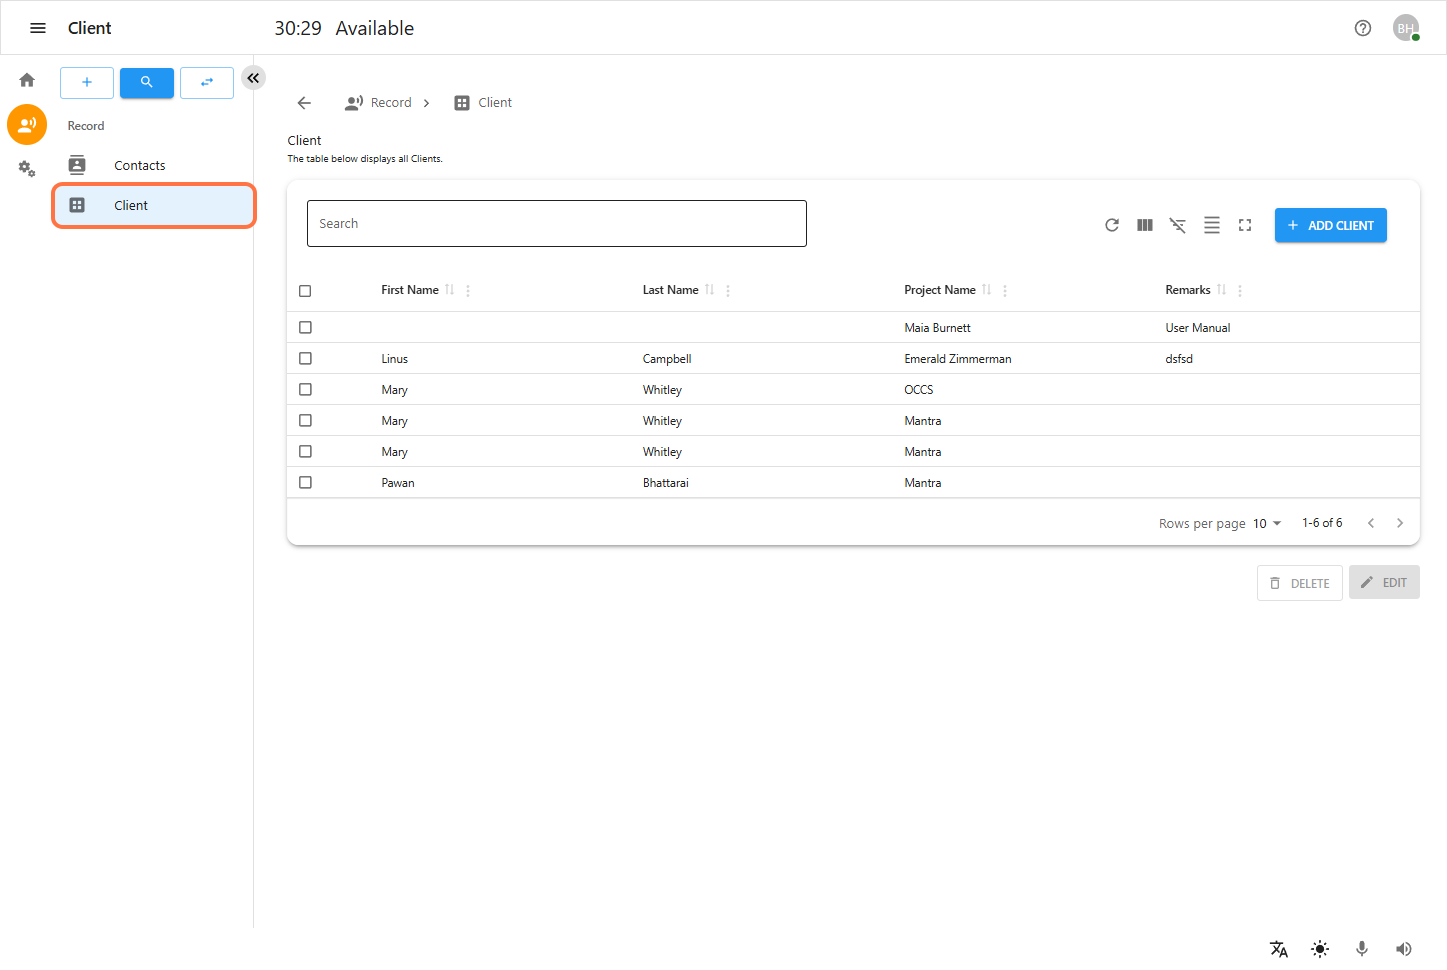
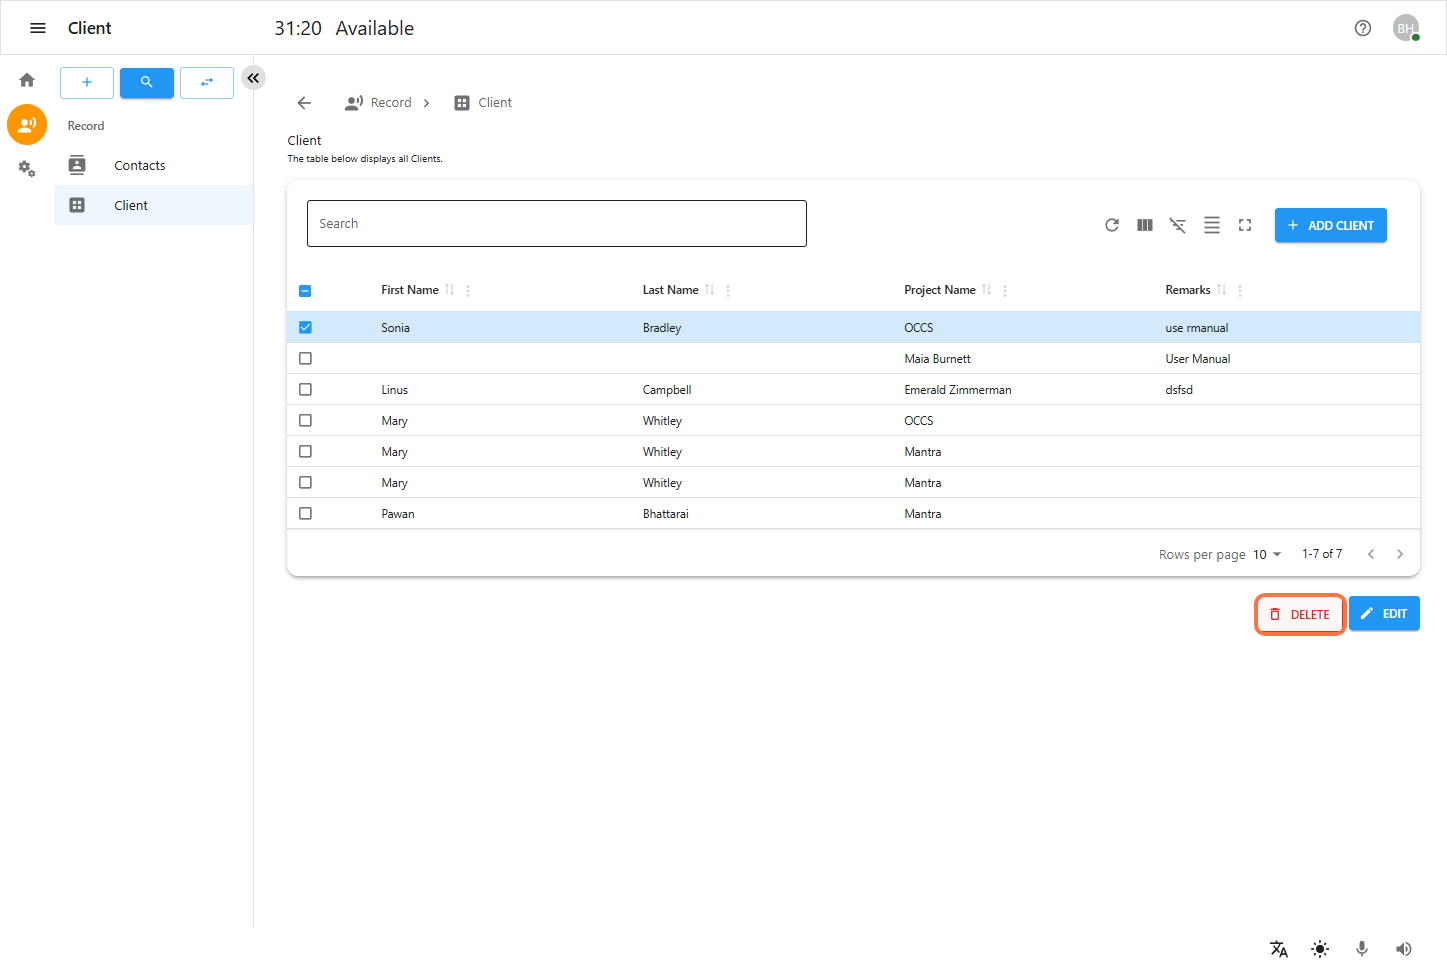
Viewing Clients
-
Click on the Human Icon (Records) section in the left sidebar.
-
Select Clients to view the list of clients.
-
A list of all saved clients will be displayed, along with their details such as project, contact information, and status.
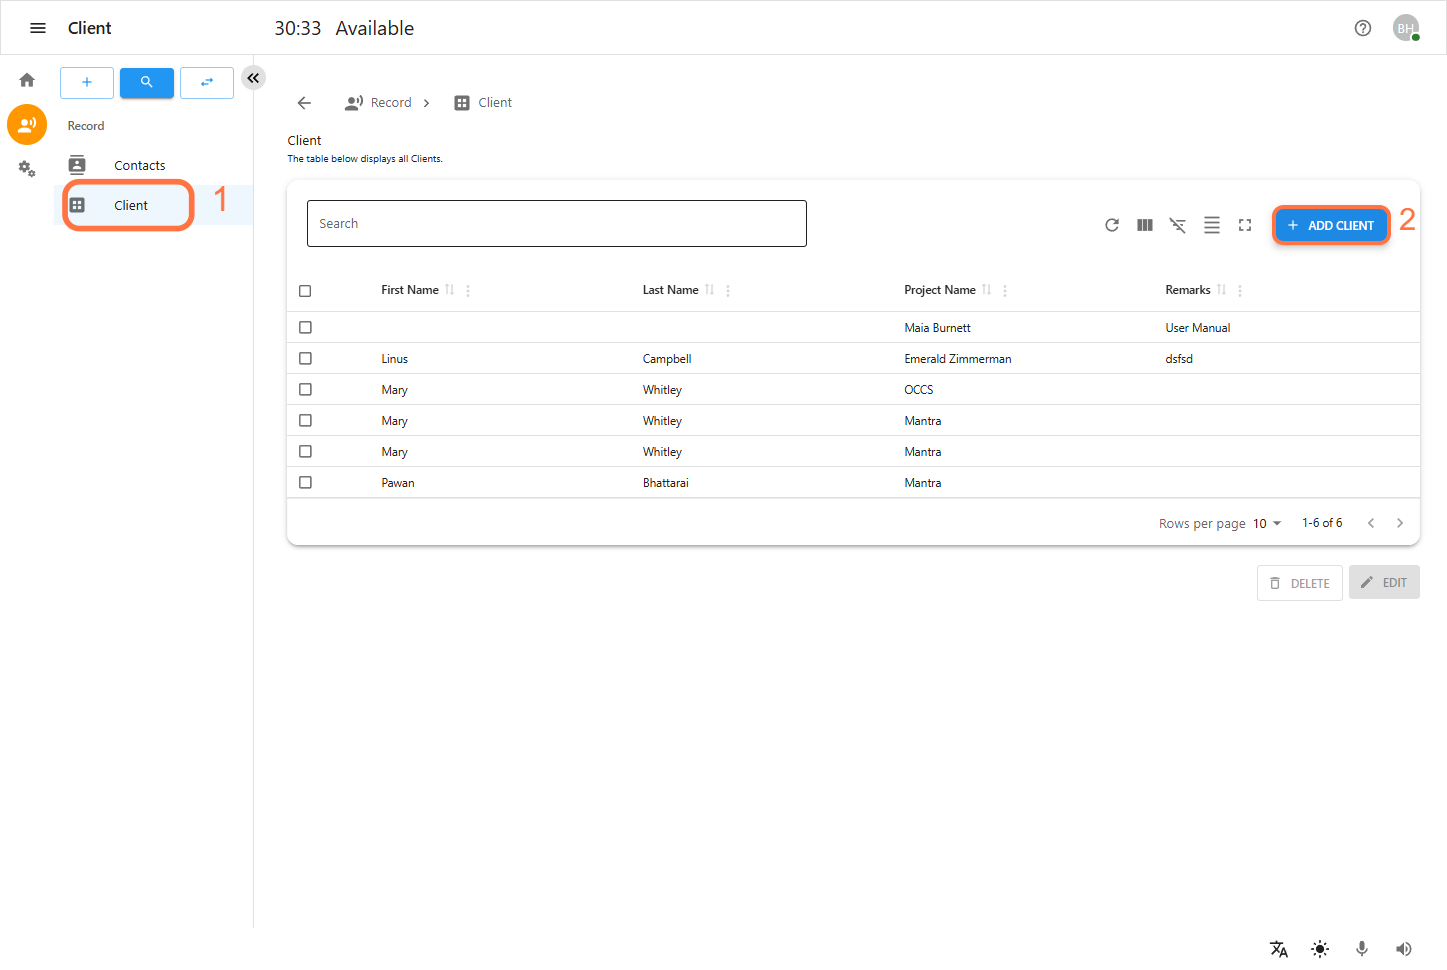
Adding a New Client
-
Click on the Add Client button.
-
A form will appear requiring the following details:
-
Client Name
-
Project Name
-
Contact Person (Name, Phone Number, Email)
-
Address (Street, House Number, Zip Code, City, Country)
-
Status (Active, Inactive)
-
Additional Notes (Optional)
-
-
Click Save to add the client or Cancel to discard changes.
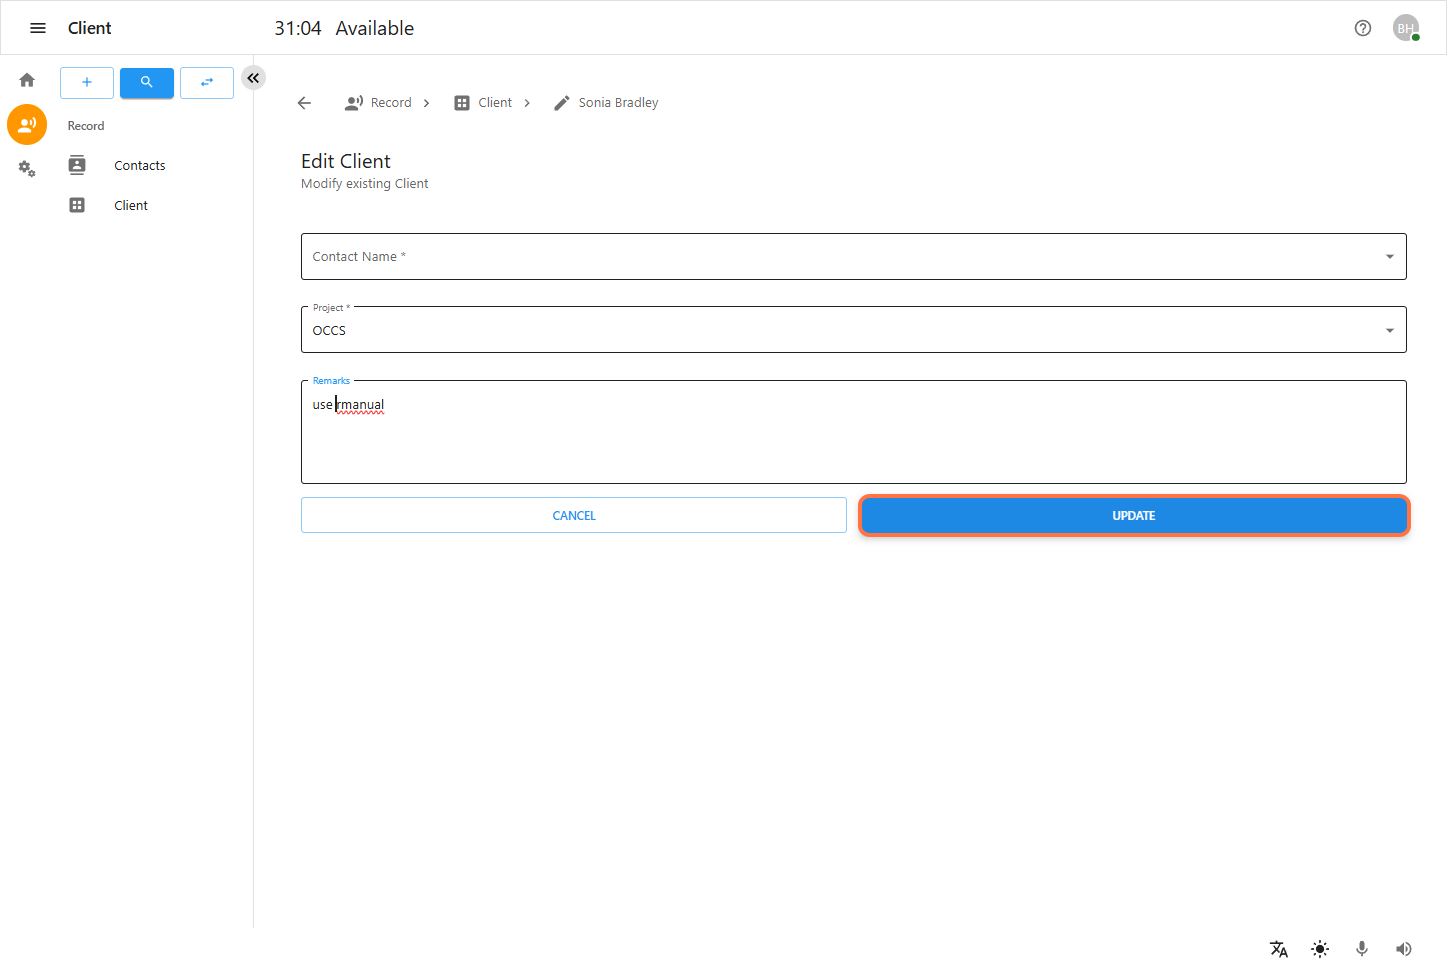
Editing a Client
-
Locate the client in the Clients section.
-
Click on the client’s record.
-
Modify the necessary fields.
-
Click Save to apply changes.
Local Settings
Accessing Local Settings
-
Log in as a Clerk.
-
Ensure that a Project is selected.
-
From the dashboard, click on Local Setting in the sidebar.
-
You will be redirected to the Local Setting page.
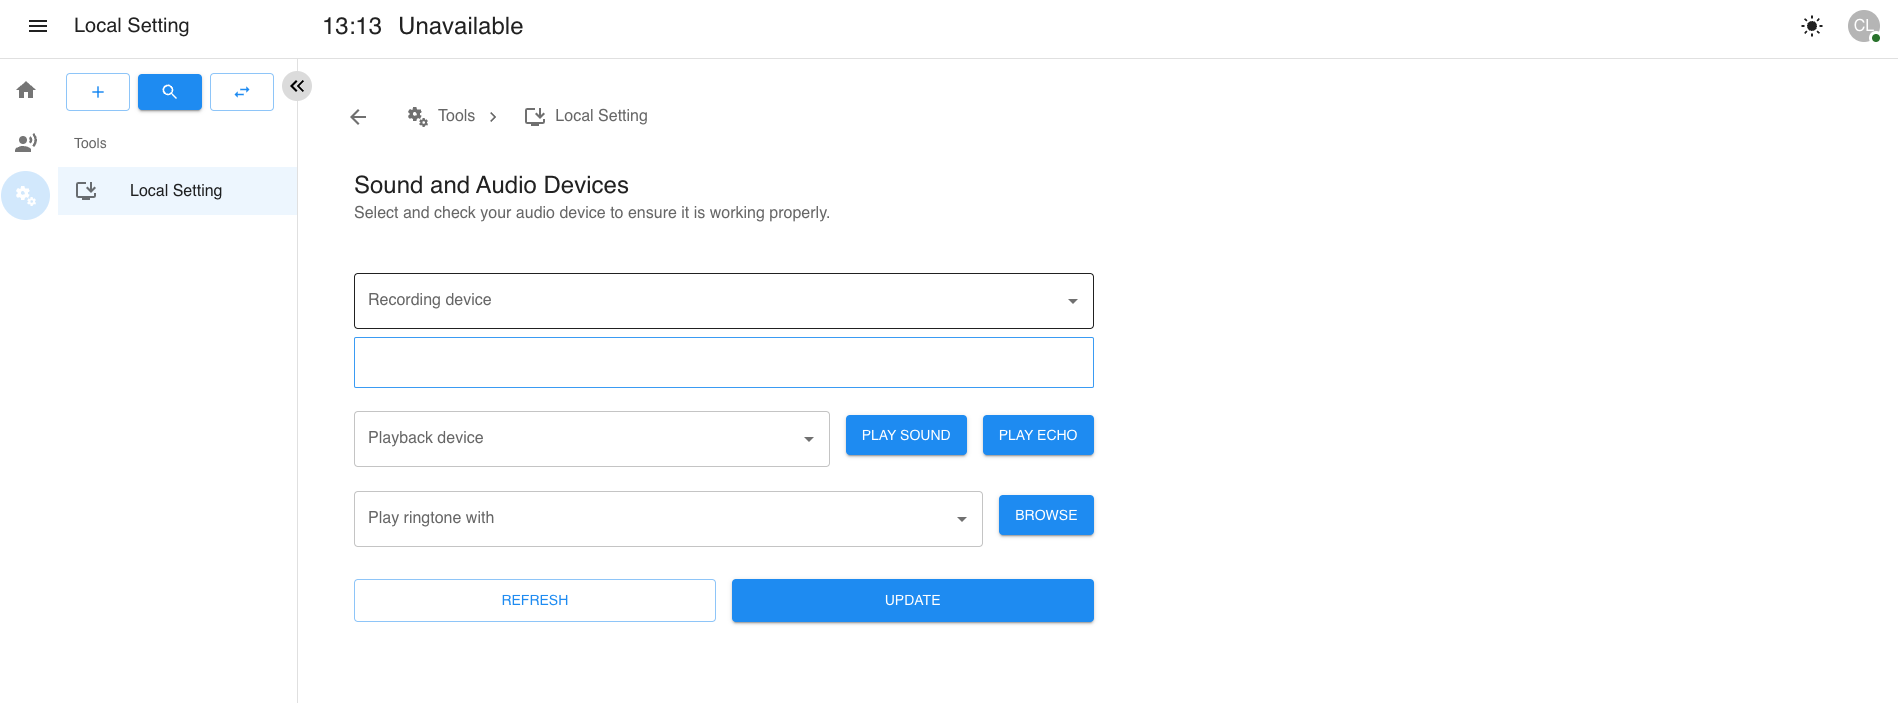
Configuring Local Settings
-
Select the Recording Device from the dropdown.
-
Select the Playback Device from the dropdown.
-
Choose whether to enable Play Ringtone.
-
Click the Play Sound button to test audio.
-
Click the Play Echo button to check for echo.
-
Click the Update Local Setting button to save changes.