Calendar Module
The Calendar Module allows users to manage events, such as organizational activities, national holidays, festivals, and more. Events can be linked to specific projects to define holiday schedules accordingly.
Create Calendar
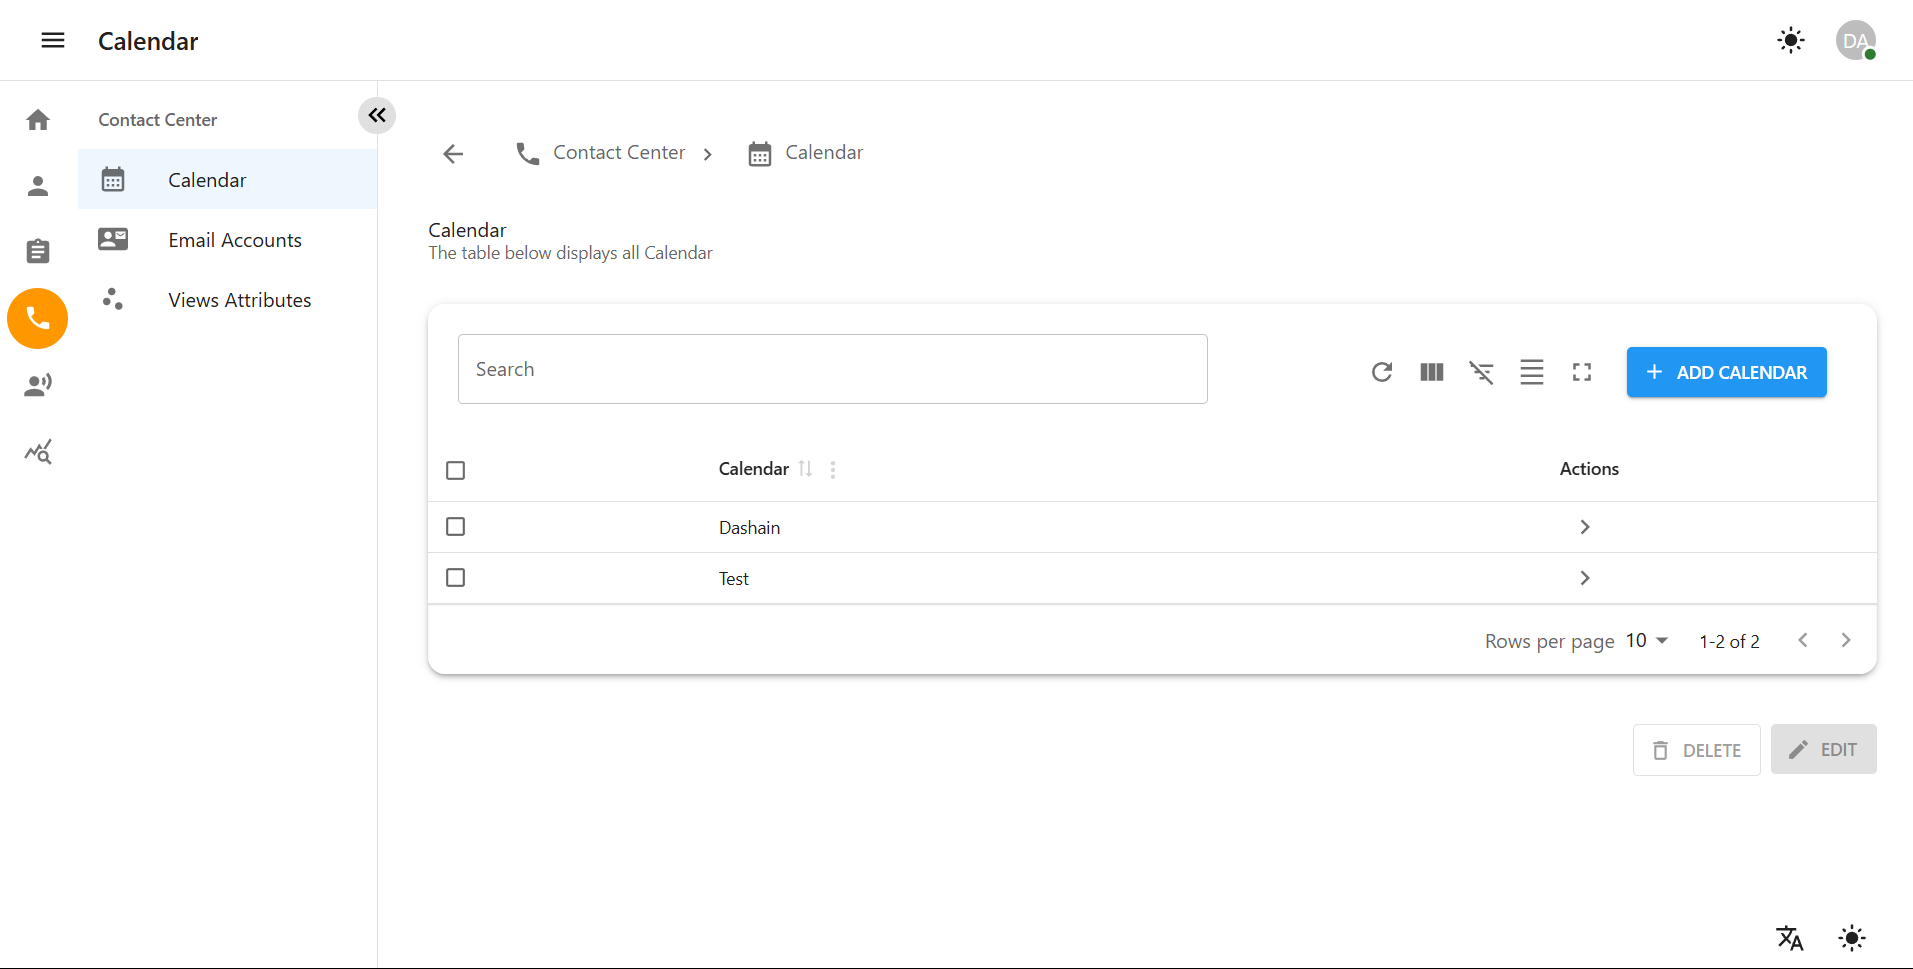
Navigate to Contact Center
From the left sidebar, click on the Contact Center icon.
Select the Calendars option from the menu.
Add a New Calendar
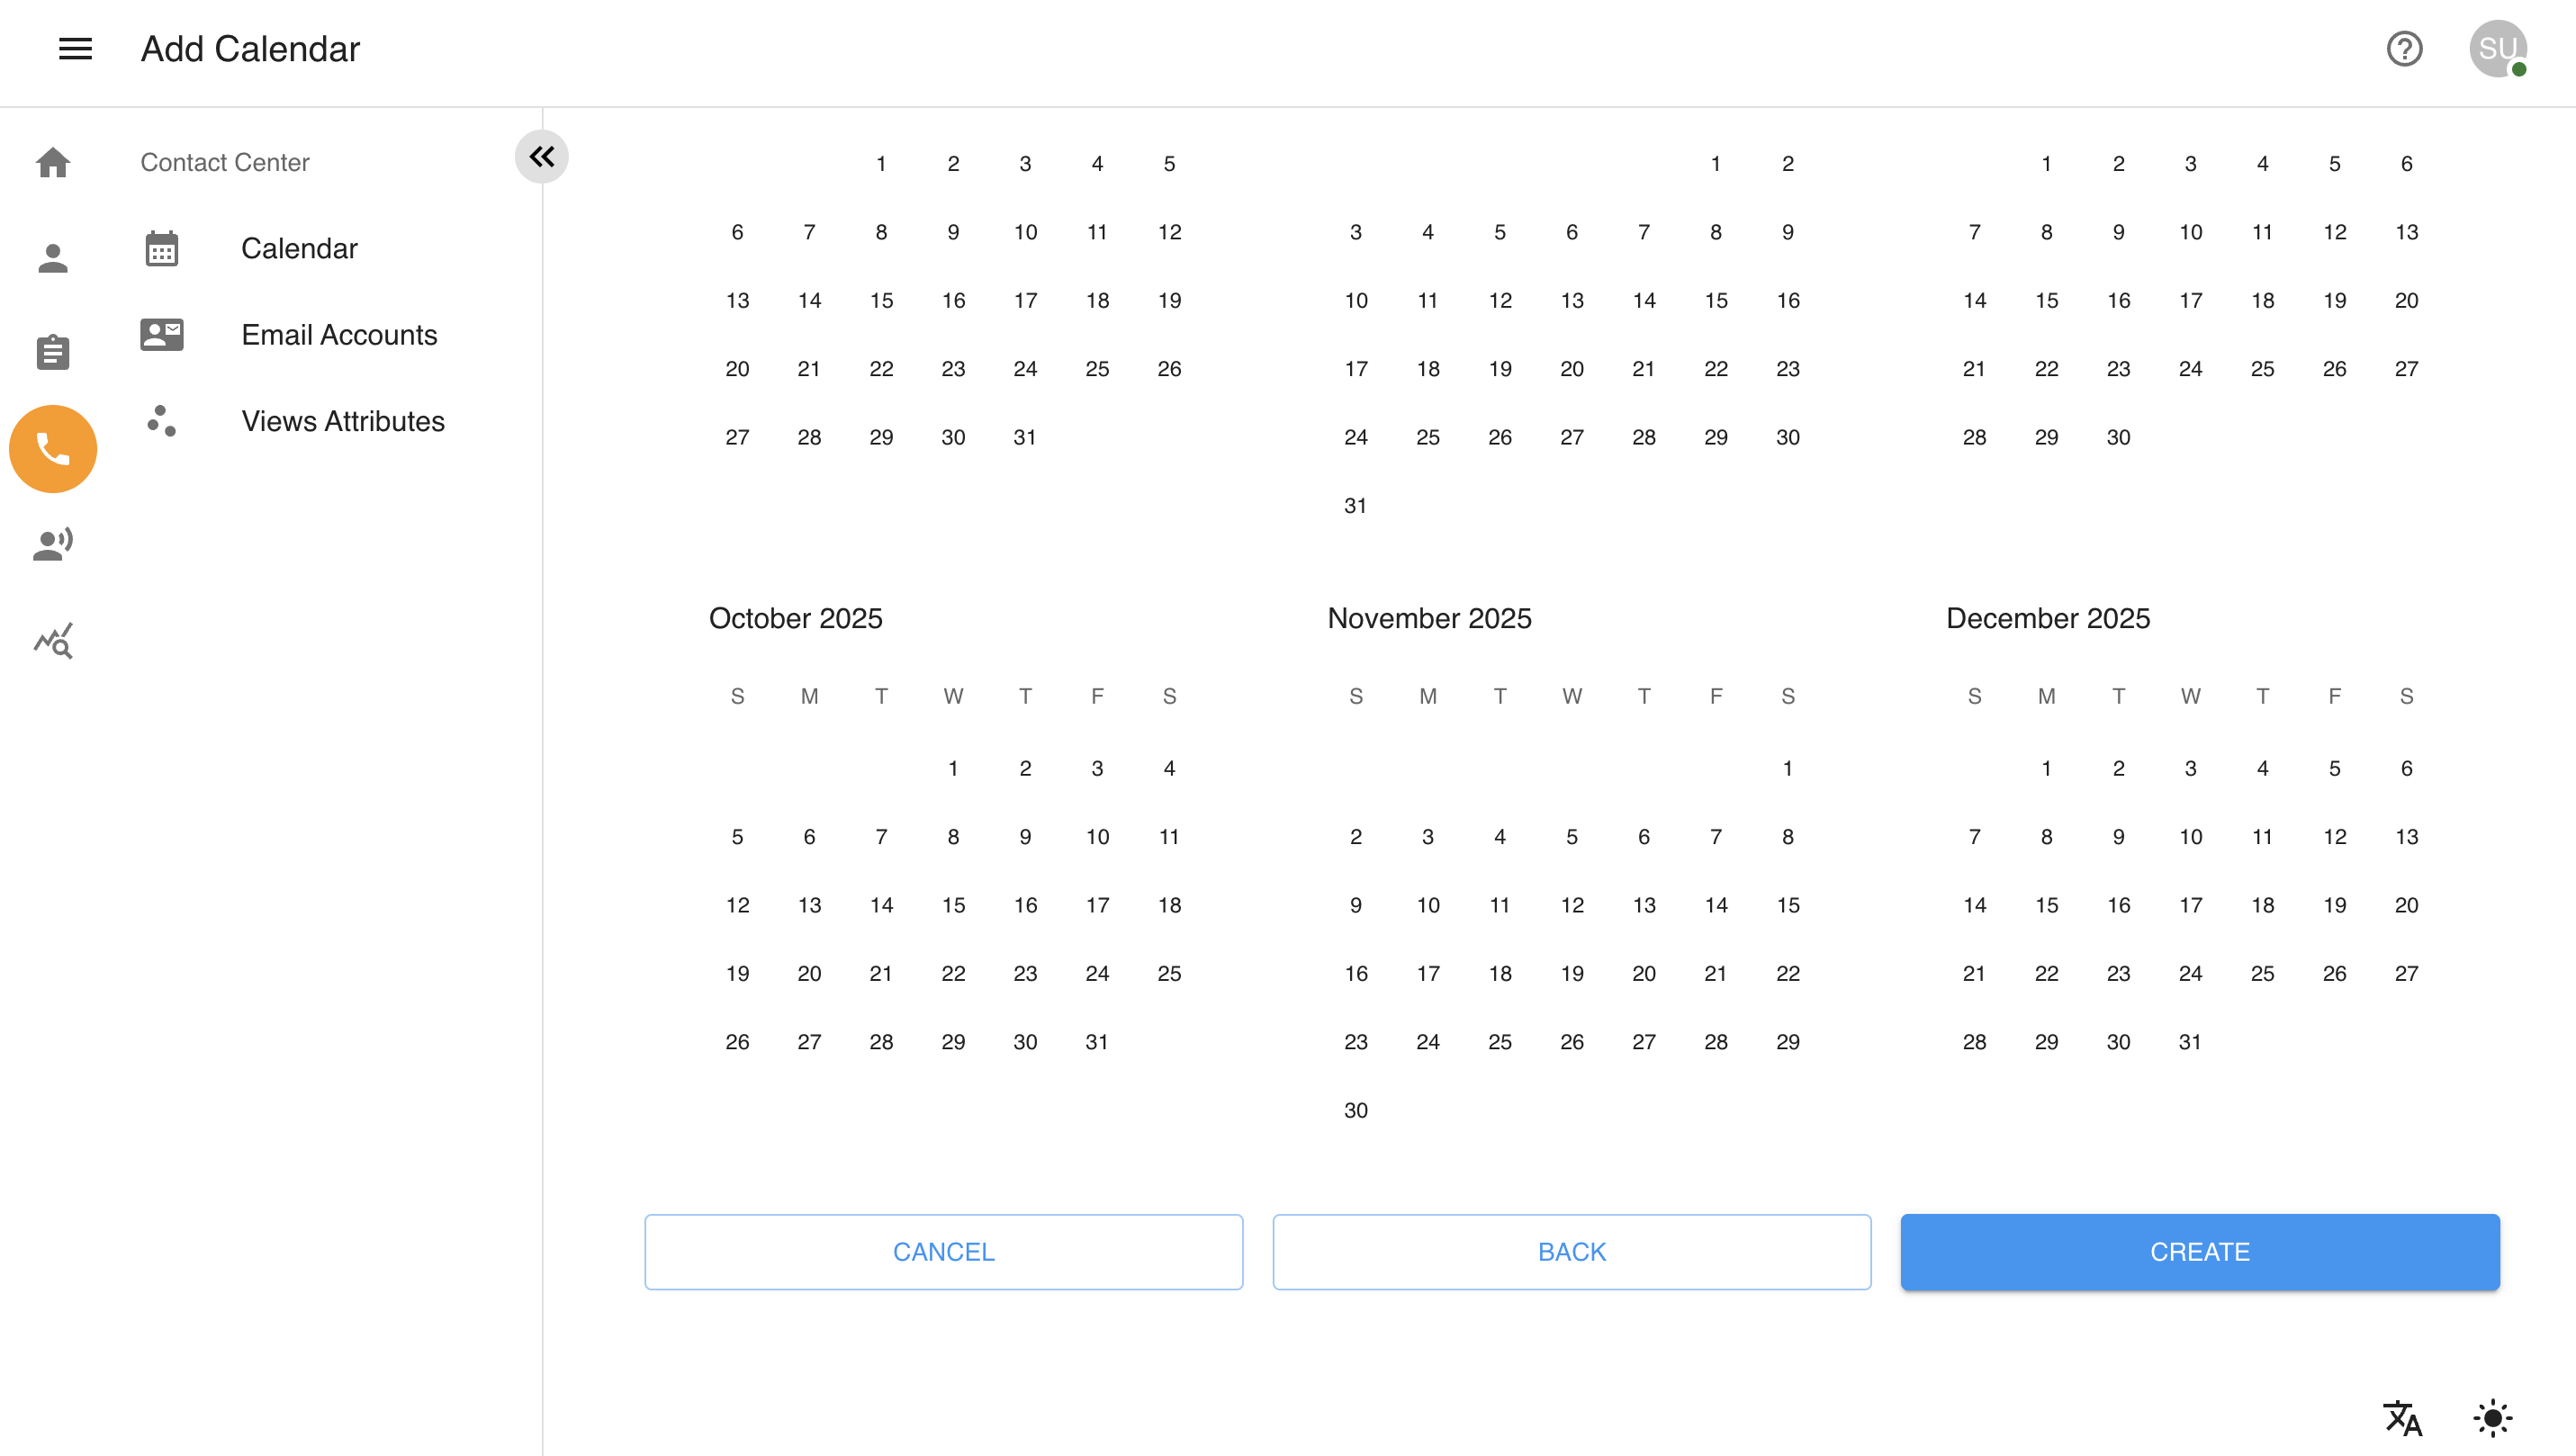
Click the Add Calendar button to begin creating a new calendar.
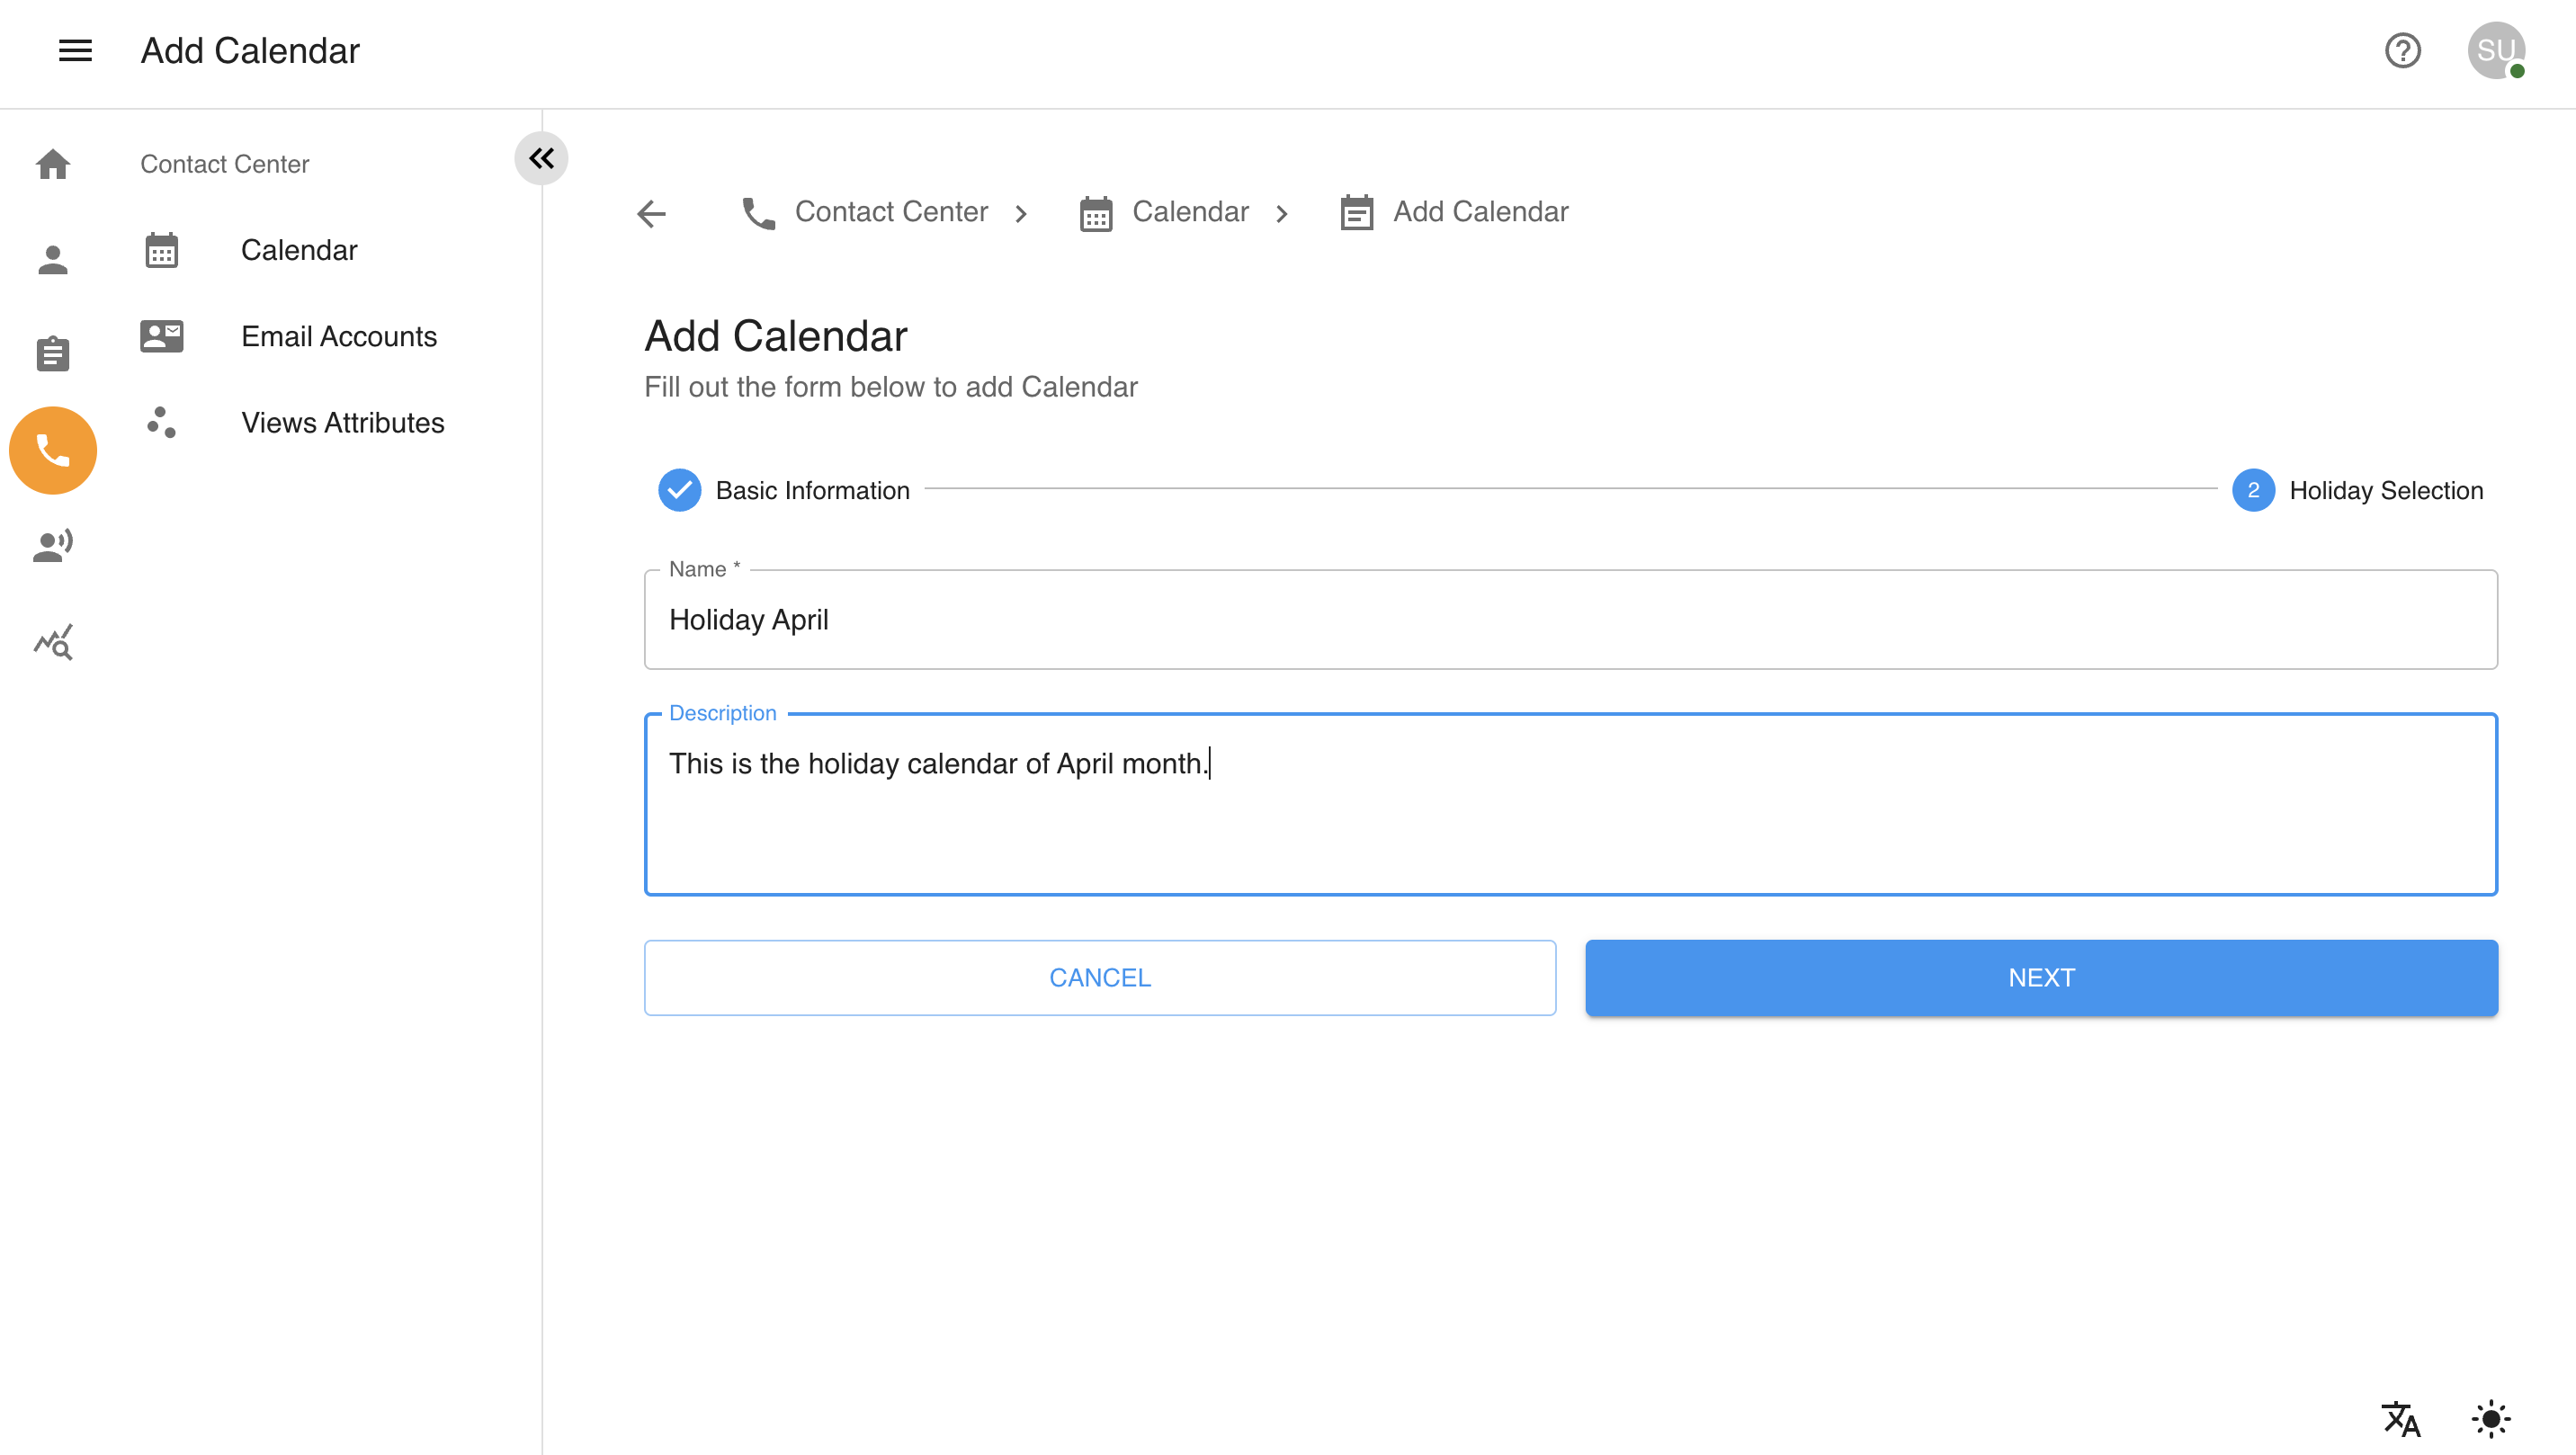
Complete the Calendar Details Form
Enter the required information, such as the calendar name and description.
Click the Next button to proceed to the holiday addition form.
Add / Update Holiday
Select a date to add a holiday and click the ➕ icon or to edit a holiday click 🖊️ icon in the popup to open the holiday form modal.
Provide the holiday details, including its name and duration. Use the Custom Holiday option to specify the holiday’s time frame.
Click Create to finalize the holiday.
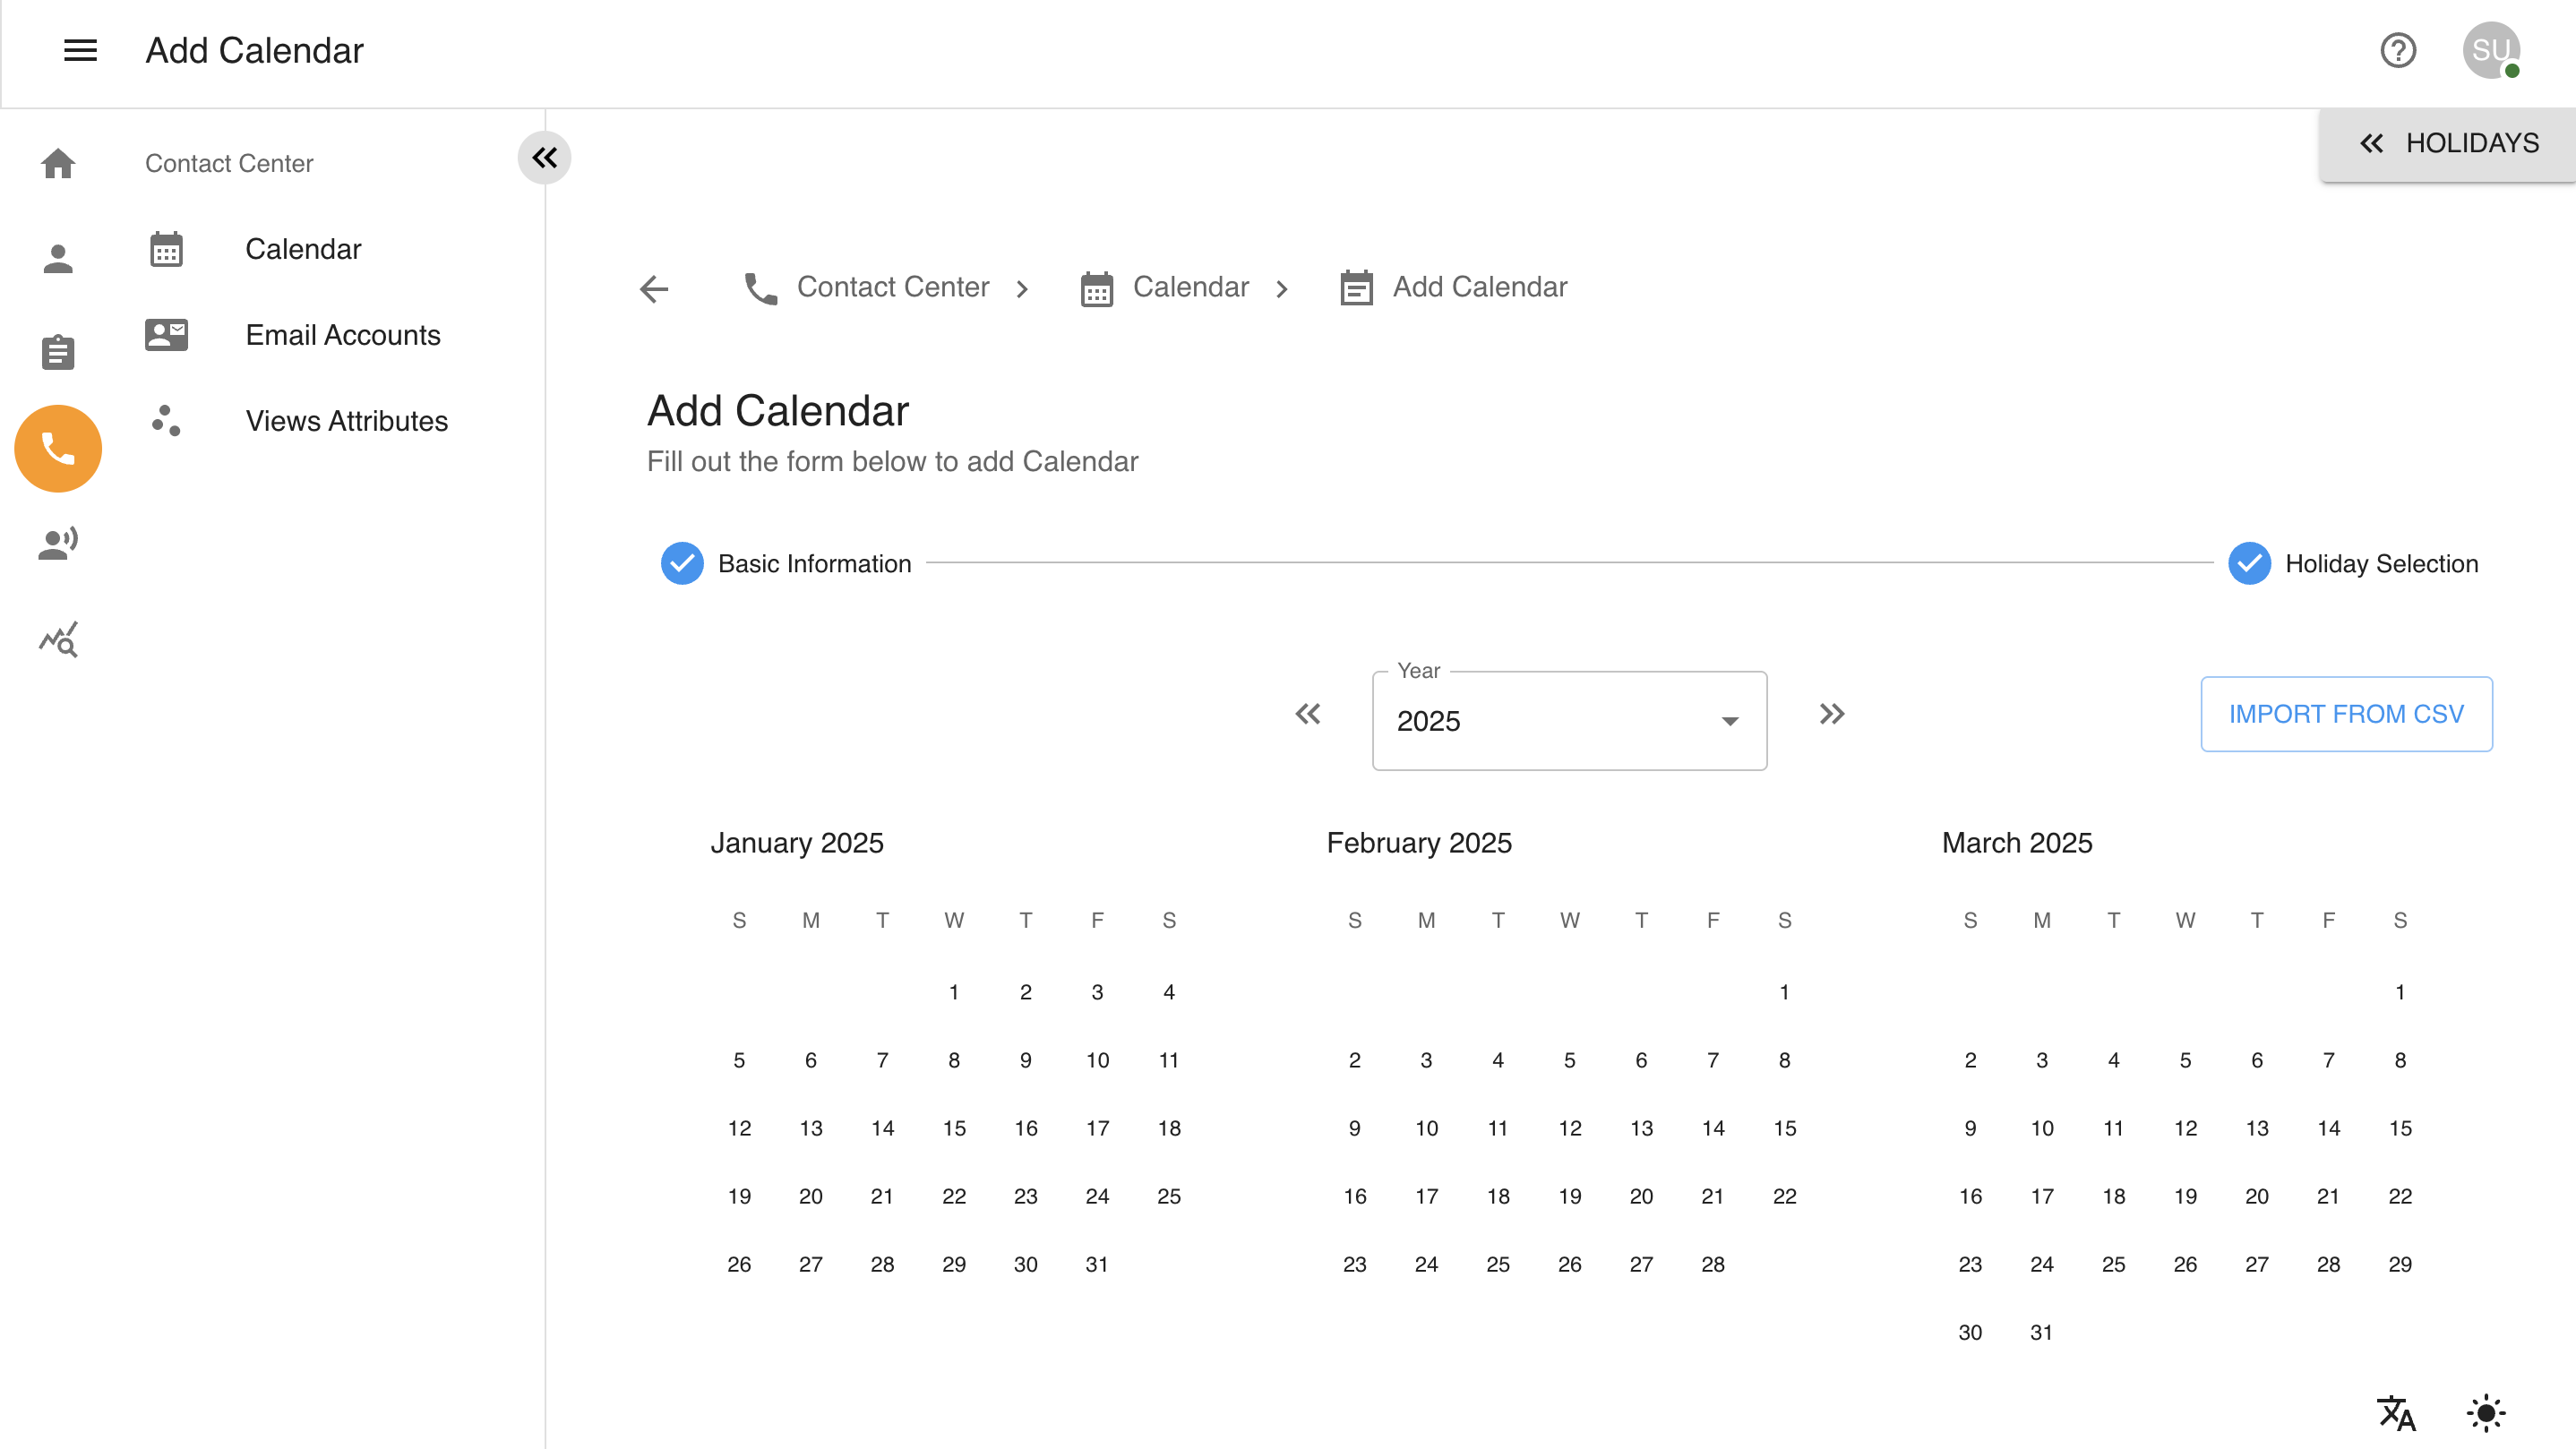
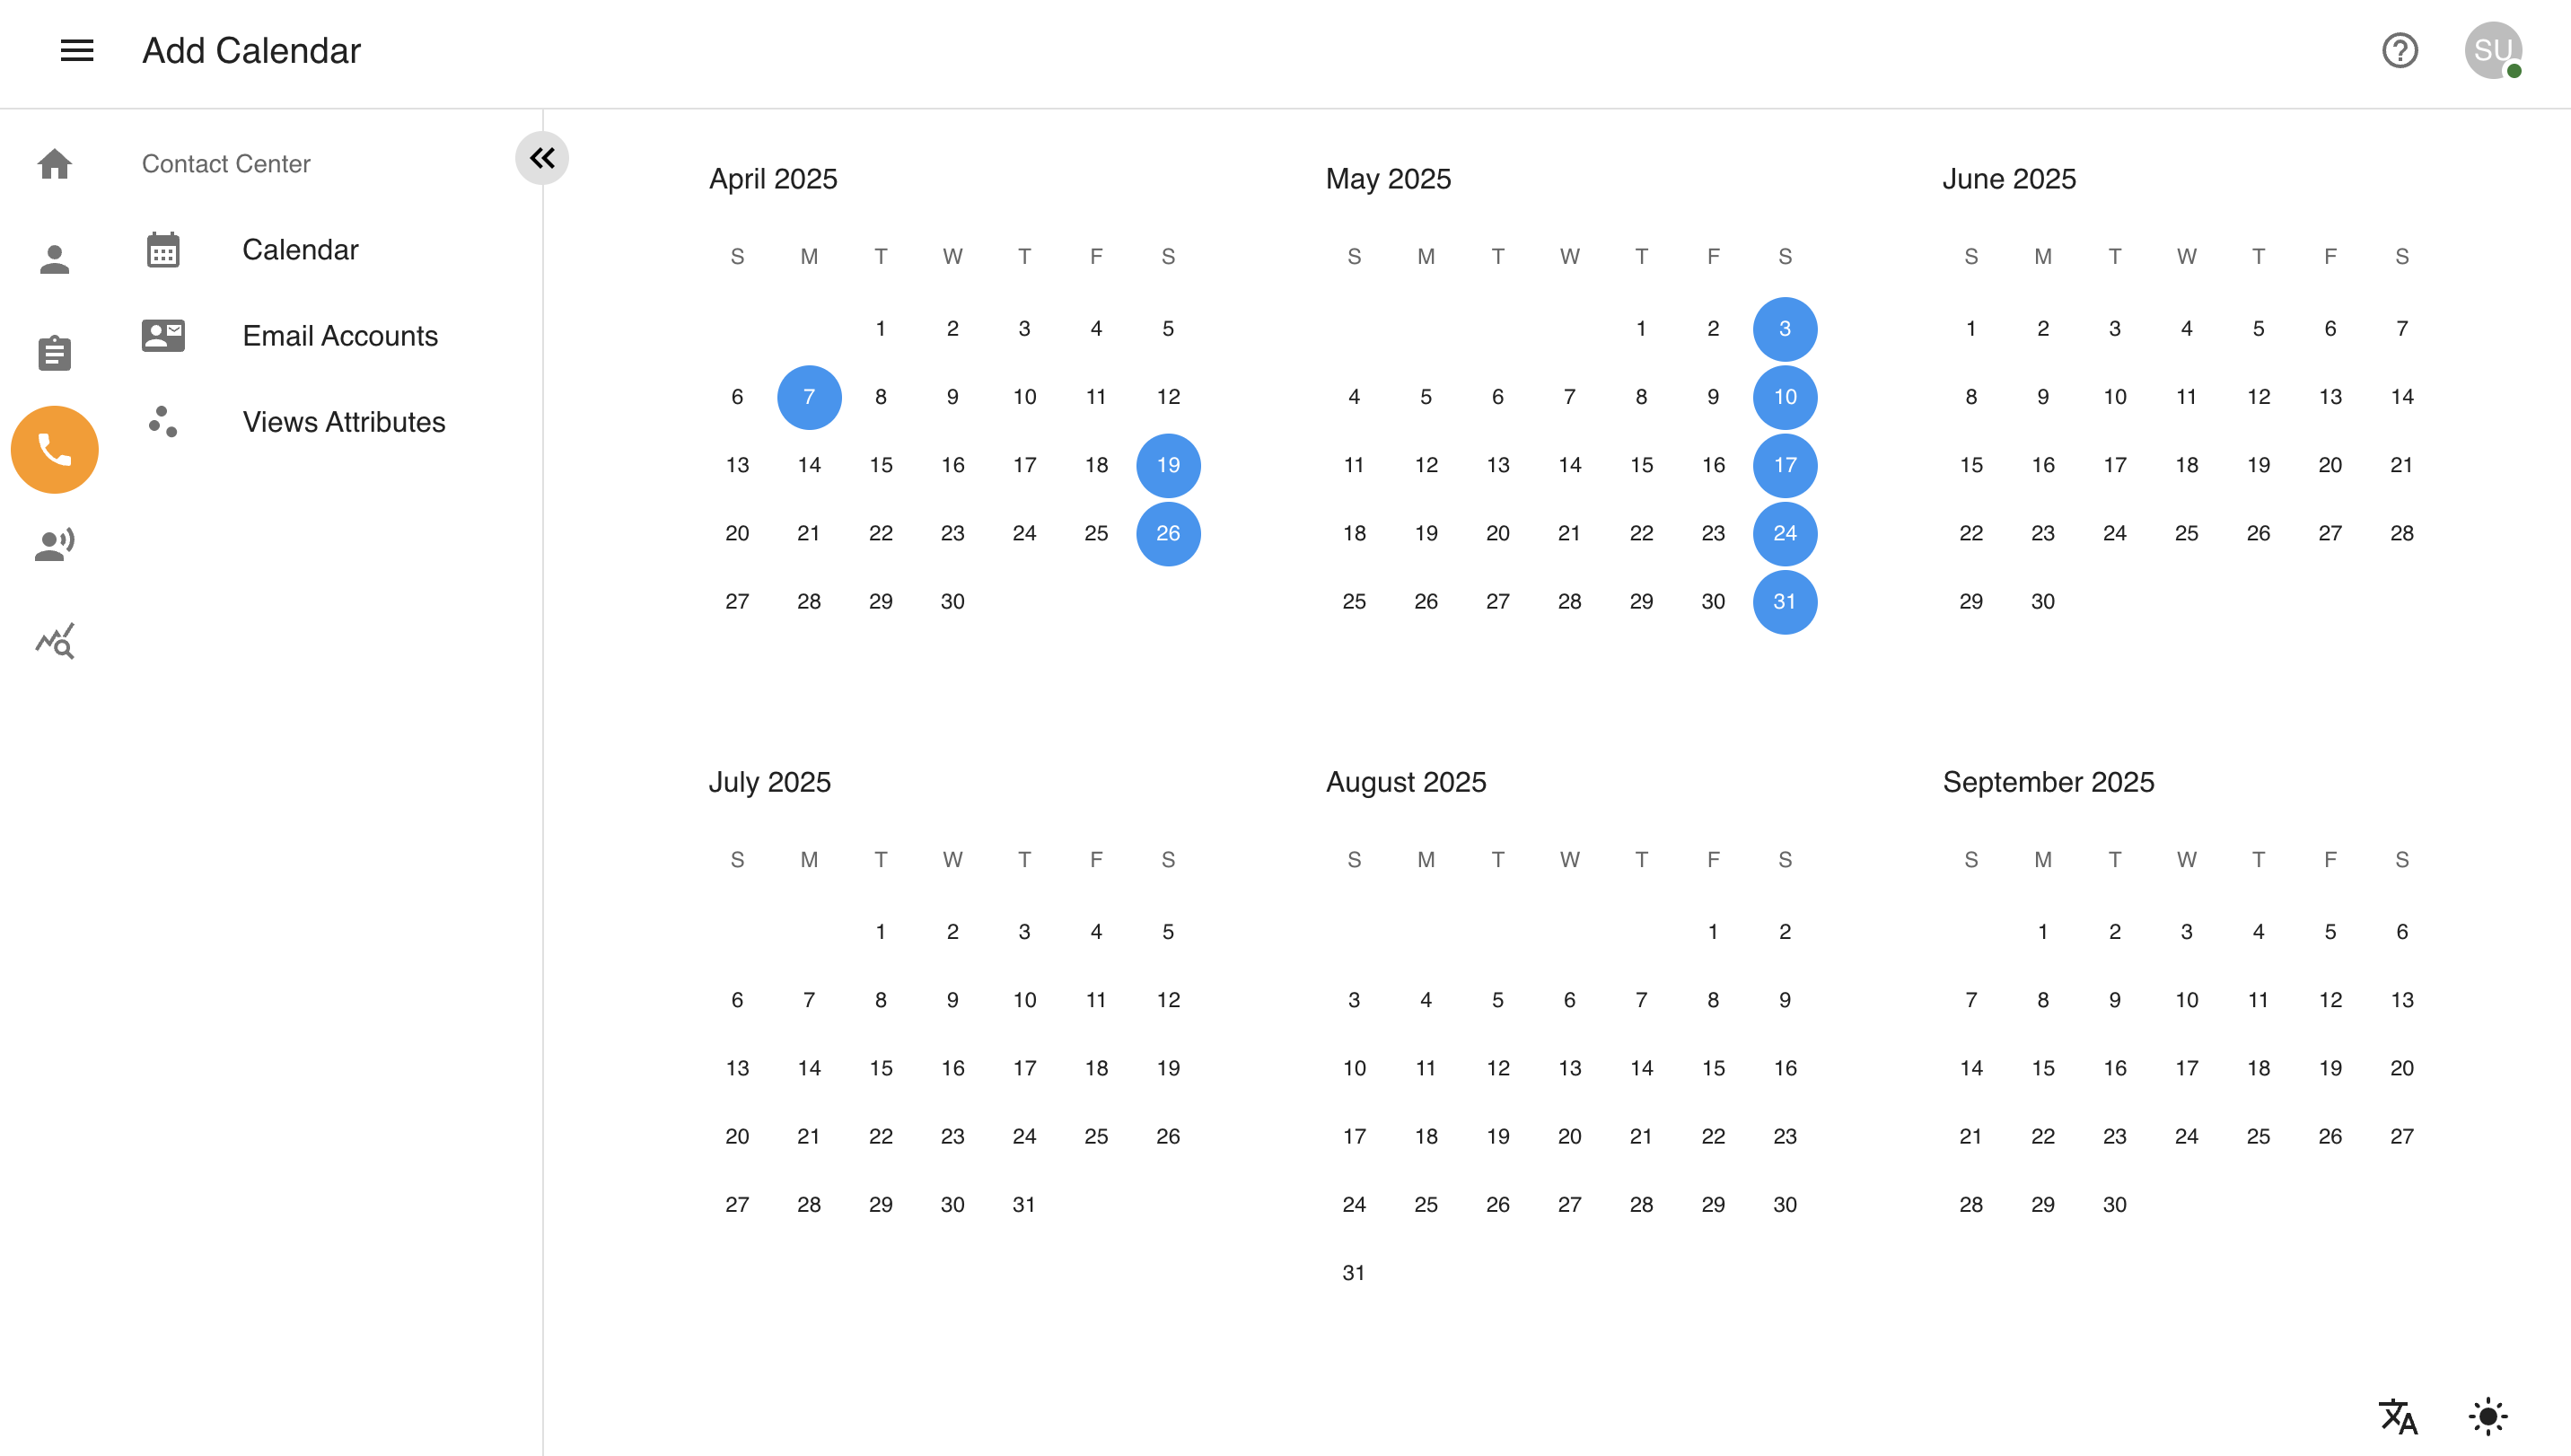
Repeat these steps to add multiple holidays.
Create the Calendar
Once all holidays have been added, click the Create button to save the new calendar setup.
Update Calendar
Navigate to Contact Center
From the left sidebar, click on the Contact Center icon.
Select the Calendars option from the menu.
Edit a Existing Calendar
Locate the calendar you want to edit and select the checkbox next to it.
The Edit button will become enabled. Click it to proceed.
In the Calendar Details Form, update fields like Name and Description with valid information.
Click the Next button to proceed to the holiday addition form.
Add / Update Holiday
Select a date to add a holiday and click the ➕ icon or to edit a holiday click 🖊️ icon in the popup to open the holiday form modal.
Provide the holiday details, including its name and duration. Use the Custom Holiday option to specify the holiday’s time frame.
Click Create to finalize the holiday.
Repeat these steps to add multiple holidays.
Update the Calendar
Once all holidays have been updated, click the Update button to save the new calendar setup.
Delete Calendar
Steps to (single / bulk) delete a calendar from the system.
Navigate to Contact Center
From the left sidebar, click on the Contact Center icon.
Select the Calendars option from the menu.
Delete a Existing Calendar
Locate the Calendar you want to delete and select the checkbox next to it. Multiple checkboxes can be selected.
The Delete button will become enabled. Click it to proceed.
Confirm Delete
A confirmation prompt will appear. Click the Confirm button to finalize the deletion.